15
Place the weight of the base (18) under the base (17) then place the
xing plate (24) on the base (17) so that the holes match.
Insert the supporting tubes (16) in the holes of the xing plate and secure
them with screws and washers (25).
Fix the main body (13) and the motor (10) on the supporting tubes (16)
and secure them with screws (14).
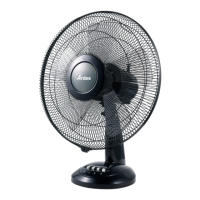
Unscrew the lock ring of the fan (5) by rotating it clockwise, and the lock
ring of the back grille (7) by rotating it counterclockwise, from the motor
shaft (9).
Insert the back grille (8) on the motor shaft (9) so that the grip is pointed
upwards and the holes/pins match. Then x it with the grille lock ring (7)
by rotating it clockwise.
Insert the fan (6) on the motor shaft (9) and x it by rotating the lock ring
(5) counterclockwise.
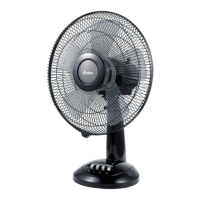
Loosen the safety screw (1) from the lock ring (2) and place is on the front
grille (4) so that the hole of the screw is pointing the base.
Secure the front grille (4) together with the back grille (8) using the lock
ring (2) so that the logo placed on the misting adjustment knob is placed
horizontally, parallel with the oor.
Find the proper position to tighten the safety screw (1).
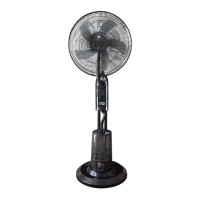
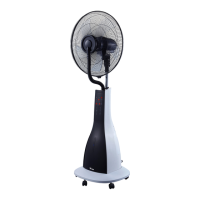
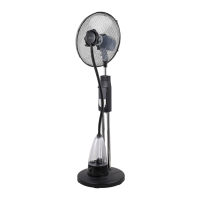
Place the main body of the humidier (23) in the proper compartment on
the base (17).
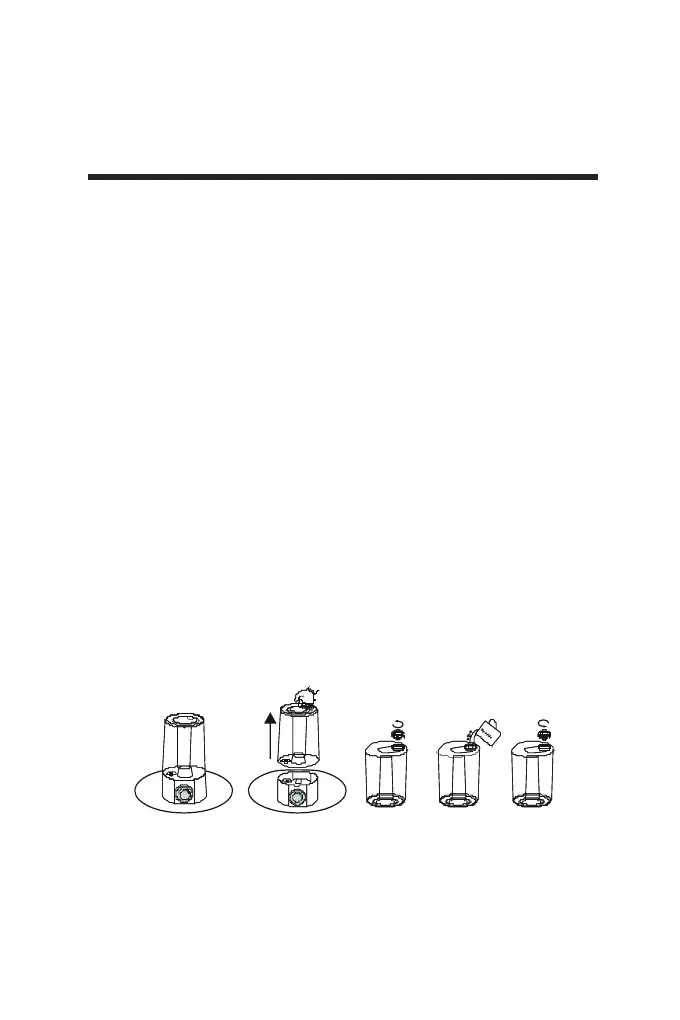
Fill up the tank (21) following the instructions from paragraph “HOW TO
FILL UP THE TANK” and place it on the main body of the humidier (23).
Connect the misting tube (11) to the misting adjustment knob (3) and in
the lower part insert the misting tube in the hole of the humidier cap (20).
Place the humidier cap (20) on the tank (21).
The assembly procedure is complete.
HOW TO FILL THE TANK
Assembling