Checkallhardwareatregularintervals,
especiallybladeattachmentbolts.Keepall
hardwareproperlytightened.
Anextensionspring,whenextended,stores
energyandcanbedangerous.Alwaysuse
toolsspecificallydesignedforinstallingor
removinganextensionspring.Always
compressorextendspringsslowly.
Beforetippingunit,removefuelandbattery(if
equipped).
Useextracarewhenloadingorunloading
unitontotrailerortruck.
Ensureallwheelblocks,jackstandsandtie
downswillsupportunitduringmaintenance.
Replaceworn-outmufflersimmediately.
Continuedusecouldresultinfireor
explosion.
Sharpedgescancutoramputatefingersora
hand.Wrapbladeorwearsturdyglovesto
service.
Onlyreplaceblades.NEVERstraightenor
weldblades.
Useonlyreplacementpartsdesignedforyour
unit.SeeyourAriensDealer.
Allowenginetocoolbeforestoringinany
enclosure.
ALWAYScleanunitbeforeextendedstorage.
Seeenginemanualforproperstorage.
DONOTstoreunitinsideabuildingwithfuel
inthefueltankwhereanyignitionsources
arepresent.
Useonlyaccessorieswhichhavebeen
approvedbyAriensandareproperly
installed.
Useonlyaccessoriesorattachmentsthatare
designedforyourunitandthatcanbeused
safelyonyourterrain.
Checkattachmentsfrequentlyandreplace
wornordamagedcomponentswith
manufacturer'srecommendedparts.
=1 i:]4,d
CAUTION: AVOID INJURY. Read
and understand the entire Safety
section before proceeding.
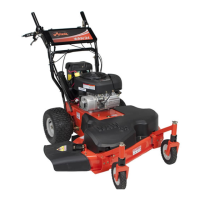
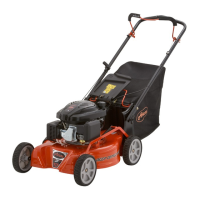
CARTON CONTENTS
1
2
1. Mower Unit
2. Literature Pack with
Installation Hardware
Figure 3
ASSEMBLY
1. Remove all packing materials and straps
from unit.
2. Remove one pair of nuts and bolts from
the handlebars.
3. Rotate the handlebar into the operating
position and connect the two braces to
the handlebars.
4. Replace the nuts removed in step 1 and
then tighten all four nuts.
GB-9
 Loading...