GB - 12
3. Grasp starter handle and pull rope out
slowly until it pulls harder. This is the
compression stroke. Let rope rewind
slowly. Then pull rope with rapid
continuous full arm stroke to start engine.
Allow rope to rewind slowly.
IMPORTANT: DO NOT let starter handle snap
against handlebar.
4. Repeat until engine starts. (If engine does
not start, refer to Troubleshooting.)
Stopping the Engine
1. Release control bail so that trimmer head
stops rotation. Wait until rotating parts
stop completely before leaving operator’s
position.
2. Push throttle control lever to Stop.
3. If leaving unit unattended, disconnect
spark plug wire to prevent start-up.
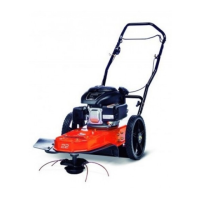
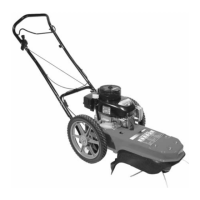
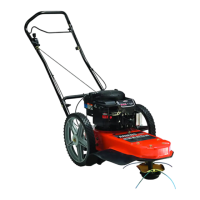
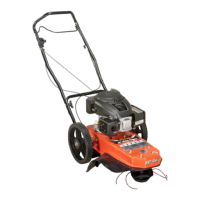
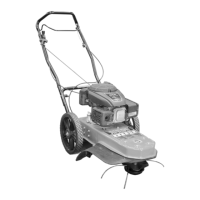
TO OPERATE THE TRIMMER
1. Start the engine.
2. Set throttle control to Fast.
3. Hold the control bail against the
handlebar to engage the trimmer head.
4. When trimmer head is rotating at full
speed, move unit forward to trim.
TO TRAVEL TO ANOTHER WORK
AREA
When crossing driveways or bare areas,
release the control bail to stop trimmer head
rotation and push down slightly on the
handlebar to lift the trimmer head off the
ground. This prevents premature wear of the
trimmer head.
TRIMMING TIPS
• Operating the trimmer in Fast throttle
provides the best trimming performance.
• In heavy growth, walk slower.
• Do not push the trimmer into heavy
growth too fast.
• Do not trim on extremely steep slopes. Do
not trim on slopes when the ground is wet
or slippery. If you do not feel comfortable
on a slope, do not trim it.
• Keep the trimmer clear of dirt and grass
build-up.
• Install a new trimmer line when line is
worn to less than 4 inches (10.2 cm). See
Service and Adjustments.
TO TRANSPORT UNIT
ALWAYS turn engine off when transporting on
truck or trailer. Tie unit down securely. Do not
tie down by linkages, guards, cables or other
parts that may be damaged.
SERVICE POSITION
1. Remove the gas cap and place a piece of
plastic (a plastic garbage bag works well)
over the tank opening. Reinstall the cap.
This keeps gasoline from spilling out the
tank.
2. Set the unit swivel in the center position.
3. Loosen the two wing nuts on the lower
handlebar.
4. Tip the unit up onto its back to rest on the
lower handlebar. A 4" x 4" (10.2 x
10.2 cm) wood block under the swivel
bracket helps steady the unit by tilting it
farther back.
5. When service is complete, place unit in its
normal operating position.
6. Align handlebars and tighten wing nuts.
CAUTION: Before every use,
clean grass and debris from foam
debris screen and around muffler.
MAINTENANCE
WARNING: AVOID INJURY. Read
and understand the entire Safety
section before proceeding.
Maintenance Schedule
Service Performed Intervals (Hours)
Each
Use
25 50
Check Fasteners •
Check Trimmer Lines •
Check Control Bail
Operation
•
Check Engine Oil •
Clean Debris Screen •
Clean Unit •
Check Air Cleaner •1
Check Spark Plug •
Change Engine Oil •2 •1
Clean Engine Cooling Fins •1
1. More often under extremely dusty or dirty
conditions.
2. Change engine oil after first 2 hours of
use, then every 25 hours or every
season, whichever comes first.
Maintenance Schedule