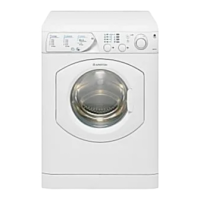
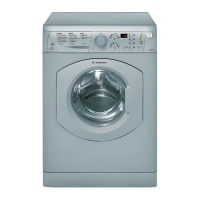
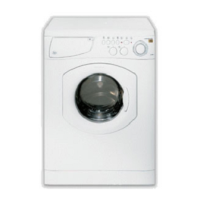
Installation
Whether new or just transported to a new house, installation is extremely important
for the correct functioning of your washer-dryer.
After removing the appliance from its packaging, check that it
is intact. The inside of the machine is supported, for
transportation, by four shipping bore on the back paneJ.
Before using the washer-dryer,
remove the extemaJ ehippin_
remove the spacers together with the
rubber tubes attached to them (save
all the parts) and use the plastic
blanking plugs provided to fill in the
hobs. Use the wrench provided to
remove the external bolts,
Attach the two rubber hoses provided to the red (hot) and
white (cold) water inlets on the back (top right) or the appliance,
Using the "U'-Connector provided, place the drain hose into
the drain pipe (or the sink,) See Plumbing on Page 7 for more
details,
Leveling
The washer-dryer must be levelled appropriately in order to
guarantee its correct functioning, To level the appliance, the front
feet mustbeadjusted;the angleofinclination,measuredaccording
to the worktop, must not exceed 2°,
WARNING
Excessive Weight Hazard
Use two or more people to move
and install your appliance,
Failure to do so can result in
back or other injury
The tront feet are se/Hoc'k/b.£ & ad/bstab/e
For your own protection, and to prevent accidents,
injury and fire, please read the following carefully:
1. Destroy the carton and plastic bags, after the washer-dryer
2. Children should never be left alone or unattended in the
area where appliances are located,
3. Washer installation and grounding must be done in
accordance with local codes bya qualified installer, Installation
instructions are packed in new washer to the installer's
reference,
4. ONLY Low Sudsing detergent is recommended for this
appliance.
5. Thewasher must be
plugged intoa properly
grounded 8°prong
electrical outlet, For
your safety, the third or
roundgrounding prong
must never be
removed,
DO NOT USE AN
EXTENSION CORD.
6. Repair or replace-
ment of a part should
be made only by a
service
technician to prevent personal injuryor damage to themachine,
7. Disconnect power to the washer at the circuit breaker or
fuse box, or unplug the machine in an emergency when
servicing is required, Have the installer show you and label the
proper switch or fuse at the electrical disconnect box,
Electrical Requirements
EtectrbaJ Shock Hazard (death, fire or electricaJ shock}_."
1} PJug into a grounded 3 prong outJet.
2) Do not remove ground prong.
3} Do not use an adapter or an extension cord.
4} The Appliance shouJd be connected to an lndividuaJ
Branch Circuit with N. 14 AWG Wire and Protected by 15
A Fuse.
GROUNDING INSTRUCTIONS
by providing a path of bast resistance for electric current, This
appliance is equipped with a cord having an equipment°
grounding conductor and grounding plug, The plug must be
plugged intoan appropriate outlet that isproperly installed and
grounded in accordance with all local codes and ordinances,
WARNING - improper connection of the equipment-grounding
conductor can result ina risk ofelectric shock. Check a qualified
electrician if you are in doubt as to whether the appliance is
properly grounded.
Do not modify the plug provided with the appliance, if itwiii not
fit the outlet, have a proper outlet installed by a qualified
electrician,
@
@
6 lnstrudonsforinstallationanduse www.aristona pptia noes.us

 Loading...