⑯ Button'Switch'
⑰ Front Panel Screw (M5 * 1.8inch/2.2inch) * 2
⑱ Lock Body Screws ⑲ Paddle
⑳ Emergency Power Port Key Cover
21
⑭ Back Panel Screw (M4*1inch) * 1 ⑮ Knob
Installation Guide
1. Install the deadbolt
a. Measure your door’s backset dimension: whether it is 2¾'' /
70 mm or 2⅜ '' / 60 mm.
If your door’s backset dimension is 2⅜ '' / 60 mm, use the provided
deadbolt to install.
If your door’s backset is 2¾'' / 70 mm, turn the faceplate 180° and
pull to extend simultaneously until the deadbolt locks in position
as the pic shows below.
b. Insert the deadbolt into the doorframe and make sure the word
“TOP” faces up as indicated on the deadbolt.
c. Screw into the doorframe with a screwdriver.
TO
P
TOP
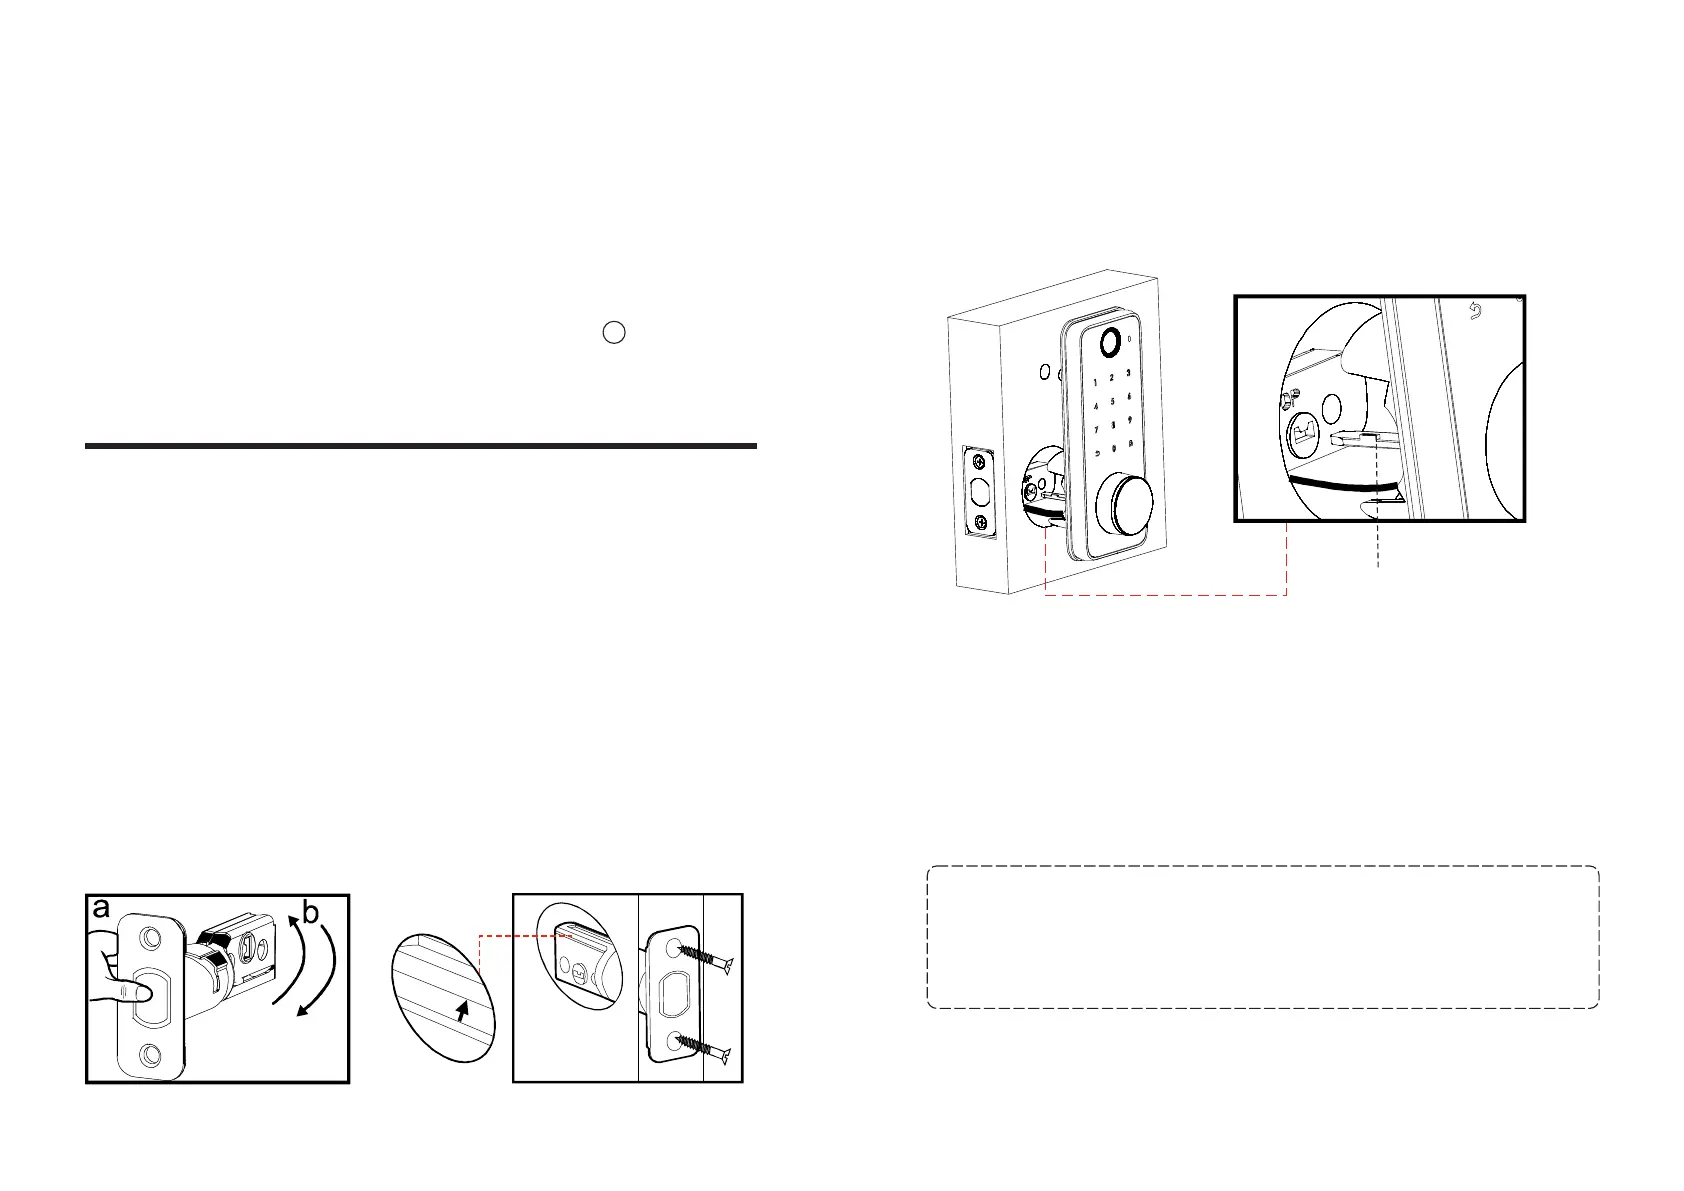
2. Install the front panel
a. Align the paddle with the center hole of the deadbolt in the
horizon direction, and insert it into the hole.
b. Route connection wire under the deadbolt.
“TOP”faceup
3. Install the iron plate
a. Route the cable through the iron plate
b. Align the holes in both plates to match the front panel with the
iron plate, then fix them with the front panel screws and
connection column screw.
04 05
Note: If the thickness of your door is 35mm (1.4inch) to 45mm
(1.7inch), please use the M5*1.8inch screws to fix it.If the
thickness is 45mm (1.7inch) to 55mm (2.1inch), please fix it with
M5*2.2inch screws.
horizondirection