3
OPERATION
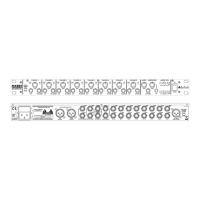
Verify proper voltage selection on the IEC style power connector for your location. Connect the AC
cord to a grounded AC outlet.
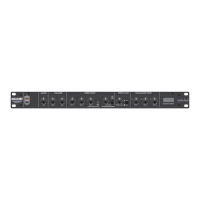
Connect Mics or balanced Line inputs to the XLR sockets.
For Mic channels requiring phantom power (for condenser mics), move the DIP switch to the down
position to activate phantom power for each XLR input.
Set each Mic/Line switch as required for the type of input signal level.
Connect stereo signal sources to input channels 1, 2, and 3 using RCA type unbalanced cables or an
1/8-inch stereo jack on the front panel for channel 3.
To patch-in effects, using three shielded TS (unbalanced) cables connect the EFX Loop Send jack to
the input of the effects unit and the unit’s stereo outputs to the Left and Right EFX Loop Return jacks.
Once the MX622 is connected to the main mixer, computer interface, or power amplifier, apply a test
signal, set the EFX Loop In/Out switch on the front panel to the IN position, and adjust the EFX Level
control for the desired effects intensity.
The Left and Right EFX Loop Return jacks may alternately be used as a stereo line input with its own
level control and In/Out switch.
Connect either the ¼-inch balanced Left and Right Main Output jacks or the RCA Record Out jacks
to the input of the mixer, tape deck, computer, or power amplifier with the appropriate balanced or
unbalanced, shielded cables.
Switch on the power and set the Master Level to the ½ way setting, then adjust the input channel
Level controls as required for the best mix and level while checking the Mic/Line channel CLIP LEDs
for activity. Turn down any channel with CLIP activity until the LED is on during extreme peaks only.
Adjust BASS and TREBLE controls for the desired balance. The mid position has flat frequency
response.
Re-adjust the Master Level as required for best signal level.