T
Tristan BonillaJul 29, 2025
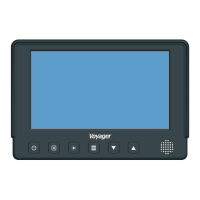
What to do if there is no video or audio on my ASA Electronics Voyager AOM681?
- TTaylor MerrittJul 29, 2025
If the ASA Electronics monitor is not displaying video or audio, ensure the camera input selection is correct. Also, check the connection to the camera and junction box to confirm it's properly connected and plugged in correctly.