WAOM562
Pairing Process
If your monitor is not receiving a signal from the camera;
the two may not be paired correctly.
1. Camera and monitor must be connected to 12 Volt DC
power supply.
2. Remove “ pair” button cover from the side of the camera
(using a coin or fat head screwdriver).
3. Press and hold the “ pair” button on the back of
the monitor for 3 seconds and release.
(Monitor will display “ Please press TX pairing button” )
4. Press and hold the “ pair” button on the side of the
camera for 3 seconds and release (you have 60 seconds
to press this button.)
If done correctly, monitor will display “ Pairing successful” .
If pairing is not successful, the monitor will display “ Pairing
failed” . If you receive this message, repeat steps 2 - 4.
Installing The Monitor
1. Plug power cable into the back of the monitor. (fig. 1)
2. Attach the suction cup bracket to the rear of
the monitor with the supplied screws..
3. Locate flat section of glass on your windshield
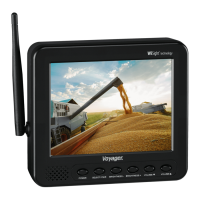
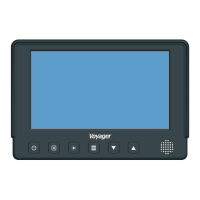
1. POWER: Press to turn the WAOM562 on.
2. SELECT: Press to toggle the active display image
Between AV1 and AV
3. BRIGHTNESS - /+ :
Press BRIGHTNESS “–“ to darken the picture.
Press BRIGHTNESS “ +” to brighten the picture.
4. VOLUME ? /? :
Press VOLUME ? to decrease the volume.
Press VOLUME ? to increase the volume.