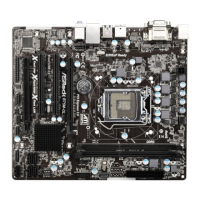
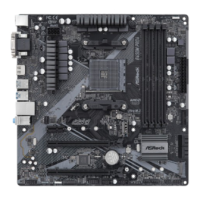
36
2.12 Serial ATA (SATA) / Serial ATA2 (SATA2) Hard Disks Installation
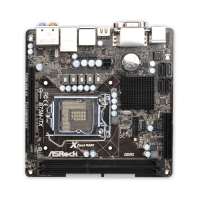
This motherboard adopts Intel
®
B75 chipset that supports Serial ATA (SATA) / Serial
ATA2 (SATA2) hard disks. You may install SATA / SATA2 hard disks on this mother-
board for internal storage devices. This section will guide you to install the SATA /
SATA2 hard disks.
STEP 1: Install the SATA / SATA2 hard disks into the drive bays of your chassis.
STEP 2: Connect the SATA power cable to the SATA / SATA2 hard disk.
STEP 3: Connect one end of the SATA data cable to the motherboard’s SATA2 con-
nector.
STEP 4: Connect the other end of the SATA data cable to the SATA / SATA2 hard
disk.
2.13 Serial ATA3 (SATA3) Hard Disks Installation
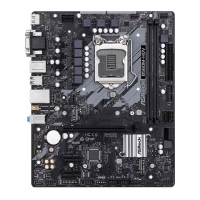
This motherboard adopts Intel
®
B75 chipset that supports Serial ATA3 (SATA3)
hard disks for SATA3_0 connector. It also adopts ASMedia ASM1061 chipset that
supports Serial ATA3 (SATA3) hard disks for SATA3_A0 and SATA3_A1 connectors.
You may install SATA3 hard disks on this motherboard for internal storage devices.
This section will guide you to install the SATA3 hard disks.
STEP 1: Install the SATA3 hard disks into the drive bays of your chassis.
STEP 2: Connect the SATA power cable to the SATA3 hard disk.
STEP 3: Connect one end of the SATA data cable to the motherboard’s SATA3 con-
nector.
STEP 4: Connect the other end of the SATA data cable to the SATA3 hard disk.
 Loading...