EasyManuals Logo

ASROCK P67 PRO3 Quick Installation Guide

ASROCK P67 PRO3
266 pages
To Next Page IconTo Next Page
To Previous Page IconTo Previous Page
Page #91 background imageLoading...
Page #91 background image
91
ASRock P67 Pro3 Motherboard
Italiano
Per il corretto inserimento, veri care di far combaciare i due denti di
allineamento della CPU con le due tacche nel socket.
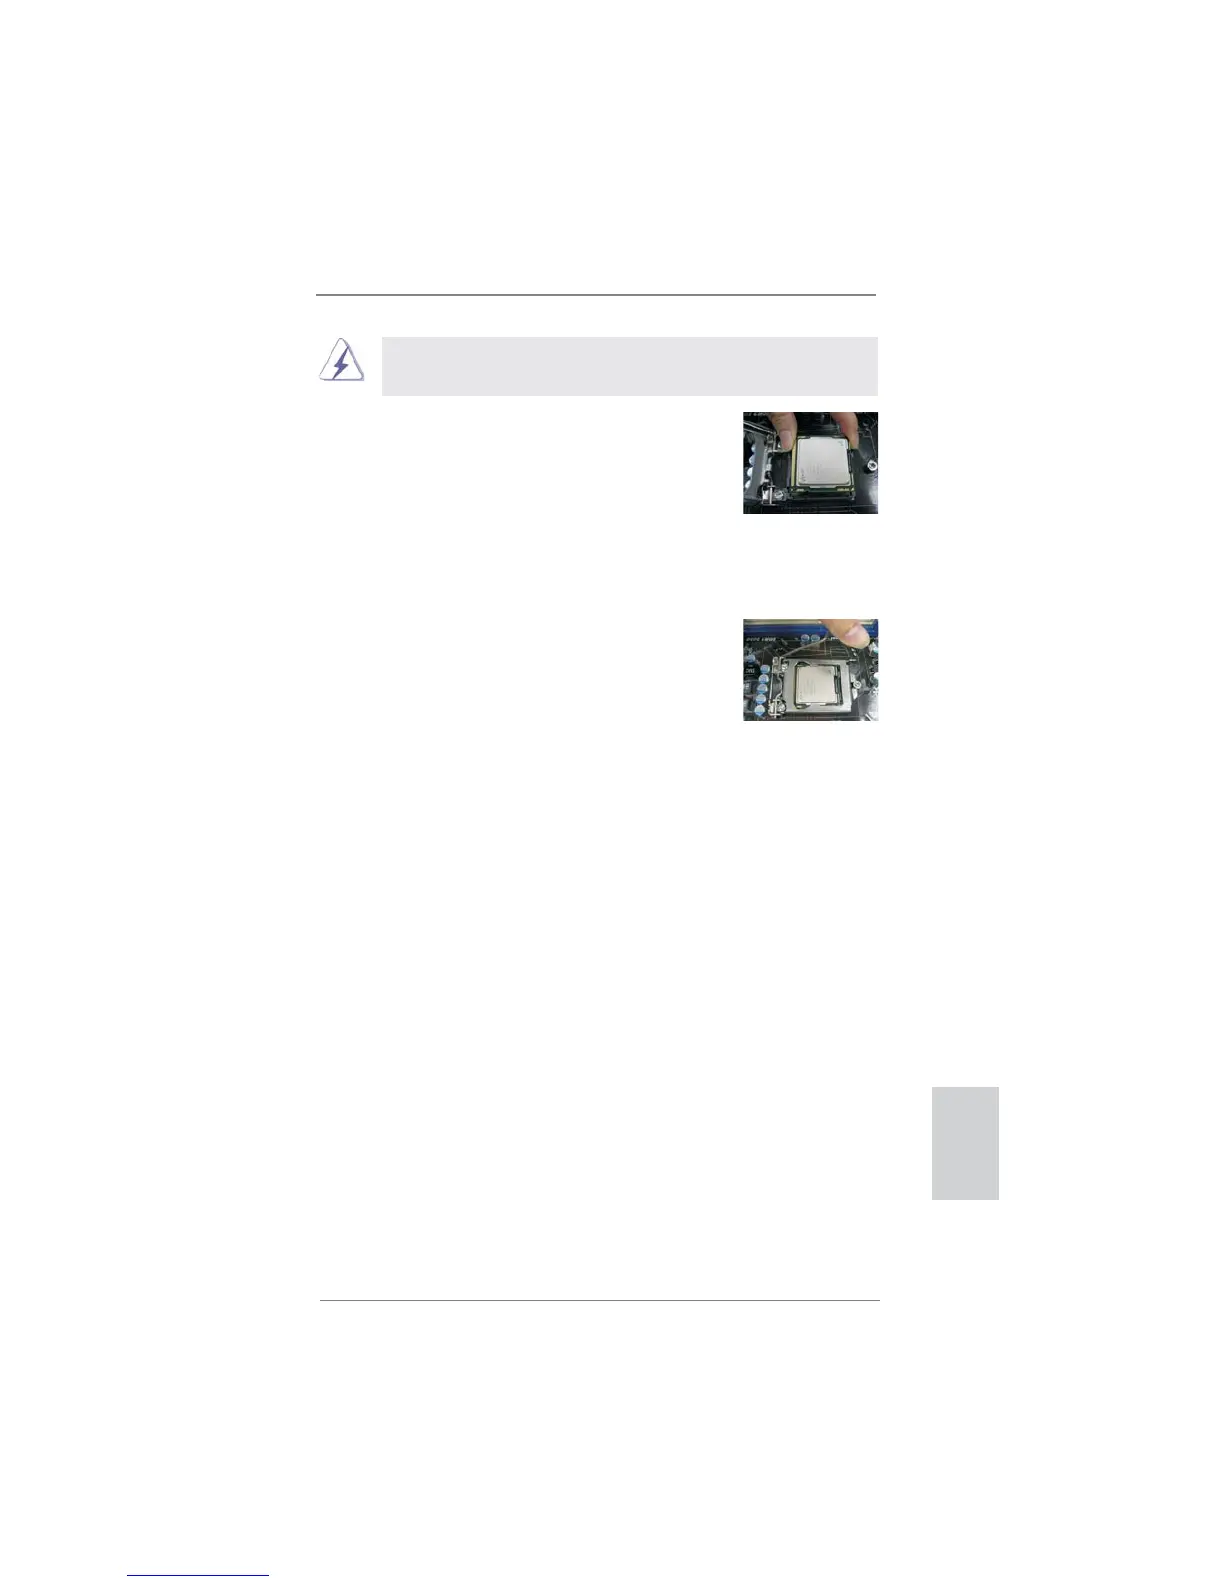
Fase 3-3. Collocare con delicatezza la CPU
sulla presa con un movimento
puramente verticale.
Fase 3-4. Veri care che la CPU sia all’inter-
no della presa e combaci in modo
appropriato con le chiavi d’orienta-
mento.
Fase 4. Chiudere la presa:
Fase 4-1. Ruotare la piastra di carico
sull’IHS.
Fase 4-2. Bloccare la leva di carico mentre si
preme leggermente sulla piastra di
carico.
Fase 4-3. Fissare la leva di carico con la
linguetta della piastra di carico che
si trova sulla parte inferiore della
linguetta di ritenzione della leva di
carico.

Other manuals for ASROCK P67 PRO3

Questions and Answers:

Question and Answer IconNeed help?

Do you have a question about the ASROCK P67 PRO3 and is the answer not in the manual?

ASROCK P67 PRO3 Specifications

General IconGeneral
Form FactorATX
ChipsetIntel P67
SocketLGA 1155
Memory Slots4 x DIMM
Maximum Memory32GB
Memory TypeDDR3
PCI Express x162
PCI Express x12
PCI Slots2
SATA 6Gb/s2
SATA 3Gb/s4
USB 2.0 Ports8
USB 3.0 Ports2
LANGigabit Ethernet
Audio7.1 Channel HD Audio

Related product manuals