IB-2003
eries 40 Trans
ite -
tationary
onveyor
36
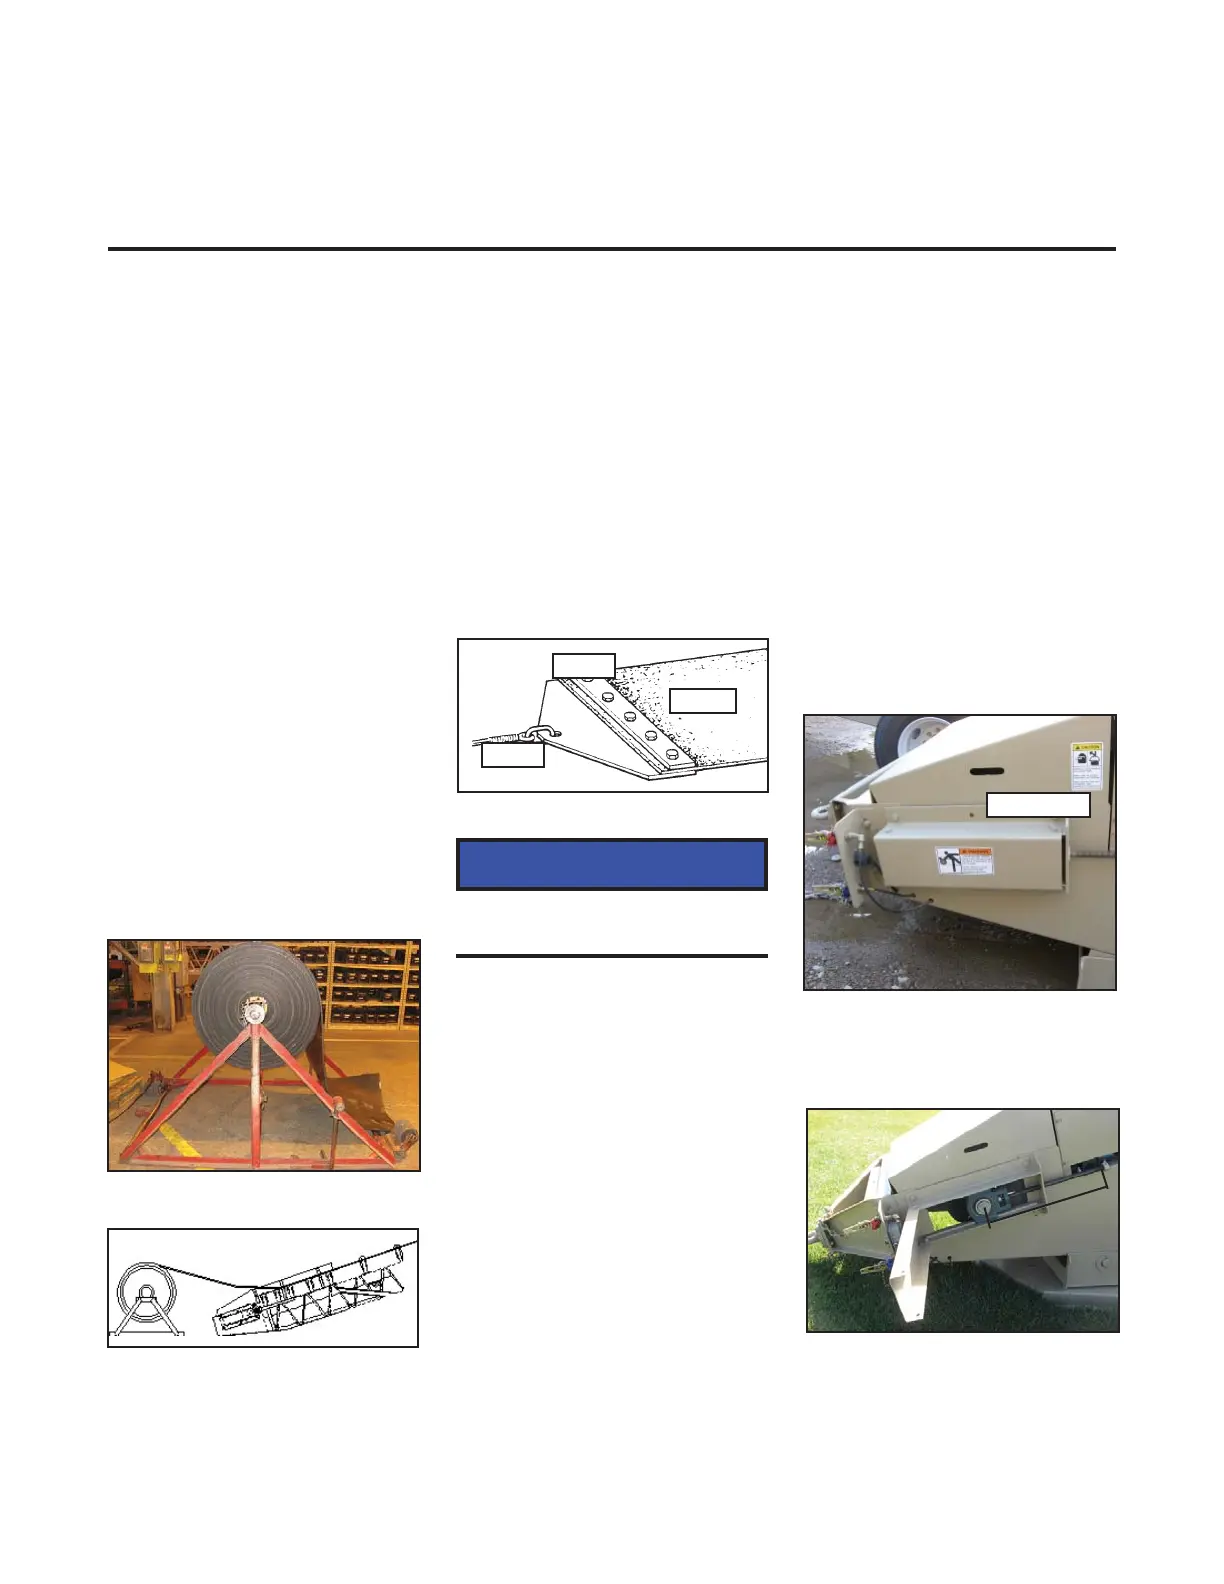
Cover pin
Conveyor Belt
Conveyor Belt Installation
The proper installation of
the conveyor belt is critical
to conveyor performance
and belt life. An improperly
installed belt can result in
damage to the belt, material
spillage and excess power
demands.
The conveyor belt has been
shipped cut to the correct
length. Additional length has
been provided to properly
square the belt.
Use the following procedure to
install the conveyor belt.
1. A frame should be
constructed to support the
conveyor belt roll.
Belt Support Frame
Do not bend or kink the belt
while installing.
Belt Installation
Belt Tensioning
Proper belt tension is diffi cult to
defi ne. The belt must be tight
enough to prevent slipping at
the head end, but not so tight
that excess power is required
and damage occurs to the
conveyor.
1. To adjust belt tension,
remove take-up rod cover
by removing the pin on
top of the cover.
Belt Support Frame
NOTICE
2. Measure from the take-up
to the bearing on each
side.
2. Insert a bar through the
center of the belt roll and
onto belt support frame.
3. Guide the belt over the top
of the troughing and return
idlers. A cable and clamp
can be attached to the belt
to help pull the belt around
the conveyor. Use the same
hole spacing required for
the belt fasteners.
4. After the belt has been
pulled entirely around the
conveyor, pull as much
slack as possible from the
conveyor belt. A clamp
arrangement can be used to
pull belt ends together.
5. Place a piece of plywood or
wood block under the
conveyor belt where the two
ends overlap to provide a
cutting surface.
Belt
Clamp
Cable
 Loading...