IB-2003
eries 40 Trans
ite -
tationary
onveyor
37
Conveyor Belt
Belt Splicing
In some cases the belt
has been pre-sliced. If the
conveyor belt is not spliced
squarely, it will run off at the
splice. Use the following
procedure to check that splice
is square and adjust.
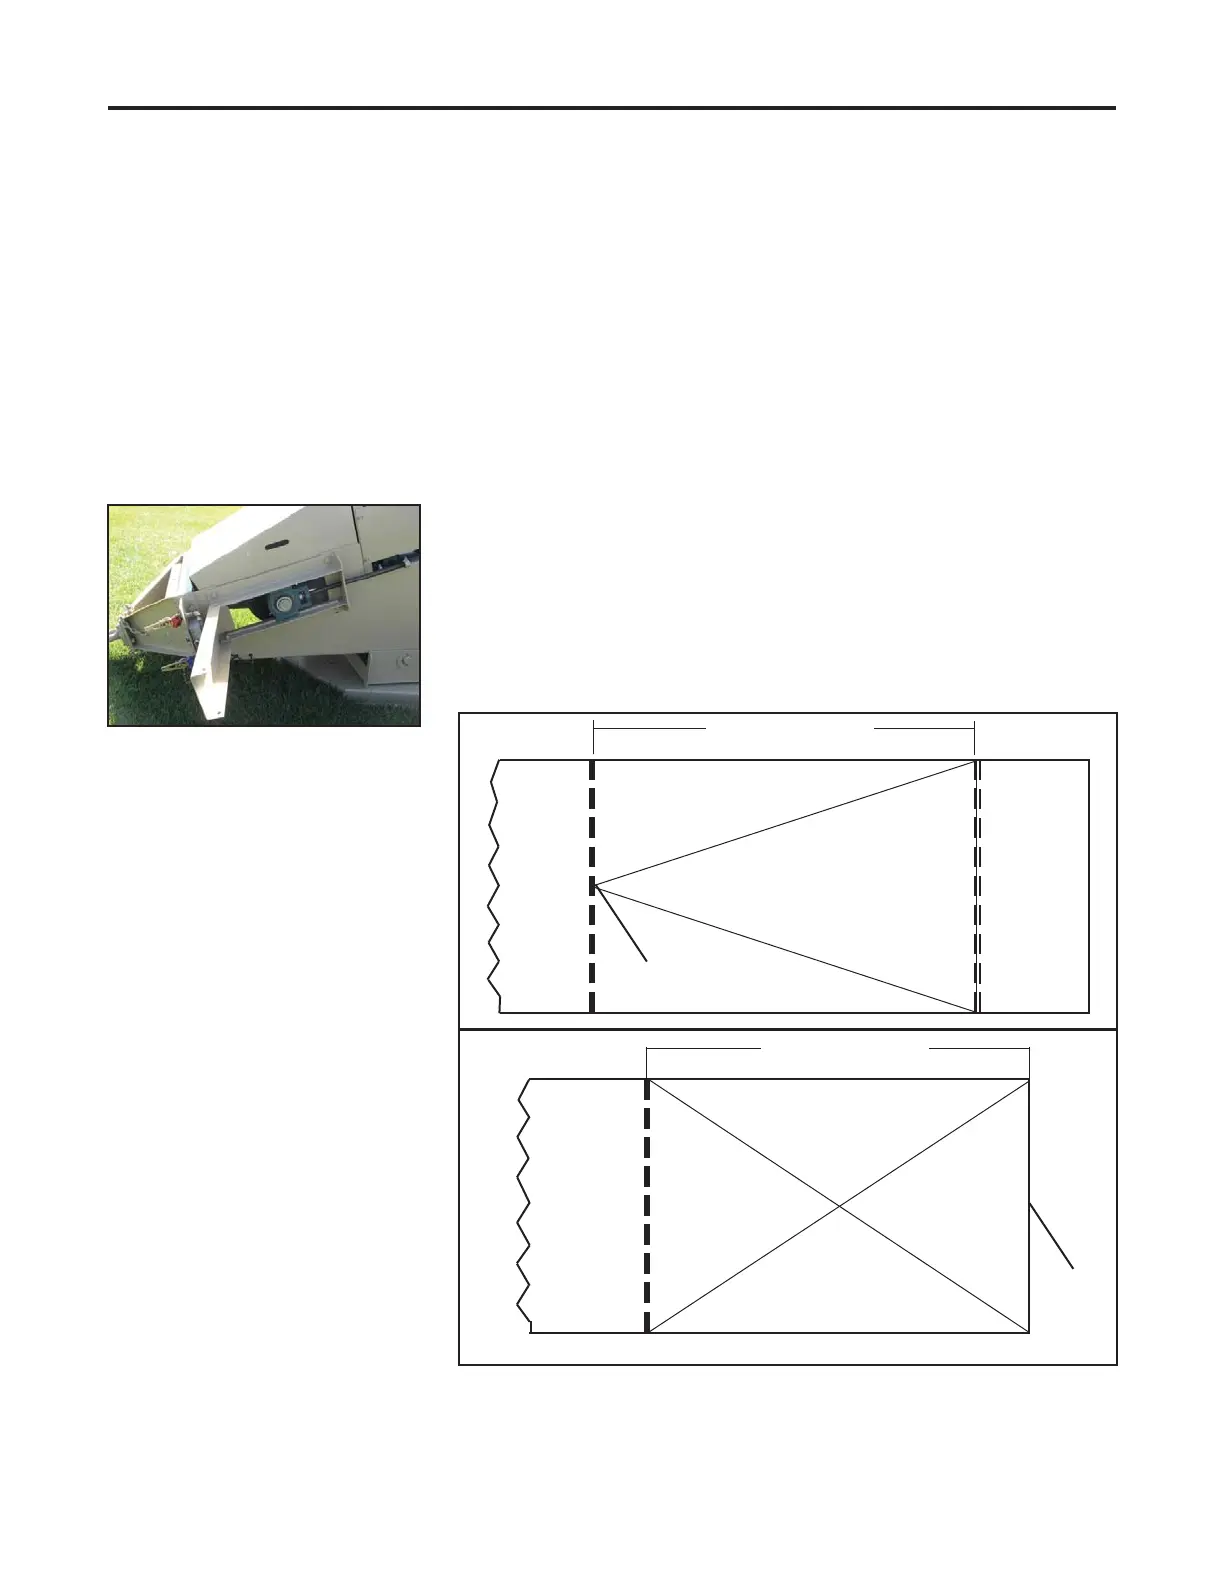
3. From the center point,
measure up to the splice on
the opposite side. This
measurement should be the
same. If the measurement
is not the same, it will be
necessary to recut and
resplice.
4. The squareness of the
splice can be further
checked by measuring the
distance from corner to
corner.
5. Install the mechanical
fasteners (if equipped).
3. Turn the take-up screw rod
until the proper tension is
achieved. Tighten each
side equally to prevent belt
damage. Measure again
from the take-up to the
bearing on each side to
make sure that take-up
screw rod has been
tensioned equally on both
sides.
4. Check tail pulley shaft for
squareness to the frame,
adjust as required.
4 ft. Approximate
Belt splice
Center point
B
D
4 ft. Approximate
A
C
Belt end
The measurement from A to B should be equal to the measurement from
C to D.
A template, cordless drill and
clamps will be needed to
complete the belt splice.
1. From one end of the splice,
measure approximately
four feet down the side of the
belt and mark that point.
2. Using a carpenter’s
square, fi nd the center of
the belt from the four foot
mark by measuring half the
distance of the belt.
 Loading...