3
Procedure:
1 - An O-ring should be chosen that fits to the piping and placed on the adaptor.
2- Twist the adaptor into the piping.
3- Insert the cable in the piping, ease the projector in and turn 90º clockwise (Fig.5a).
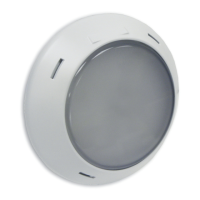
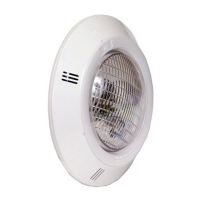
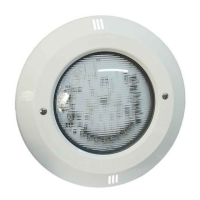
4- Ensure that the logo is uppermost. (Fig. 4).
B) On bushing with G1”1/2 glued to Ø63 piping. (Fig. 2b, 2c)
Recess required:
35418
for Ø63 PN-06 piping
35421
for Ø63 PN-10 piping
Accessories required: No / Siphonrequired:Yes
Procedure:
1- Glue bushing in place that is suitable for the type of piping used.
2- Screw in the adaptor included with the projector.
3- Insert the cable in the piping, ease the projector in and turn 90º clockwise (Fig. 5a).
4- Ensure that the logo is uppermost. (Fig. 4).
C) On flush wall conduits (Fig. 2d)
Recess required: 15660/15661
Accessories required: 62395 / Siphonrequired:Yes
Procedure:
1- Place the Ø3.5 O-ring on the adaptor.
2- Twist the adaptor into the wall conduit.
3- Insert the cable in the adaptor, ease the projector in and turn 90 º clockwise (Fig. 5a).
4- Ensure that the logo is uppermost. (Fig. 4).
D) On a flush wall conduit with G2” thread (Fig. 2e)
Recess required: 15658/15659
Accessories required: 62395 / Siphonrequired:Yes
Procedure:
1- Screw the adaptor into the wall conduit.
2- Insert the cable in the adaptor, ease the projector in and turn 90º clockwise (Fig. 5a).
3- Ensure that the logo is uppermost. (Fig. 4).
E) In mini snap-in niche. (Fig. 2f)
Recess required: 53956
Accessories required: No / Siphonrequired:No
Procedure:
1- Glue the adaptor (included with the niche) in the niche.
2- Insert the cable in the niche’s stuffing box assembly, then tighten the nut on the stuffing box assembly using the special
spanner included with the niche.
3- Ease the projector in and turn 90º clockwise (Fig. 5a).
4- Ensure that the logo is uppermost.(Fig. 4).
Liner pools
A) In bushing no. 27084 (Fig. 3a)
Recess required: 27084
Accessories required: No / Siphonrequired:Yes
Using a diamond tile drill bit, drill a hole 60 mm in diameter into the wall.
Procedure:
1- Screw the adaptor into the bushing.
2- Insert the cable in the bushing, ease the projector in and turn 90º clockwise (Fig. 5a).
3- Ensure that the logo is uppermost. (Fig. 4).
B) In wall conduits (Fig. 3b)
Recess required: 15664 or 15665 +06544
Accessories required: No / Siphonrequired:Yes
Procedure:
1- Screw the adaptor into the bushing.
2- Insert the cable in the bushing, ease the projector in and turn 90º clockwise (Fig.5a).
3 - Ensure that the logo is uppermost. (Fig. 4).