1-8
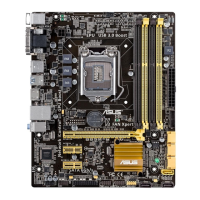
Chapter 1: Product introduction
• ThedefaultmemoryoperationfrequencyisdependentonitsSerialPresenceDetect
(SPD),whichisthestandardwayofaccessinginformationfromamemorymodule.
Underthedefaultstate,somememorymodulesforoverclockingmayoperateata
lowerfrequencythanthevendor-markedvalue.Tooperateatthevendor-marked
oratahigherfrequency,refertosection2.5 Ai Tweaker menu for manual memory
frequencyadjustment.
• Forsystemstability,useamoreefcientmemorycoolingsystemtosupportafull
memoryload(4DIMMs)oroverclockingcondition.
• VisittheASUSwebsiteat:www.asus.comforthelatestQVL.
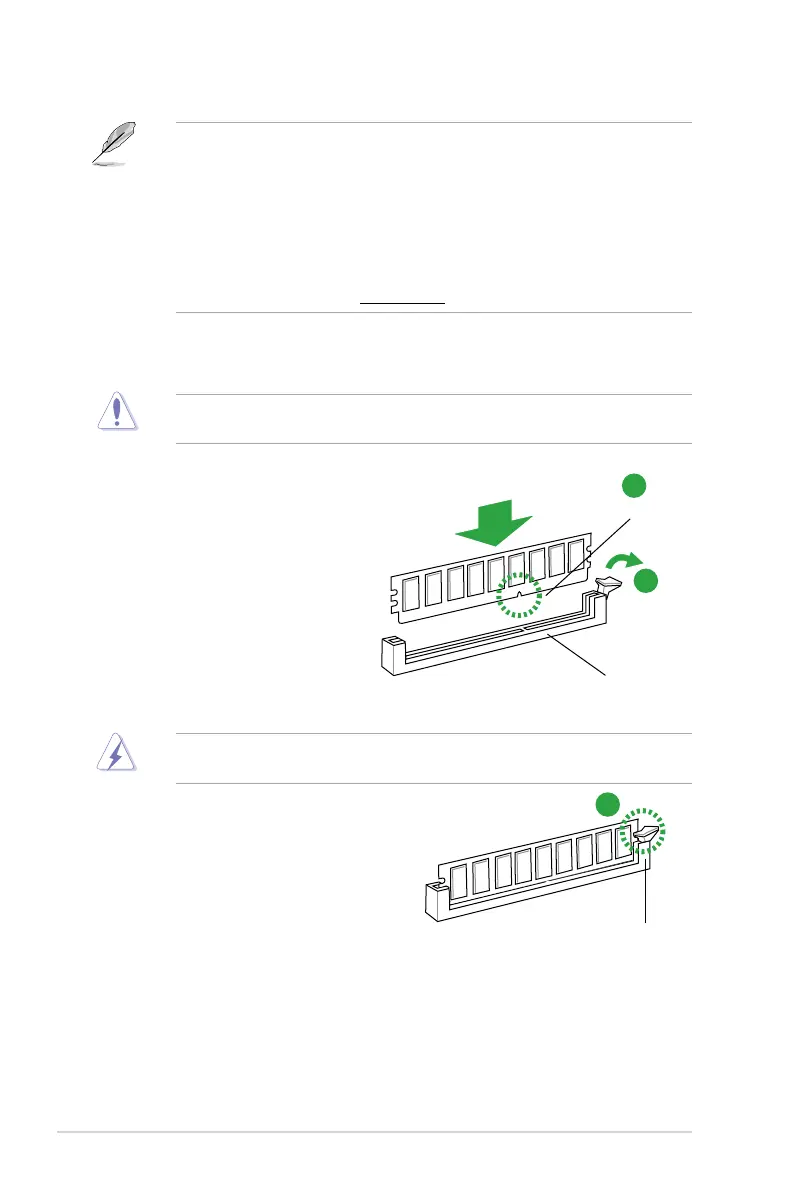
1.4.3 Installing a DIMM
UnplugthepowersupplybeforeaddingorremovingDIMMsorothersystemcomponents.
Failuretodosocancauseseveredamagetoboththemotherboardandthecomponents.
1. Press the retaining clips outward
tounlockaDIMMsocket.
2. AlignaDIMMonthesocket
suchthatthenotchontheDIMM
matchestheDIMMslotkeyonthe
socket.
ADIMMiskeyedwithanotchsothatittsinonlyonedirection.DONOTforceaDIMMinto
asocketinthewrongdirectiontoavoiddamagingtheDIMM.
3. FirmlyinserttheDIMMintothesocket
until the retaining clips snap back
inplaceandtheDIMMisproperly
seated.
1.4.4 Removing a DIMM
To remove a DIMM:
1. SimultaneouslypresstheretainingclipsoutwardtounlocktheDIMM.
DIMM notch
2
1
DIMM slot key
Unlocked
retaining clip
3
Locked Retaining Clip