ASUS P10S-X
2-3
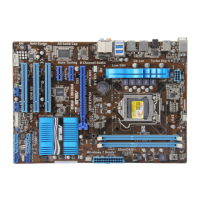
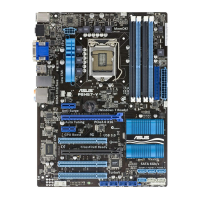
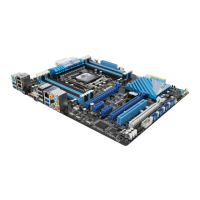
2.2 Motherboard overview
Beforeyouinstallthemotherboard,studythecongurationofyourchassistoensurethatthe
motherboardtsintoit.
Tooptimizethemotherboardfeatures,wehighlyrecommendthatyouinstallitinanATX1.1
compliant chassis.
2.2.1 Placement direction
Wheninstallingthemotherboard,ensurethatyouplaceitintothechassisinthecorrect
orientation. The edge with external ports goes to the rear part of the chassis as indicated in
the image below.
2.2.2 Screw holes
Place nine (9) screws into the holes indicated by circles to secure the motherboard to the
chassis.
DONOTovertightenthescrews!Doingsocandamagethemotherboard.
Ensuretounplugthechassispowercordbeforeinstallingorremovingthemotherboard.
Failuretodosocancauseyouphysicalinjuryanddamagemotherboardcomponents!
Place this side towards
the rear of the chassis
 Loading...