Do you have a question about the Asus P5B SE - Motherboard - ATX and is the answer not in the manual?
| Form Factor | ATX |
|---|---|
| Socket | LGA 775 |
| Chipset | Intel P965 |
| Memory Slots | 4 |
| Max Memory | 8 GB |
| Memory Type | DDR2 |
| Supported RAM Speed | 800/667/533 MHz |
| Expansion Slots | 1 x PCIe x16, 3 x PCIe x1, 3 x PCI |
| Storage Interface | 4 x SATA 3Gb/s, 1 x IDE |
| Audio Codec | Realtek ALC883 |
| LAN Controller | Realtek RTL8111B |
| Compatible Processors | Intel Core 2 Duo, Pentium, Celeron |
| USB Ports | 8 x USB 2.0 |
| Audio Output | 6-channel |
| Network Interfaces | Gigabit Ethernet |
Details the key features and technologies of the P5B SE motherboard.
Summarizes the main product selling points and technologies.
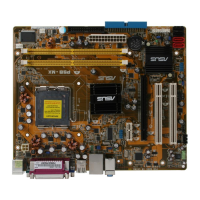
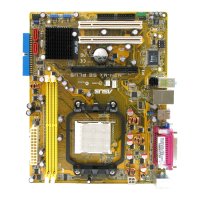
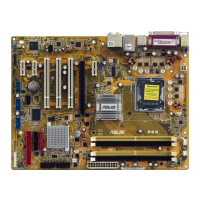
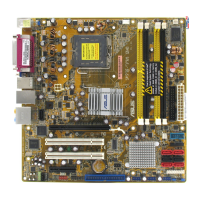
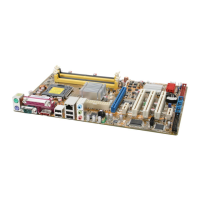
Provides a general layout and installation guide for the motherboard.
Illustrates and labels all key components and connectors on the motherboard.
Describes the CPU socket and installation procedures for the motherboard.
Step-by-step guide on how to correctly install a CPU into the LGA775 socket.
Instructions for mounting the CPU heatsink and fan assembly for optimal thermal performance.
Details the system memory (DDR2 DIMM) sockets and configuration options.
Describes how to configure system memory for optimal performance and compatibility.
Step-by-step guide on how to install a DIMM module into the motherboard socket.
Information on installing and configuring various expansion cards.
Guide on how to physically install an expansion card into available slots.
Instructions for clearing the CMOS Real Time Clock (RTC) RAM using the CLRTC jumper.
Details all the rear panel and internal connectors on the motherboard.
Identifies and describes the ports located on the motherboard's rear panel.
Identifies and describes the internal connectors for various components.
Guides on the initial startup procedure and power-on self-tests (POST).
Describes methods for properly shutting down the computer system.
Introduces utilities for managing and updating the motherboard's BIOS.
Details the ASUS Update utility for BIOS management within Windows environment.
Explains the EZ Flash 2 utility for updating BIOS directly from within the BIOS.
Describes the AFUDOS utility for updating BIOS in a DOS environment.
Details the CrashFree BIOS 3 utility for recovering corrupted BIOS files.
Explains how to navigate and use the BIOS Setup program for system configuration.
Provides an overview of basic system information displayed in the BIOS Main menu.
Displays and allows configuration of detected SATA devices.
Configures settings for IDE devices, including SATA and JMicron RAID.
Allows configuration of advanced CPU and system device settings.
Enables overclocking and adjusts system frequencies and voltages.
Configures various USB related features and settings.
Displays and allows modification of CPU specific settings.
Adjusts the CPU ratio for overclocking or performance tuning.
Enables Intel's power-saving SpeedStep technology for dynamic frequency scaling.
Allows configuration of advanced chipset settings for North and South bridges.
Configures settings for serial port, parallel port, and other onboard devices.
Allows configuration of Advanced Power Management (APM) settings.
Configures power-on events and restore settings after power loss.
Monitors system temperatures, fan speeds, and voltages.
Configures the system's boot device priority and settings.
Sets the sequence of devices the system attempts to boot from.
Configures various boot-related settings like Quick Boot and Logo display.
Configures system security settings, including passwords.
Utility to update the BIOS from within the BIOS itself.
Information about the drivers, software, and utilities on the support CD.
Lists available device drivers for installation from the support CD.
Lists various utility applications available on the support CD.
Monitors system vitals like fan speed, CPU temp, and voltages.
Utility to update the motherboard BIOS from Windows.
Details the software applications available on the support CD.
Allows customization of the motherboard boot logo.
Configures audio settings using the Realtek HD Audio Manager.
Monitors system health, detects problems, and alerts users.
Explains RAID configurations using the JMicron JMB363 controller.
Defines different RAID levels (0, 1, 10) and JBOD spanning.
Steps for installing SATA hard disks for RAID array creation.
Guides through creating, deleting, and managing RAID sets using JMicron utility.
Instructions on how to access the JMB363 RAID BIOS utility.
Step-by-step process for creating a new RAID set.
Procedures for deleting an existing RAID set.
Resets RAID disks to non-RAID configuration, losing data.
Rebuilds a RAID 1 mirror drive to synchronize data between disks.
Guides on creating RAID driver disks for OS installation.
Steps to create a RAID driver disk from BIOS setup.
Steps to create a RAID driver disk from within Windows OS.
Details Intel Extended Memory 64 Technology (EM64T) support.
Explains Intel SpeedStep Technology for power and performance management.
Guides on how to enable and use the EIST feature in Windows.
Explains Intel Hyper-Threading Technology support on the motherboard.