Do you have a question about the Asus VK192S-B and is the answer not in the manual?
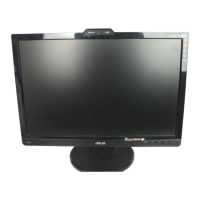
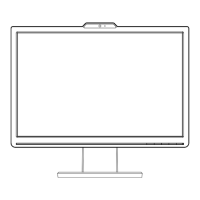
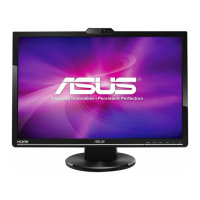
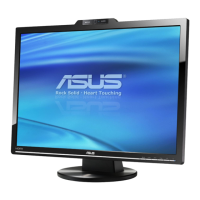
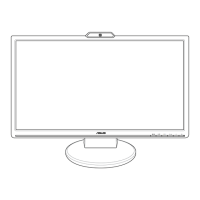
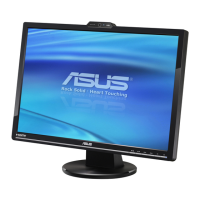
The ASUS VK192 Series LCD Monitor is a widescreen display designed to provide a crisp, broad, and bright viewing experience, enhanced by a host of integrated features. A key distinguishing feature of this series is its built-in 1.3-megapixel webcam, which improves image quality and eliminates the need for additional communication tools during video conferences or online interactions. This integration allows users to enjoy convenient and delightful audio-visual experiences directly from their monitor.
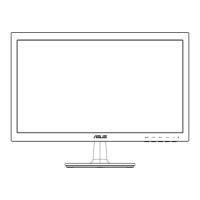
The VK192 Series LCD Monitor serves as a primary display unit for personal computers, offering both analog (VGA) and digital (DVI) input options. It is equipped with a power button/indicator that allows users to turn the monitor on or off, with the indicator displaying blue for ON, amber for Standby mode, and off when the monitor is powered down. For models with integrated speakers, an audio-in port is provided to connect to the PC's audio source, enabling sound output directly from the monitor. A USB 2.0 port is also included for connecting the built-in webcam to the computer, facilitating its use for various applications.
The monitor features an On-Screen Display (OSD) menu, which is the primary interface for adjusting various display settings. This menu is activated by pressing the MENU button. Users can navigate through the functions using the directional buttons (▼ and ▲) and select options by pressing the MENU button again. If a selected function has a sub-menu, further navigation is possible using the ▼ and ▲ buttons. Settings can be adjusted using the and buttons. To exit the OSD menu, the S/A button is used.
The OSD menu offers several key functions:
Splendid: This function provides five video preset modes: Game Mode, Night View Mode, Scenery Mode, Standard Mode, and Theater Mode. These modes leverage SPLENDID™ Video Enhancement Technology to optimize the display for different content types. Each mode includes a Reset option to revert to preset settings.
Image: This section allows for fine-tuning of image characteristics.
Color: This function allows users to select their preferred image color settings.
Input Select: Enables users to choose between VGA or DVI input sources, depending on which cable is connected to the computer.
System Setup: Provides options for general system adjustments.
The ASUS VK192 Series LCD Monitor is designed for ease of setup and use. The monitor base can be assembled by placing the monitor face down and connecting the base to the arm until a click indicates a secure connection. For optimal viewing comfort, the monitor's angle can be adjusted from -5° to 20°. When adjusting the angle, it is recommended to hold the stand to prevent the monitor from falling. Slight shaking during angle adjustment is normal.
For VESA wall mounting, the detachable arm/base design allows for easy removal. This involves placing the monitor face down, removing the rubbers from the four screw holes, and then unscrewing two screws on the arm to slide it out. It is advised to cover the table surface with a soft cloth during this process to prevent damage to the monitor.
Connecting the cables is straightforward:
The monitor supports various operating modes with different resolutions, refresh rates, and horizontal frequencies, ensuring compatibility with a wide range of graphics cards and display settings. For optimal resolution, users are encouraged to select a mode listed in the provided table of supported operating modes.
The integrated 1.3-megapixel webcam is a significant feature, especially when combined with the LifeFrame 2 software. This software, bundled with the monitor, allows users to create photos and video clips. It supports Microsoft® Windows® Vista / XP Service Pack 2 operating systems. Installation involves closing other applications, inserting the support CD, running the LifeFrame 2 program, and following on-screen instructions.
Proper care and cleaning are essential for maintaining the monitor's performance and longevity. Before lifting or repositioning the monitor, it is recommended to disconnect all cables and the power cord. When handling, grasp the edges of the monitor, avoiding lifting by the stand or cord.
For cleaning, the monitor should be turned off and unplugged. The surface can be cleaned with a lint-free, non-abrasive cloth. Stubborn stains can be removed with a cloth dampened with a mild cleaner. It is crucial to avoid cleaners containing alcohol or acetone and to use cleaners specifically intended for LCDs. Never spray cleaner directly onto the screen to prevent liquid from dripping inside and causing electrical shock.
The manual also addresses common troubleshooting scenarios:
The monitor is designed with ventilation slots on the back or top of the cabinet, which should not be blocked to ensure proper airflow and prevent overheating. It should be operated from the specified power source indicated on its label, and appropriate power plugs should be used. Overloading power strips and extension cords should be avoided to prevent fire or electric shock. The monitor should be kept away from dust, humidity, and extreme temperatures, and placed on a stable surface. During lightning storms or extended periods of disuse, unplugging the unit is recommended to protect against power surges. Objects or liquids should never be pushed or spilled into the monitor's slots. For satisfactory operation, the monitor should only be used with UL listed computers with appropriate receptacles marked between 100-240V AC. In case of technical problems, users are advised to contact a qualified service technician or retailer.
The product also adheres to environmental guidelines, indicated by the crossed-out wheeled bin symbol, signifying that it should not be disposed of with municipal waste but rather through local regulations for electronic products. As an Energy Star® Partner, ASUS ensures this product meets Energy Star® guidelines for energy efficiency.
| Screen Size | 19 inches |
|---|---|
| Resolution | 1440 x 900 |
| Panel Type | TN |
| Brightness | 300 cd/m² |
| Contrast Ratio | 1000:1 |
| Response Time | 5 ms |
| Connectivity | VGA |
| Aspect Ratio | 16:10 |
| Viewing Angle (Vertical) | 160 degrees |
| Built-in Speakers | No |
| Built-in Webcam | No |
| Weight | 4.3 kg |
| Viewing Angle (Horizontal) | 170 degrees |