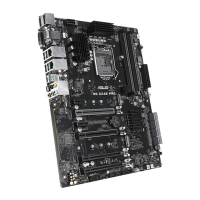
ASUS WS C246 PRO
2-1
Chapter 2
Basic Installation
2
2.1 Building your PC system
The diagrams in this section are for reference only. The motherboard layout may vary with
models, but the installation steps are the same for all models.
Chapter 2: Basic Installation
2.1.1 CPU installation
• EnsurethatyouinstallthecorrectCPUdesignedforLGA1151socketonly.DONOT
installaCPUdesignedforLGA1155andLGA1156socketsontheLGA1151socket.
• Uponpurchaseofthemotherboard,ensurethatthePnPcapisonthesocketand
thesocketcontactsarenotbent.ContactyourretailerimmediatelyifthePnPcap
ismissing,orifyouseeanydamagetothePnPcap/socketcontacts/motherboard
components.ASUSwillshoulderthecostofrepaironlyifthedamageisshipment/
transit-related.
• Theproductwarrantydoesnotcoverdamagetothesocketcontactsresultingfrom
incorrectCPUinstallation/removal,ormisplacement/loss/incorrectremovalofthePnP
cap.
Retention tab
Load lever
Load plate
Gold
triangle
mark
CPU notches
Alignment
key
Alignment
key
 Loading...