GB 10 GB 11
assemblyinstallation (continued)
discharge (continued)
The discharge may pass straight through the wall to the
outside, provided that the wall opening is protected - by
means of a grating - against rain, leaves, and the like getting
in. The passage of the discharge may not be restricted by
the wall grating by more than 20%.
We advise the use of as large a discharge duct as possible.
A duct with a smaller diameter will have a low extraction
capacity and produce higher noise levels. Bends produce
resistance. Make sure that the duct has a smooth run and
has as few bends as possible. Draw the flexible pipe out as
far as possible. Before starting to drill, check that there are
no installed pipes present.
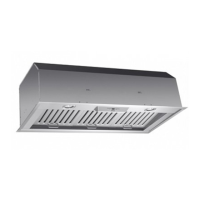
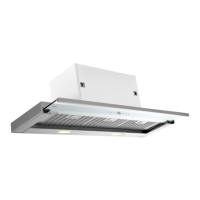
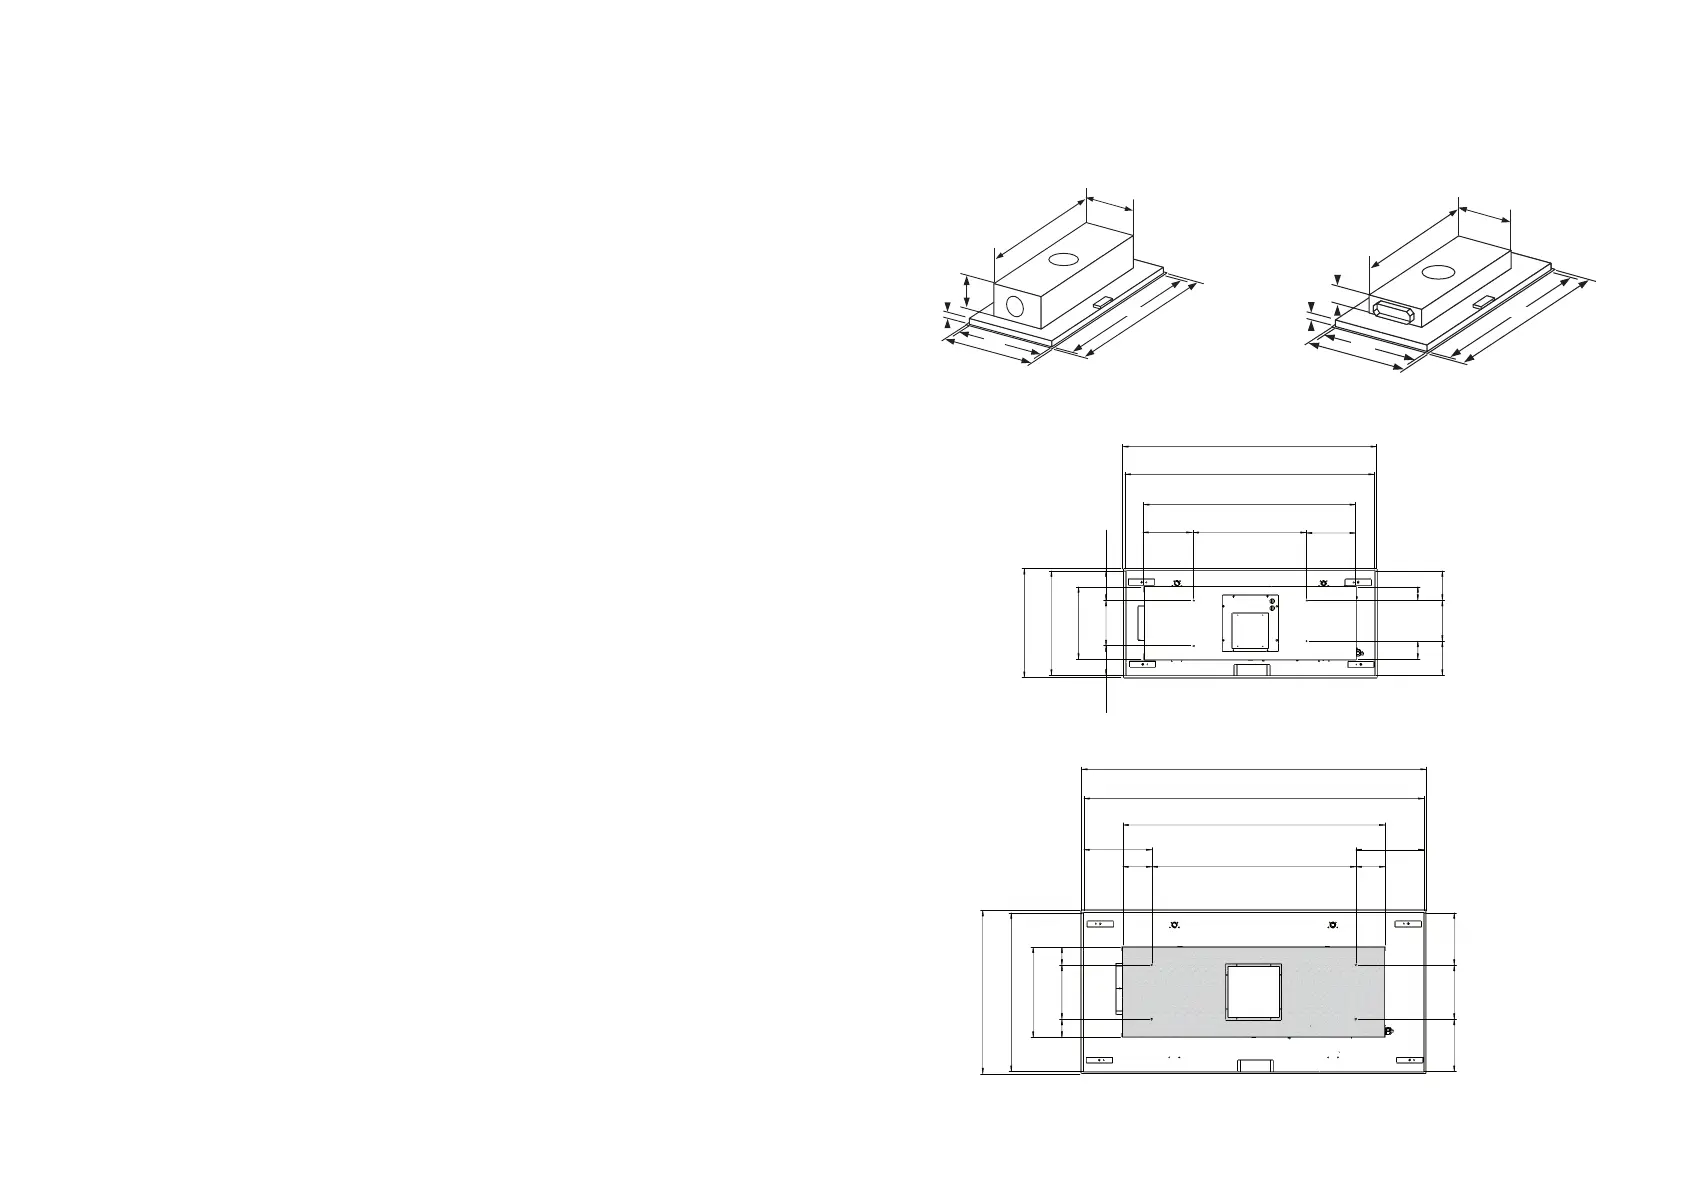
The extractor hood WU1111PM has 3 extraction settings: up,
left or right. The extractor is as standard used in the up
position. Alternatively, you can also turn the motor to direct
the exhaust either left or right:
1. Unscrew the 4 screw fasteners of the motor and remove
the motor.
2. Unscrew the 4 screws from the grill (left or right).
3. Place the grill over the top hole and attach it using the 4
screws.
4. Place the motor tilted in the side hole and secure it using
the 4 screws.
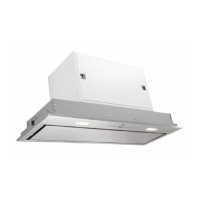
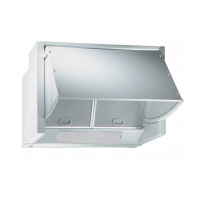
The WU1511PX has 3 extraction settings. 2 connecting
pieces are supplied for this.
- A 180-mm round piece for extraction upwards.
- A 220x90-mm plate for extraction left or right.
Note: For the WU1511PX, only an external motor of type
WM105BI may be used.
 Loading...