
P
porterkatherineAug 5, 2025
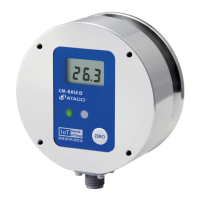
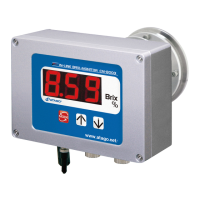
Why is the Brix (%) value blinking on my ATAGO CM-800OL Monitor?
- JJames WilliamsAug 5, 2025
The Brix(%) value may be blinking because the prism temperature is below 5°C or above 100°C. When this happens, the displayed Brix(%) value is not properly corrected for temperature. To resolve this, ensure that you run a sample at a temperature between 5 and 100°C.