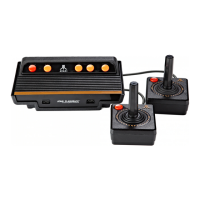
First ,remove these 4 screws and open the case :
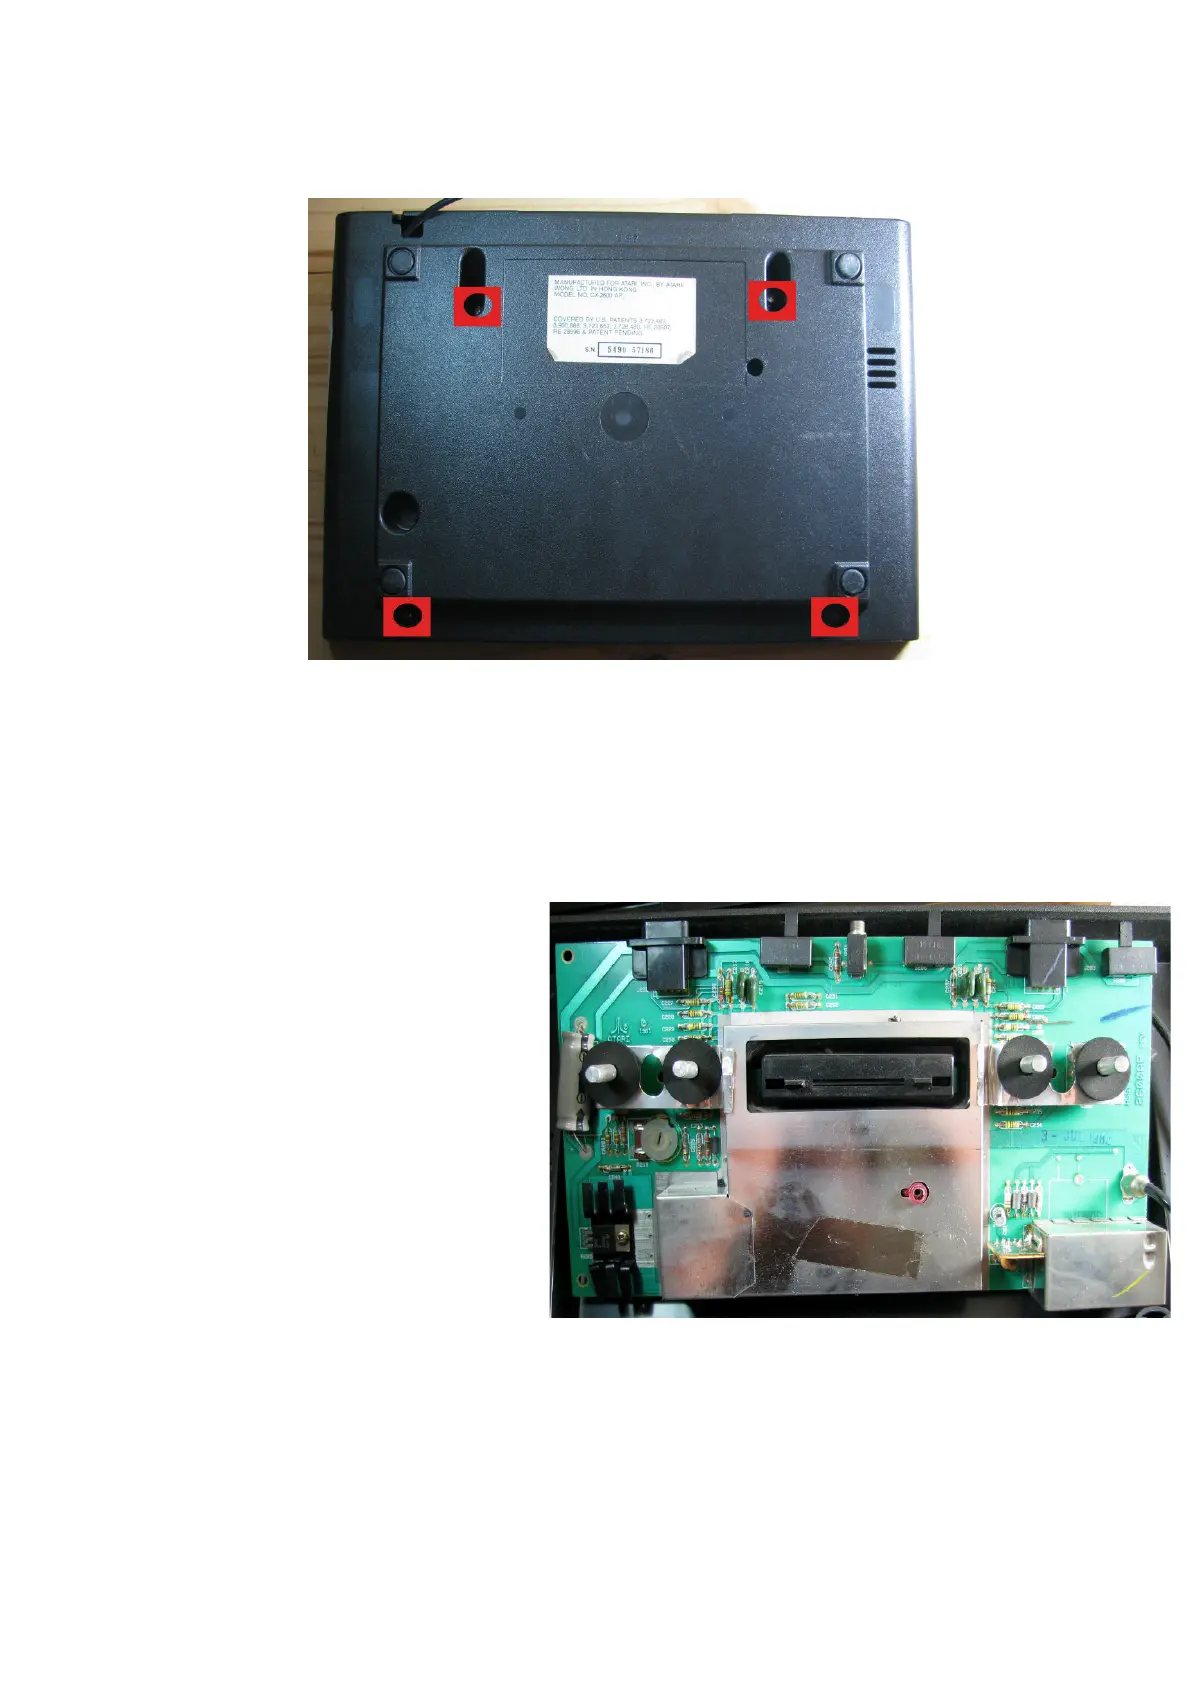
Then remove gently the motherboard from its plastic case.
You're going to see a big metal shield present in both side of the motherboard,we're going to need to
remove it.
Fortunately,the metal shield isn't soldered,it's
just maintained from a side to the other by
some small bended tabs.
You just have to unbend each of these tabs
(located in the back of the motherboard)
with a needle-nose pliers to remove the
metal shield.
Once removed you can forget it,we won't
replace this shield as we're not going to use
HF anymore
Our beautiful motherboard is nude,we're going to cut the contact with the RF part.
To do that, we're going to remove 4 components and to cut or unsolder RF box pins Optionally we
can also desolder the RF box ;