ASSEMBLY STEPS/ GUIDE D’ASSEMBLAGE
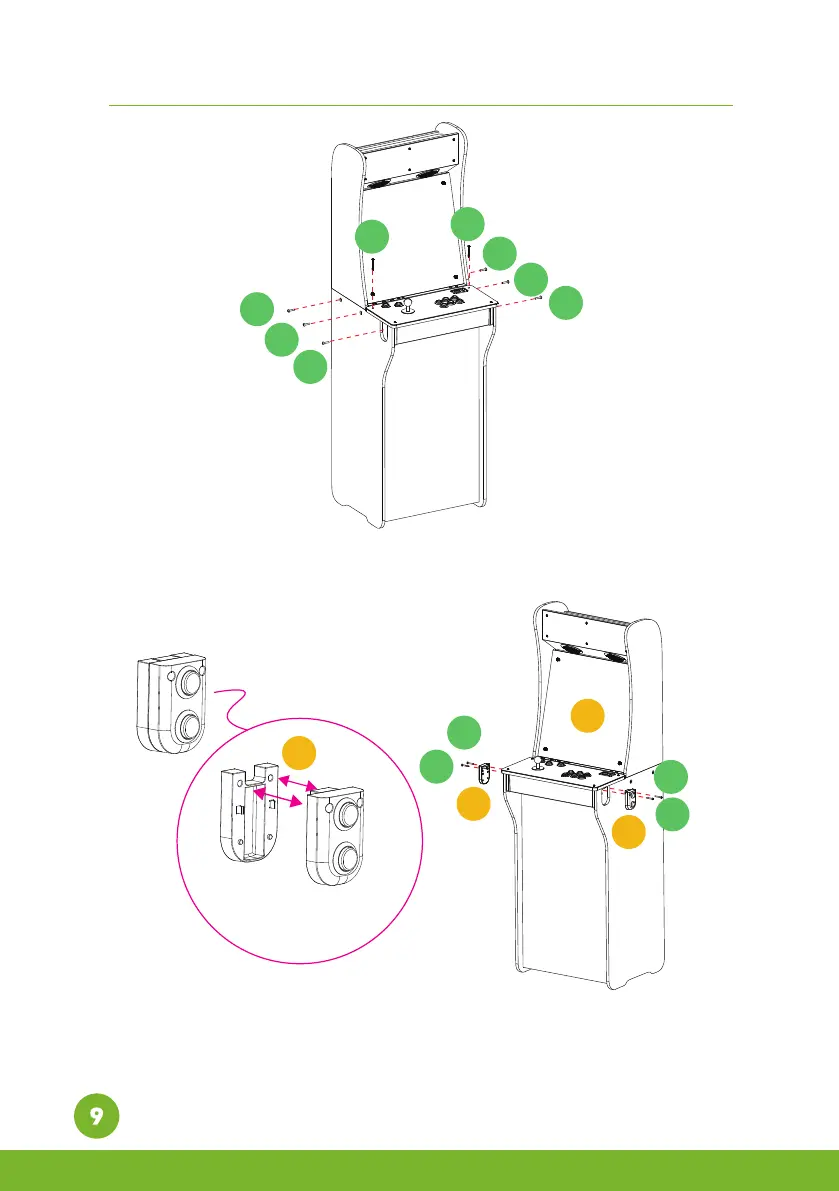
Step 11. Insert a pair of [S4] screws into the matching holes on [O], then insert [S5] to the 6 matching holes on the sides of
the cabinet and tighten.
Étape 11. Insérez une paire de vis [S4] dans les trous correspondants de [O], puis insérez [S5] dans les 6 trous
correspondants sur les côtés du cabinet et serrez.
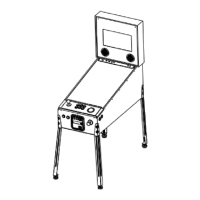
Step 12. Remove Spacer from [P] and install the pinball buttons on both sides of the cabinet, then insert [S9]
screws into the matching holes on the sides of the cabinet and tighten.
Étape 12. Retirez l'entretoise de [P] et installez les boutons de flipper des deux côtés du cabinet, puis insérez les
vis [S9] dans les trous correspondants sur les côtés du cabinet et serrez.
J
P
P
S5
S5
S5
S5
S5
S5
S4
S4
S9
S9
S9
S9
P
Pinball button
Bouton de flipper
Spacer
Entretoise