IMPORTANT NOTICE ABOUT LEAKING BOTTLES
If you find that your dispenser is leaking, check the water bottle first !
Almost all 10-25 liter water bottles are recycled, and handled extensively
during cleaning, filling, and shipping. As a result they are very prone to
developing pin holes or small cracks that can cause an overflow (or leak)
when placed on top of a water dispenser.
In almost all cases, there is nothing wrong with your water
dispenser. If you are experiencing a leak, this simple test
will allow you to determine whether your water bottle or
dispenser is the source of the problem.
1. Unplug the unit, turn off power switch and remove the water bottle.
2. a) Remove the bottle support funnel and check the
water level inside the reservoir – it should be at roughly
three-quarters full.
b) Please add or drain a few glasses of water to achieve
the required fill level. Water level should be
approximately 3/4” – 1” BELOW VENT TUBE
3. Let the water sit for approximately 2 hours. If the
dispenser does not leak, it is the bottle that is leaking
due to a small crack or pinhole.
Please contact your water supplier for a replacement
bottle.
2.a
Vent Tube
Water Level
2.b
1.
DISPENSING WATER
1. Place a glass under the tap for water, press the lever until the desired
amount of water is dispensed.
o
o
2. Plain water temperature will be around 4 C to 6 C lower compared to
bottle water temperature.
7
OPERATING INSTRUCTIONS
Initial Product Cleaning Procedure
As with most new appliances, it is recommended to
clean the reservoir prior to first time use.
IMPORTANT: To avoid water overflow while cleaning the dispenser,
always remove the bottle support funnel before pouring water or
cleaning solution into the reservoir.
1. Press all dispensing buttons until water no longer comes out.
2. Drain the reservoirs from the drain valve on the back of the unit. (in hot &
cold unit only)
3. Rinse again with clean water.
4. Place bottle support funnel back on top of dispenser.
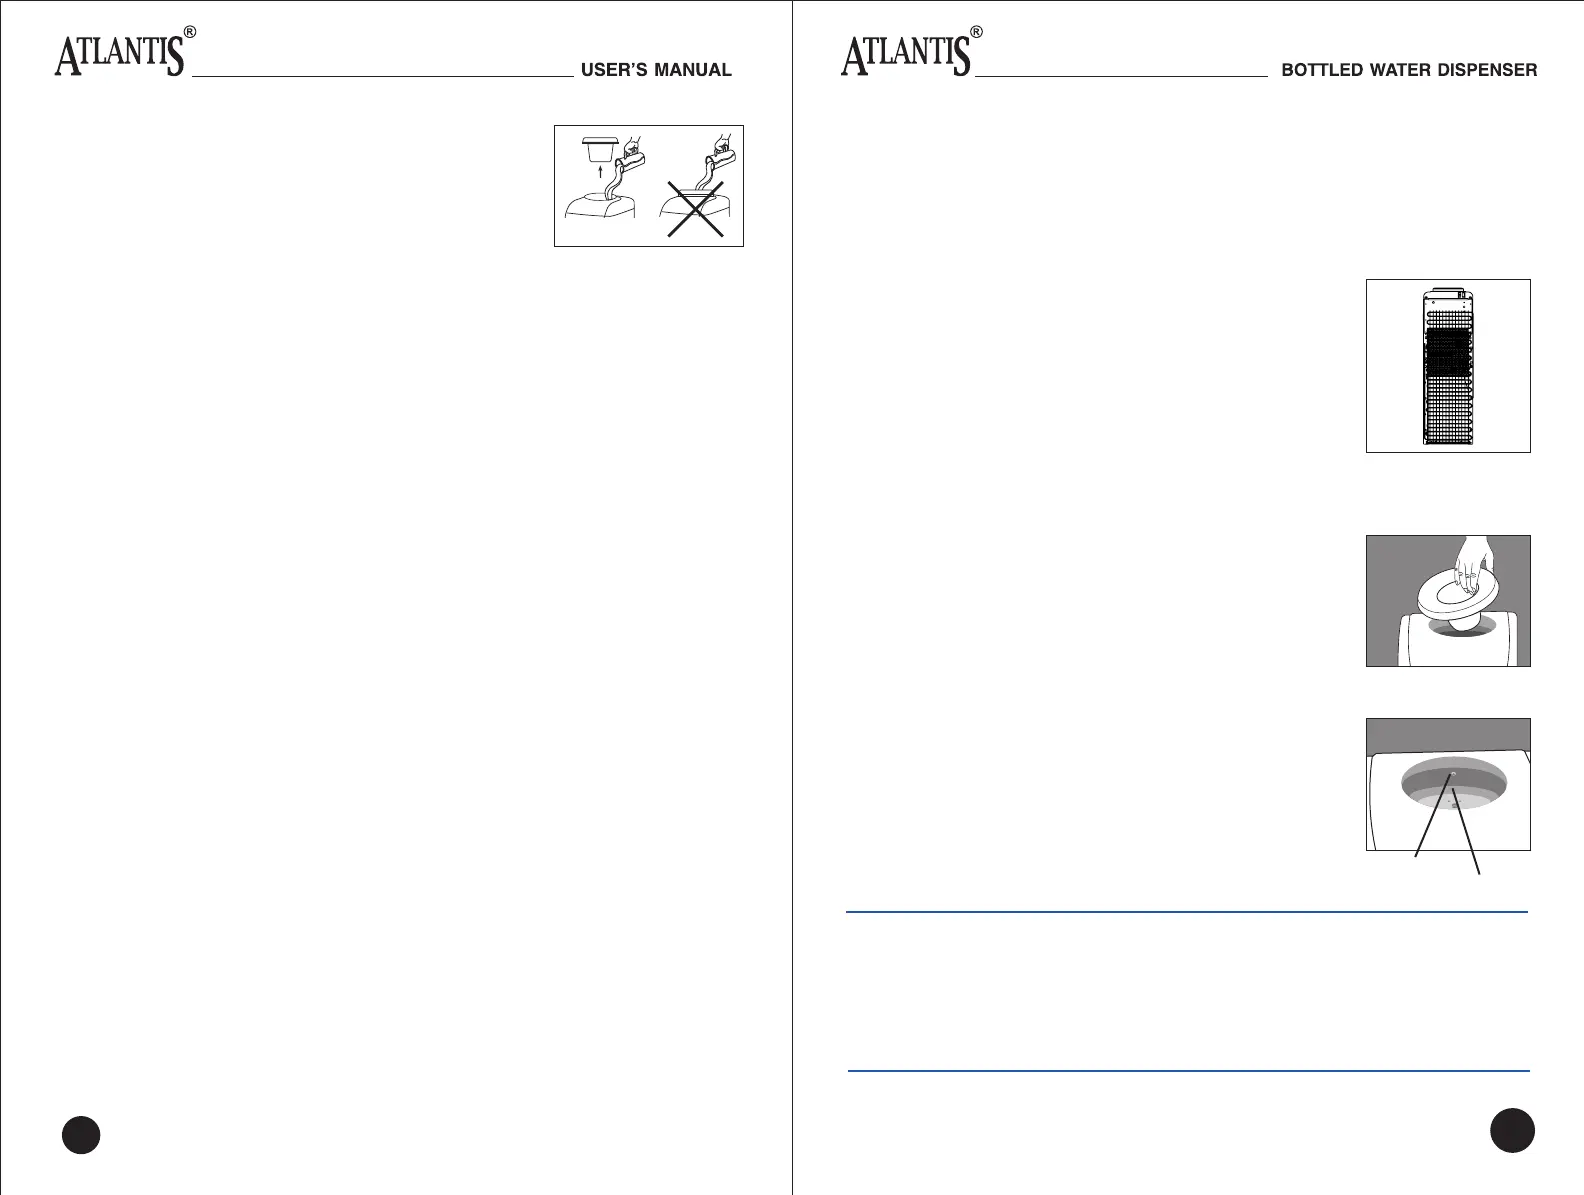
INSTALLING THE WATER BOTTLE
IMPORTANT: Always wash your hands first! Clean the top (neck) of the bottle
with a clean cloth and do not touch the part of the unit that the water touches.
Make sure the unit is unplugged and power switch is in the OFF position.
The water bottle can be purchased from your local retailer.
1. Remove the protective cap from the end of the water bottle unless the bottle
has a puncturable cap or sticker.
2. Lift and turn the bottle upside down, placing it securely on the bottle support
funnel
3. Press and hold all dispenser buttons until water flows from the dispenser.
Drain about 0.3 gal / 1 L of water before initial use. This does not need to be
repeated with replacement bottles.
4. Plug in the water dispenser.
5. Set the power switch at the rear of the dispenser to the ON position
6. Ready-to-dispense indicator lights will come on when water reaches
optimum temperatures and is ready for use.
.
1. Make sure the unit is unplugged and power switch is
turned off.
2. Remove the bottle support funnel, saturate a clean cloth with water
dispenser cleaner or vinegar and wipe the inside of the reservoir.
3. Pour water dispenser cleaner or a mixture of 0.3 gal / 1 L of vinegar
with 0.3 gal / 1 L of hot water into the reservoir and wait 20 minutes.
6