washers, and tighten stop nut, fully home with the 10 mm (0.39 inch) box
wrench.
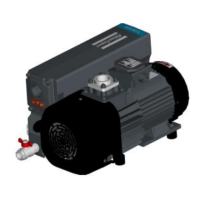
GVS 220A
1. Remove the screws of the exhaust plate with a 16 mm wrench.
2. Move the filter up and down, once it is unlocked, remove it from the oil casing.
3. Check the filter hole, if deposit are visible clean it.
4. Make sure that the new exhaust filter has the O‑ring (opposite side of the
overpressure valve) and grease them using our vacuum grease.
5. Apply the grease to the groove.
6. Replace the O‑ring of the exhaust plate.
7. Insert the new exhaust filter recovery lip down.
8. Fix the exhaust plate on the oil casing with a 16 mm wrench.
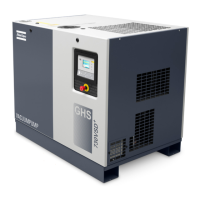
GVS 300A
1. Remove the screws of the exhaust plate using an 8 mm (0.31 inch) allen key.
2. Lift the 3 exhaust filters from the W shaped metal sheet holder and remove
them from the oil casing.
3. Make sure that the new exhaust filters have the O‑ring (opposite side of the
overpressure valve) and grease them using our vacuum grease.
4. Replace the O‑ring of the exhaust plate.
5. Insert new exhaust filters. They are guided in the oil casing correct position.
Make sure the compression springs are behind the W shaped metal sheet
holder.
6. Plug the exhaust plate on the W shaped metal sheet holder with the 2 location
pins and screw the exhaust plate on the oil casing using an 8 mm (0.31 inch)
allen key.
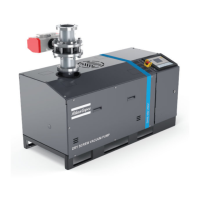
GVS 630A
Tools required: tubular box wrench 16 mm (0.62 inch)
1. When the exhaust filter elements are clogged, the integrated by-pass opens
and the filters are bypassed.
2. Oil mist at the exhaust, and/or high oil consumption are signs that the exhaust
filters are clogged.
3. The exhaust filters must be replaced more often if subjected to increased oil
cracking products at high operating temperatures and/or aggressive media.
4. Remove the cover with gasket. Remove the exhaust deflector by unscrewing
the bolt. Remove both demister support units by unscrewing the nuts.
5. The exhaust filters can be removed individually. Check also the float valve.
6. Plug new exhaust filters into the oil casing. Insert carefully the demister
support units over the new exhaust filters threaded bars (M6) and compress
slightly the demister springs.
7. Tighten the demister support units and the exhaust deflector. If necessary
mount a new seal and mount the cover.
Maintenance
12/2021 - ©
Atlas CopcoPage 706996022430_C

 Loading...


