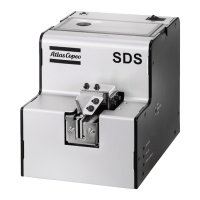
SDS EN Installation
© Atlas Copco Industrial Technique AB - 9836 794200 00
13
Installation
Installation
General
• Measure and record the diameter of the screw’s threads.
• The SDS can be adjusted to accommodate screws between 1.0-5.0 mm in
diameter.
Adjust the rail
Remove the rail using the hex wrench provided, by following the next steps.
Step 1 (Picture B)
Legend
1. Hex key
2. Rail screw
• Loosen, the rail screw by 2 turns.
Step 2 (Picture C)
Legend
1. Hex key
• Turn top and side gate screw clockwise until gate fully open.
DO NOT OVER SCREW!
Step 3 (Picture D)
Legend
1. Top gate
2. Side gate
A Gate closed
B Gate opened
• Top and side gates are fully open
Step 4 (Picture E)
Legend
1. Rail
• Slide rail straight forward and out.
• If rail does not slide out easily, check to make sure the top and side gates are
fully open.
Step 5 (Picture F)
Legend
1. Screw
2. Shim spacer
• Using a Hex 2mm screwdriver, loosen the following screws on the rail.
Do not remove screws on the front or sides of the rail.
• Remove only, pre-installed spacer shims at the rear of the rail.
Step 6 (Picture G)
Legend
1. Measurement shim

 Loading...