Quick Start Steps 11
Cyclops
Targets Assembly And Targets Setting
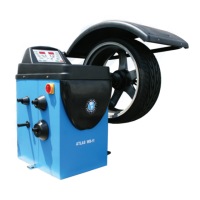
Place one car on the lift stopped with the front
wheels on the turn table.
Fix the clamps on the wheels.
Take care of the vertical arm of the clamp to be
placed to “12 o’clock” as shown in the fi gure.
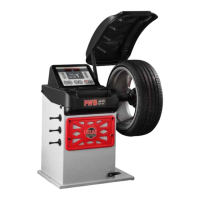
In the rear part of the Target, there is a label
which identifi es the working position.
There must be at Target FL; FR; RL and RR to
be fi xed on their respective wheels (Front Left,
Front Right, Rear Left and Rear Right).
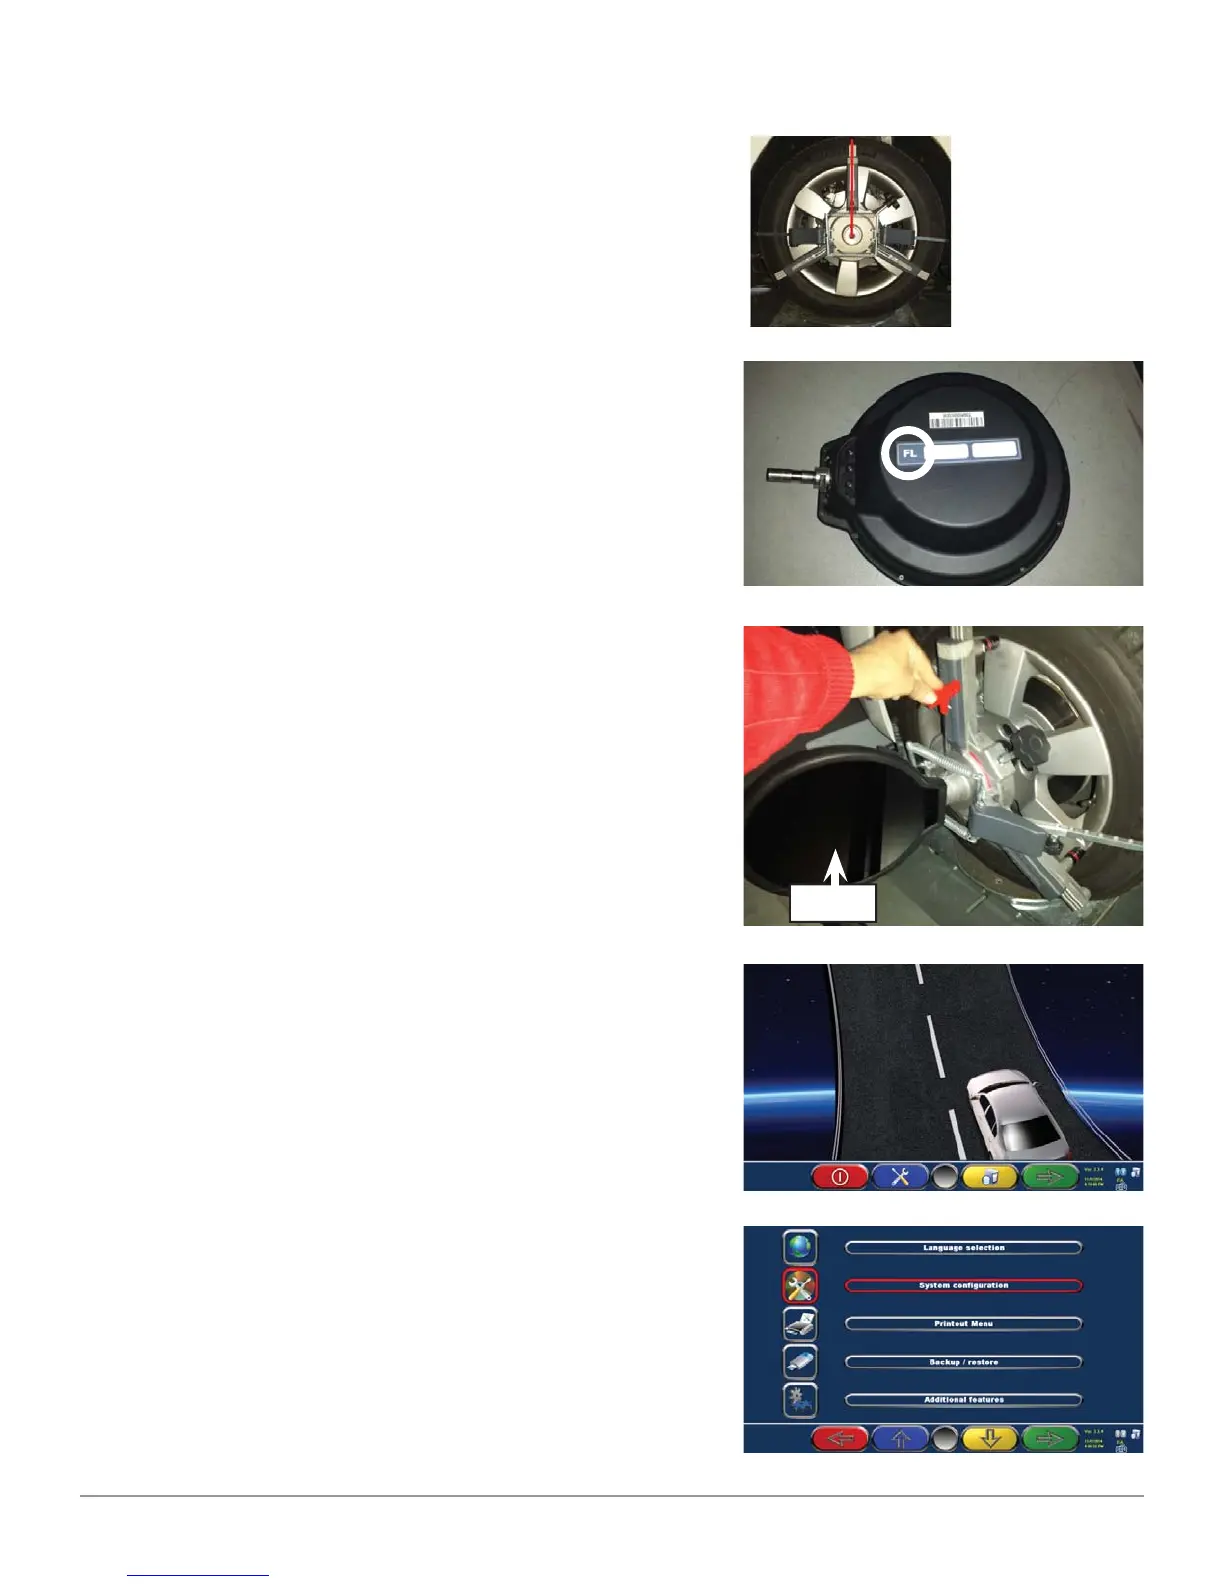
Mount the targets on their clamps.
The fi lter of the target should be facing the
camera mounted in the measuring head.
For now, do not stop the Target because they
have to be adjusted in accordance to a correct
angle Clamp / Target / Camera.
The settings are made as follows:
Turn on the measuring heads.
Go in front of the monitor and from the logo
page displayed on the right, proceed as follows:
Press the “F2” key (blue)
Press “F2” or “F3” key (blue or yellow) to move
the cursor to “System Confi guration”.
Press “F4” to continue.
Filter
 Loading...