OPERATIONS
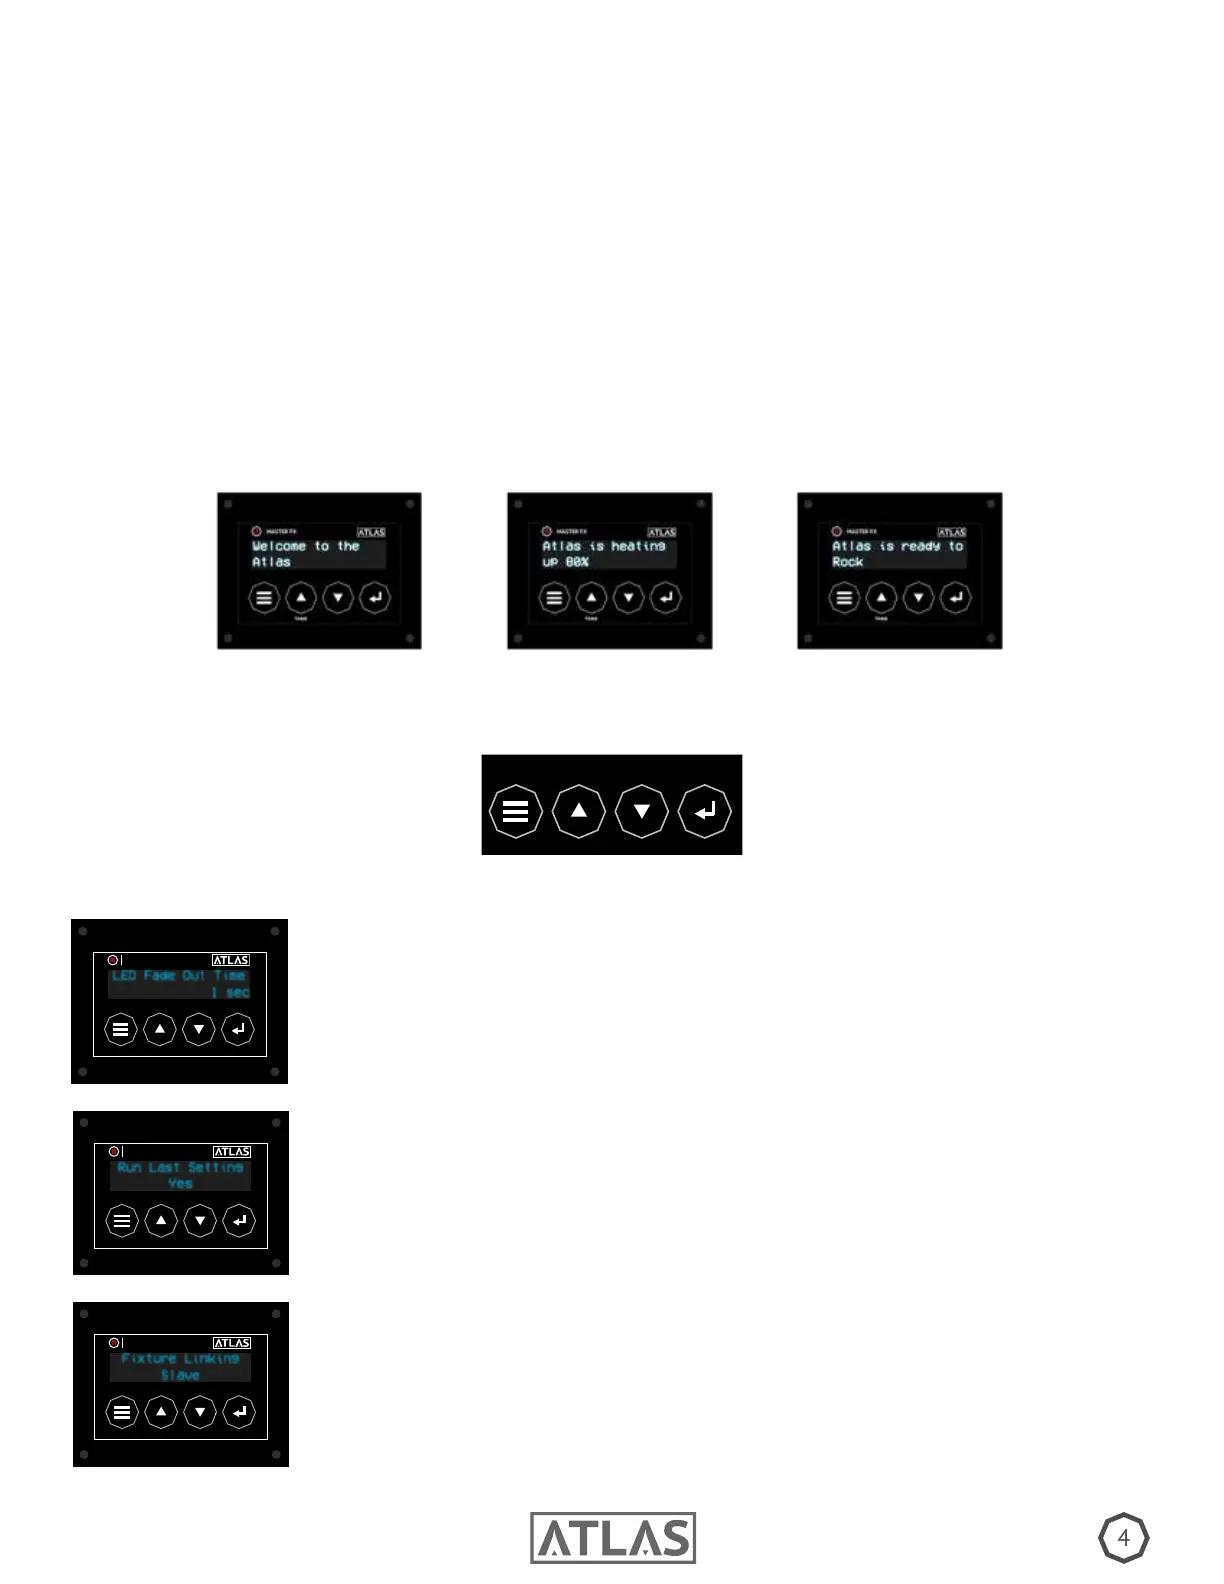
2.) Once power is connected the OLED screen will read “Welcome to the ATLAS” (A) and the heat up process will begin. Please
allow up to 12 minutes for the machine to reach operating temperature before proceeding, your progress will be available by
percentage on control screen (B). When the screen reads “Atlas is Ready to Rock” (C), you are ready to begin.
3.) Before proceeding, it is important to understand what each button and setting does. Please see the diagram below for but-
ton layout. To open settings, hit the menu button, scroll using the Up/Down arrows, and save your setting by pressing enter.
1.) Place the Atlas on a at surface with at least 6 inches of open space around machine to allow for proper cooling. You may
also mount unit from truss at any angle. to avoid machine damage, remove 2.5 liter container before lling. Use Master FX
uids only (Visit MasterFX.com to explore various types of densities and hang times). Once full, return container to machine and
use quick connect to attach hose. Next, connect the Neutrik Powercon TRUE1 to proper power supply. To determine suitable
power requirements, please refer to the power ratings label on the back of your machine.
TIMER
MENU
UP DOWN
ENTER
A B C
SETTINGS
LED FADE OUT TIME: The Amount of time the LED remains on after fog burst is
complete. Select from 1 to 5 seconds, or off.
LED Fade Out Time
1 sec
TIMER
MASTER FX
RUN LAST SETTING: The Atlas is equipped with a built in memory that saves
previous settings. To power up with the same settings as before select “Yes”.
Run Last Setting
Yes
TIMER
MASTER FX
FIXTURE LINKING: When operating the Atlas manually or with wireless remote,
you may link units together via DMX and operate as a collective. “Master” will take
the command and “Slave” will follow.
Fixture Linking
Slave
TIMER
MASTER FX
 Loading...