240 What do I do now?
& WARNING
- You or your passengers could be injured
while changing a wheel if you do not fol-
low safety precautions:
- Mounting the jack under the vehicle at
any other place than indicated above
may damage the vehicle or may result
in personal injuries .
- A soft or unstable surface under the
jack may cause the vehicle to slip off
the jack. Always provide a firm base for
the jack on the ground . If necessary,
use a sturdy board under the jack.
- On hard, slippery surface (such as tiles)
use a rubber mat or similar to prevent
the jack from slipping .
- To help prevent injury to yourself and
your passengers:
- Do not raise the vehicle until you a re
sure the jack is securely engaged.
- Passengers must not remain in the ve-
hicle when it is jacked up.
- Make sure that passengers wait in a
safe place away from the vehicle and
well away from the roadway and traffic.
- Make sure jack position is correct , ad-
just as necessary and then continue to
raise the jack.
Taking the wheel off/putting the spare
on
Follow these instructions step-by-step for
changing the wheel
Fig. 187 Wheel change: using the screwdriver handle
(with the blade removed) to turn t he bolts
...
,._
"'
i
"'
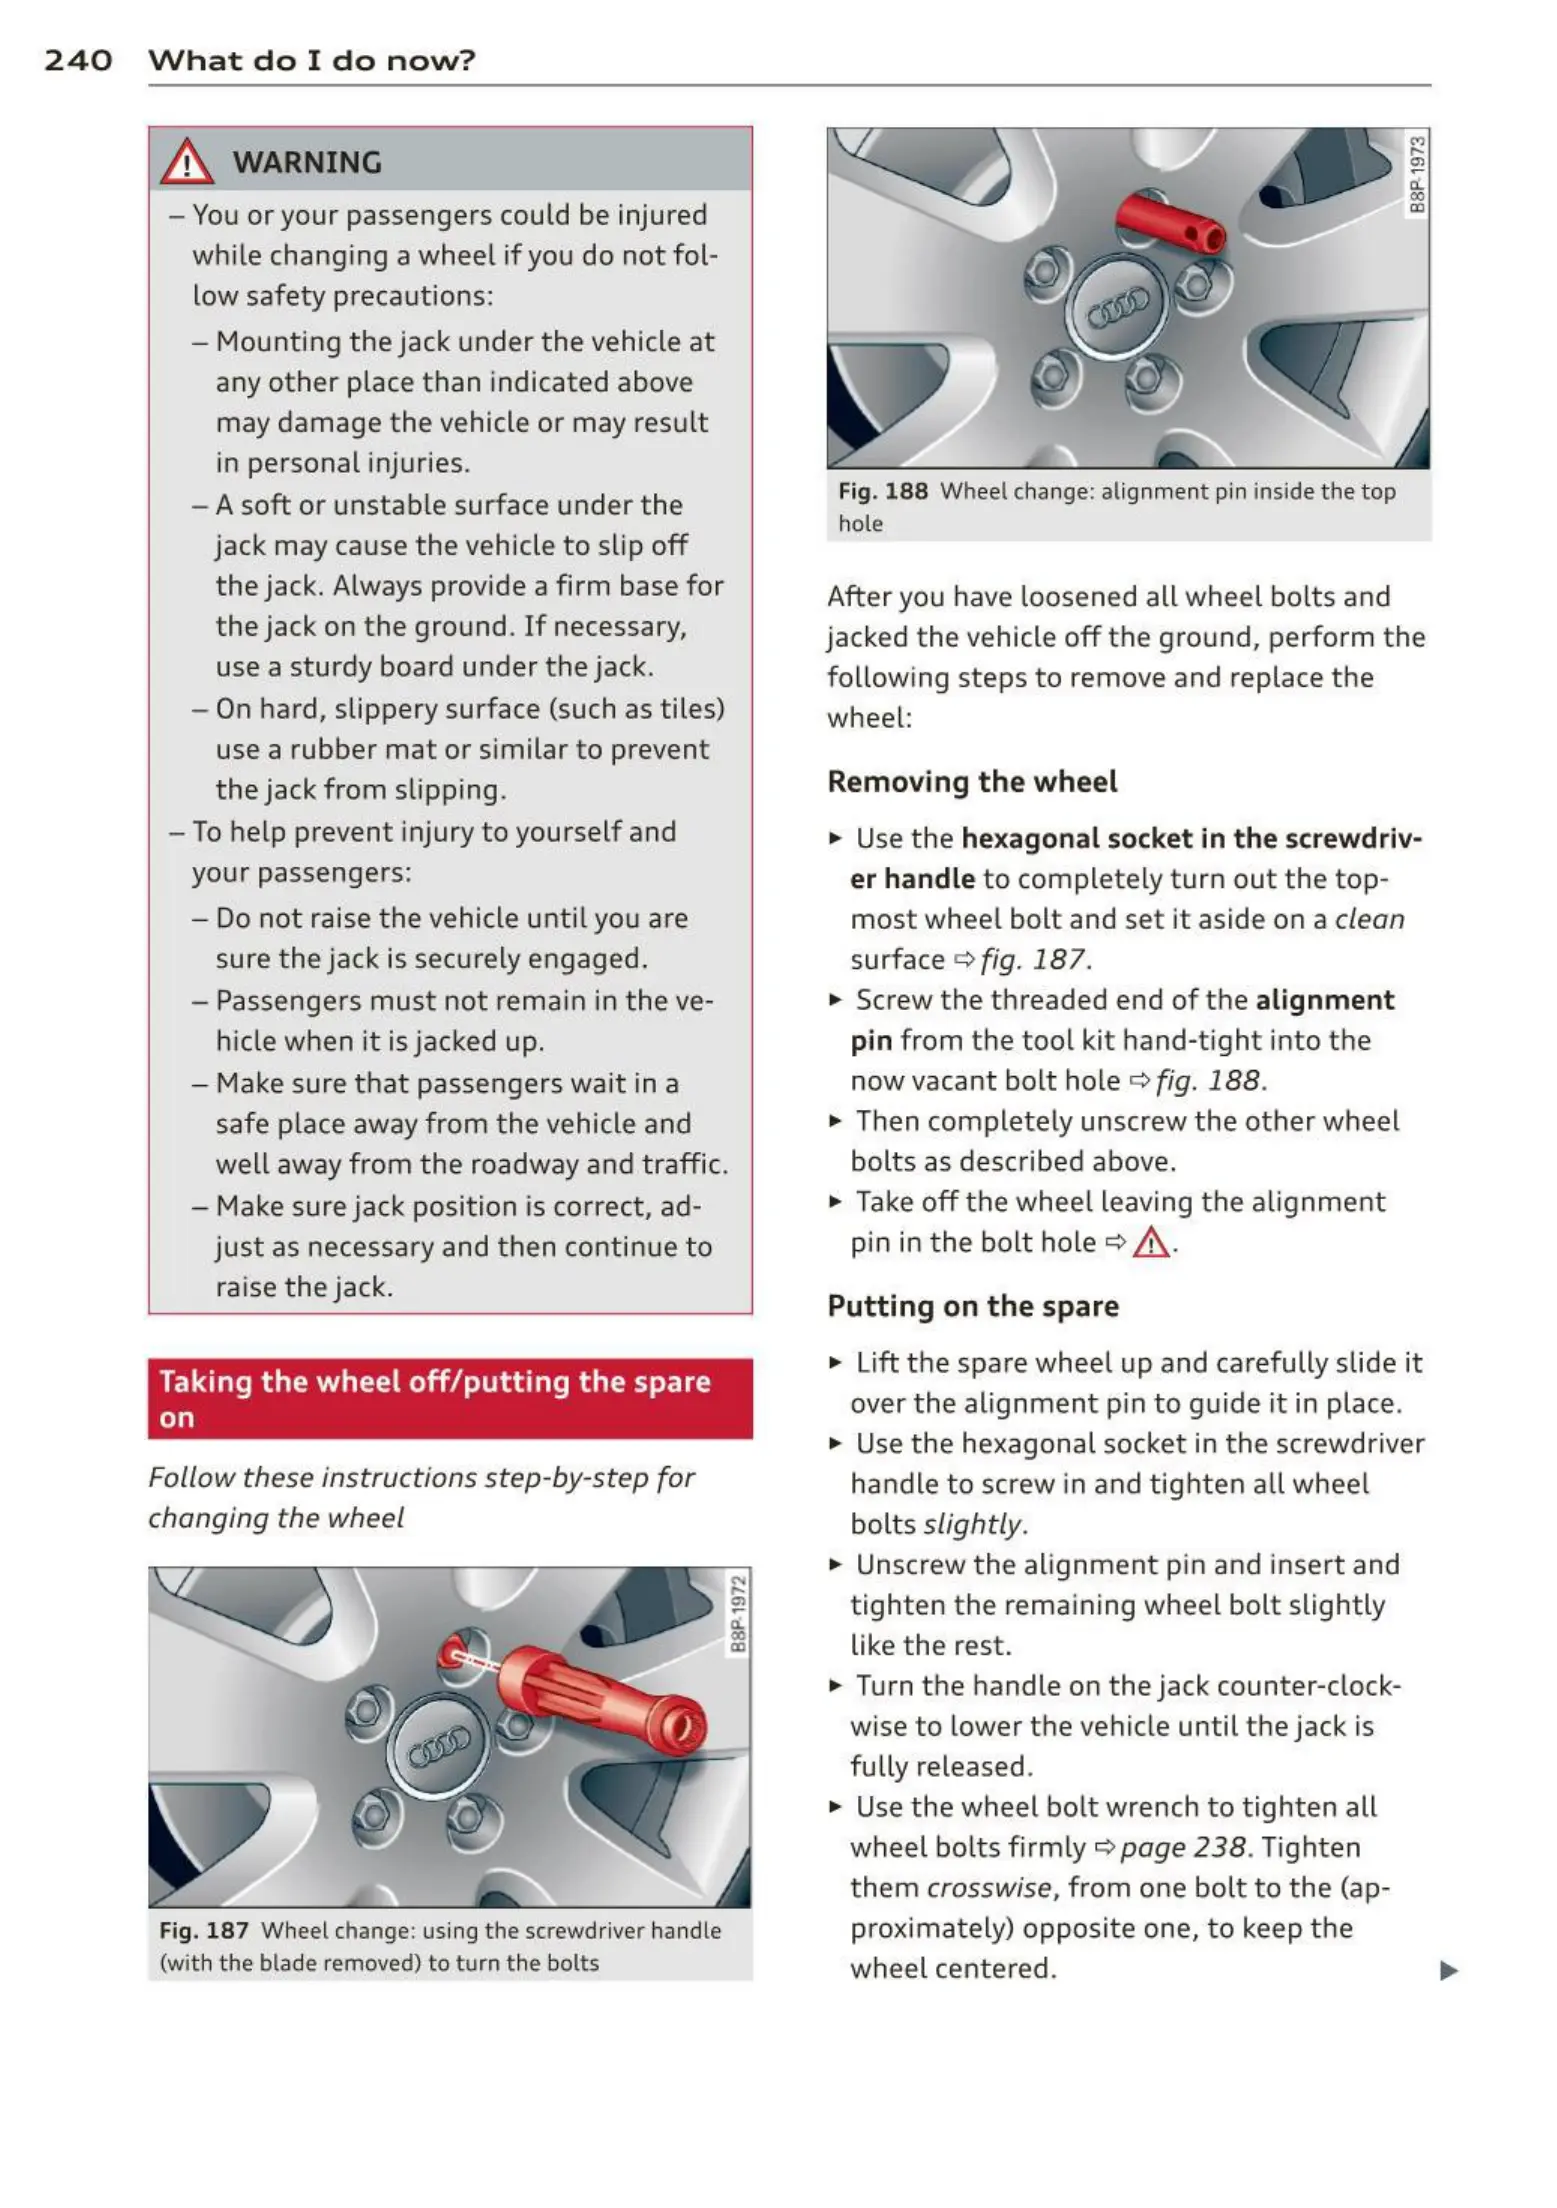
Fig. 188 Wheel change : alignmen t pin inside the top
hole
M
,._
"'
d.
00
"'
After you have loosened all wheel bolts and
jacked the vehicle off the ground, perform the
following steps to remove and replace the
wheel:
Removing the wheel
.,. Use the hexagonal socket in the screwdriv·
er handle
to completely turn out the top-
most wheel bolt and set it aside on a
clean
surface c;, fig. 187 .
.,. Screw the threaded end of the alignment
pin from the tool kit hand-tight into the
now vacant bolt hole <=>
fig. 188 .
.,. Then completely unscrew the other wheel
bolts as described above.
.,. Take off the wheel leaving the alignment
pin in the bolt hole
c;, &, .
Putting on the spare
.,. Lift the spare wheel up and carefully slide it
over the alignment pin to guide it in place .
.,. Use the hexagonal socket in the screwdriver
handle to screw in and tighten all wheel
bolts
slightly .
.,. Unscrew the alignment pin and insert and
tighten the remaining wheel bolt slightly
like the rest.
.,. Turn the handle on the jack counter-clock-
wise to lower the vehicle until the jack is
fully released .
.,. Use the wheel bolt wrench to tighten all
wheel bolts firmly
r:::;, page 238 . Tighten
them
crosswise, from one bolt to the (ap-
proximately) opposite one, to keep the
wheel centered.