English TEMPO plus
Connecng the Loudspeakers
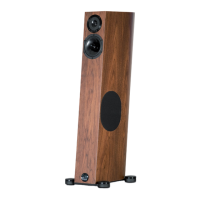
Your TEMPO plus loudspeakers are ed with a modern connecng
terminal (the image on the right) that is acouscally decoupled
from the loudspeaker cabinet and contains extremely high-quality
patented nextgen connectors made by the specialist manufacturer
WBT. The connectors have a unique mechanism (the torque
indicator) that will help you during the installaon procedure.
1. Please switch o all equipment in your Hi system before
you begin to connect your loudspeakers.
2. If you are using a loudspeaker cable with spade connectors, turn the screw clamps to the le
unl you can easily slide the spades into the openings at the side. Push the spades into these
openings and turn the screw clamps to the right unl you hear a clicking noise - this is the
torque indicator. Now turn the clamps unl they are hand-ght, which will normally be the case
aer a few more ‘clicks‘. Aer this point, you can indeed ghten the clamps even more, but this
will not improve the results. In the worst case scenario, further ghtening the clamps may lead
to damage to the surface structure of the spade connectors. Aach the loudspeaker cable to the
connectors on the loudspeakers.
3. When doing so, please make sure that you have the right polarity. As a rule, loudspeaker cables
are accordingly labelled, either by a permanent marking on one of the two conductors of the
cable by “+“ and “-“ markings on the cable ends.
4. Now connect the cable to your amplier and make sure that you have the right polarity here.
5. The TEMPO`s connectors, which are shown in the image on the right, accept both spades
and banana plugs. Loose cable strands oxidise easily and are not suitable for a permanently
high-quality listening experience.
“Bi Wiring“ Operaon
If your TEMPO plus is ed with a bi-wiring terminal and you would like to use this opon, please
connect the loudspeaker cable from the amplier for the le loudspeaker to the upper two
connectors on the le loudspeaker in order to control its midrange area and tweeter system and
a further cable to the connectors underneath in order to control the woofer system. Carry out the
same steps on the loudspeaker to the right of the listening posion. Please remove and retain the
respecve bi-wire bridges on the loudspeaker terminals before connecng the cables.
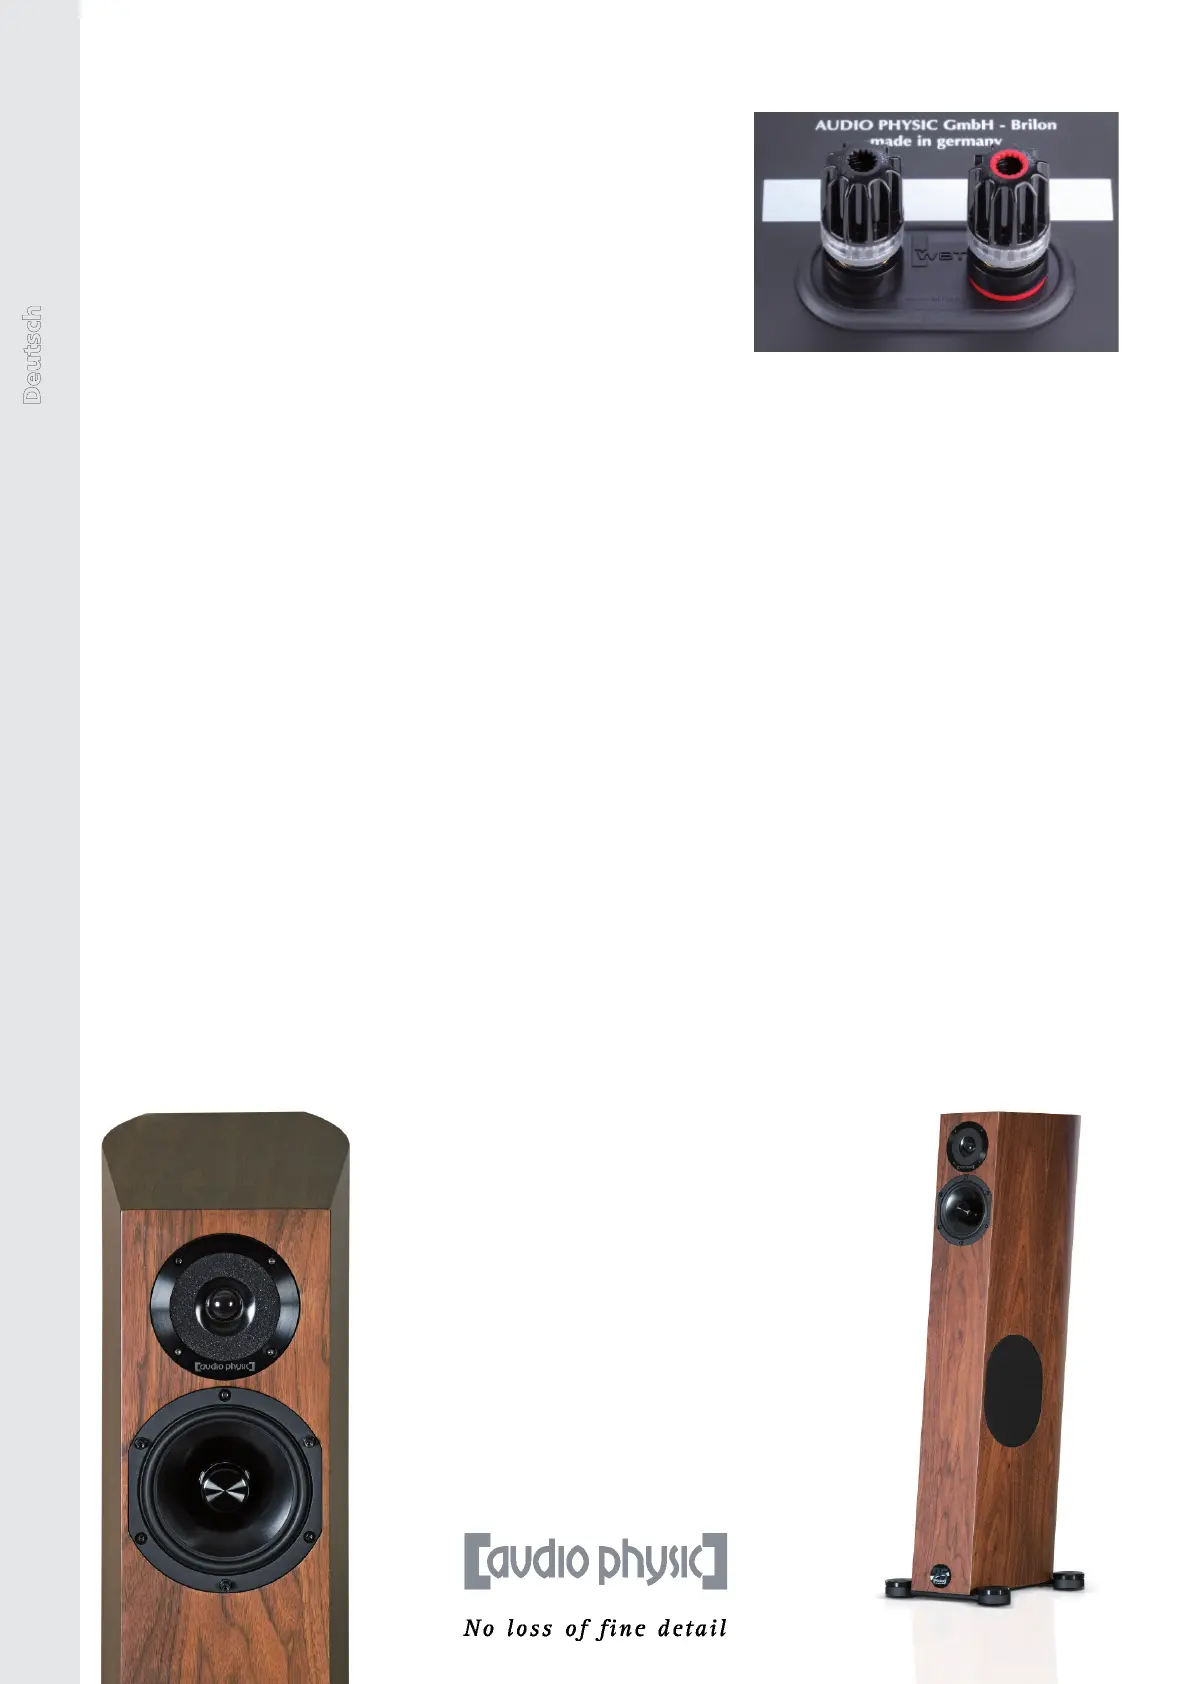
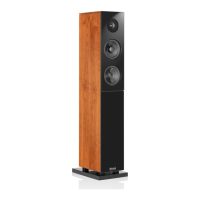
Super Seven: The body of the
TEMPO plus tilts backwards at an
angle of 7° in order to optimise
time-correct rendition.
Absolutely Unique: The TEMPO plus
benets from the Hyper Holographic Cone
technology, showing an unprecedented
attention to detail in the tweeter and
midrange section.
16