5
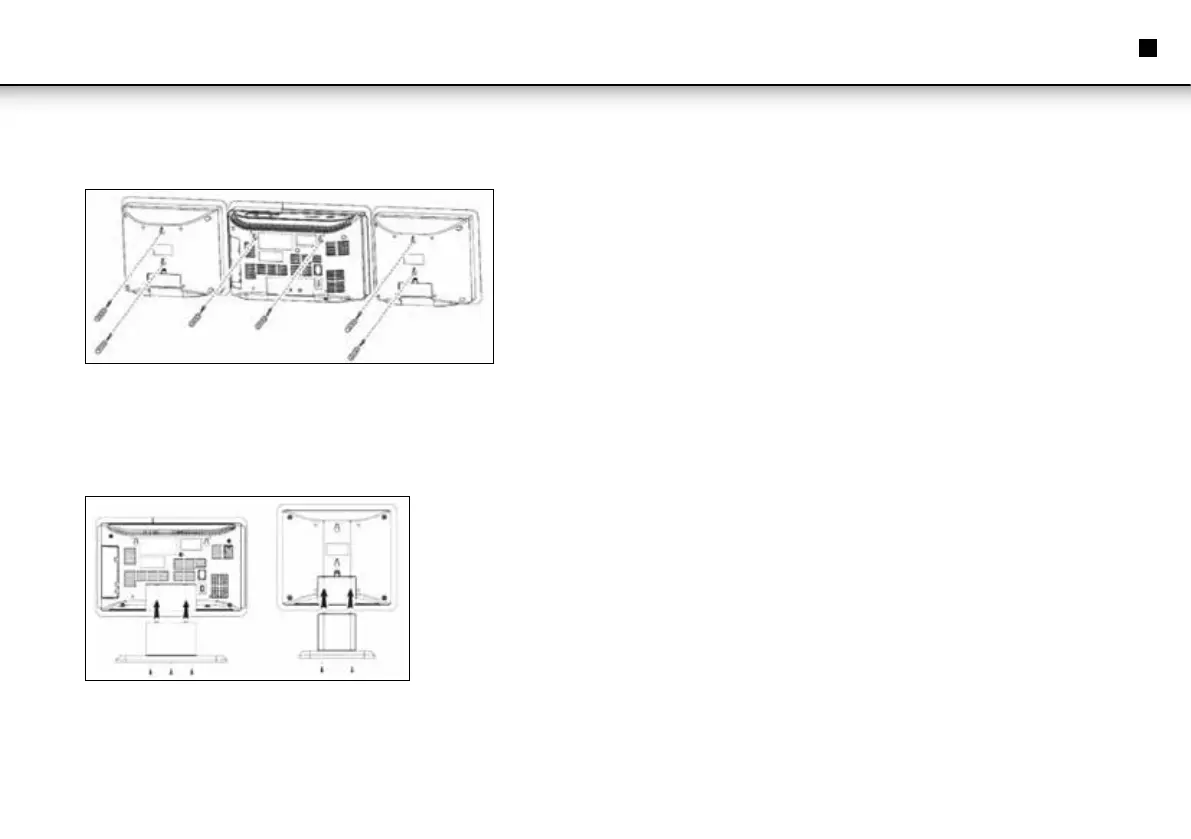
Wall Mounting
• Level the drilling template horizontally and mark the drill holes for wall mounting.
• Drill the holes with a 6mm drill bit.
• Insert the wall plugs to the drill holes.
• Screw in the fastening screws, but let them stand out approx. 4mm.
• Hang up device and speakers.
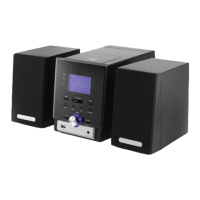
Mount Desk Stand
• Attach device and speakers to the corresponding desk stands and fasten with the
supplied screws.
Connect Speakers
• Connect the speakers to SPEAKERS R/L (27).
Connect Power
Follow these instructions for mains power connection for safe and trouble-free
operation:
• Ensure that the mains cable is undamaged; do not rout the cable over hot surfaces
or sharp edges.
• Do not tension the mains cable.
• Connect the device to a properly installed wall outlet. The standby LED lights up
and the time (0:00) is shown on the display.
REMOTE CONTROL
Insert Batteries
• Open the battery compartment at the rear of the remote control.
• Insert 2 batteries type R03 "AAA" 1.5V. Observe correct polarity as printed inside
the battery compartment!
Note: Do not mix different battery types or fresh and exhausted batteries.
Remote Control Use Instructions
• Point the remote control towards the IR sensor (8) on the front panel.
Connect Headphones
• For private listening use headphones with standard 3.5mm stereo jack and insert
in earphones jack (16). The speakers are automatically muted.
Instruction Manual
EN