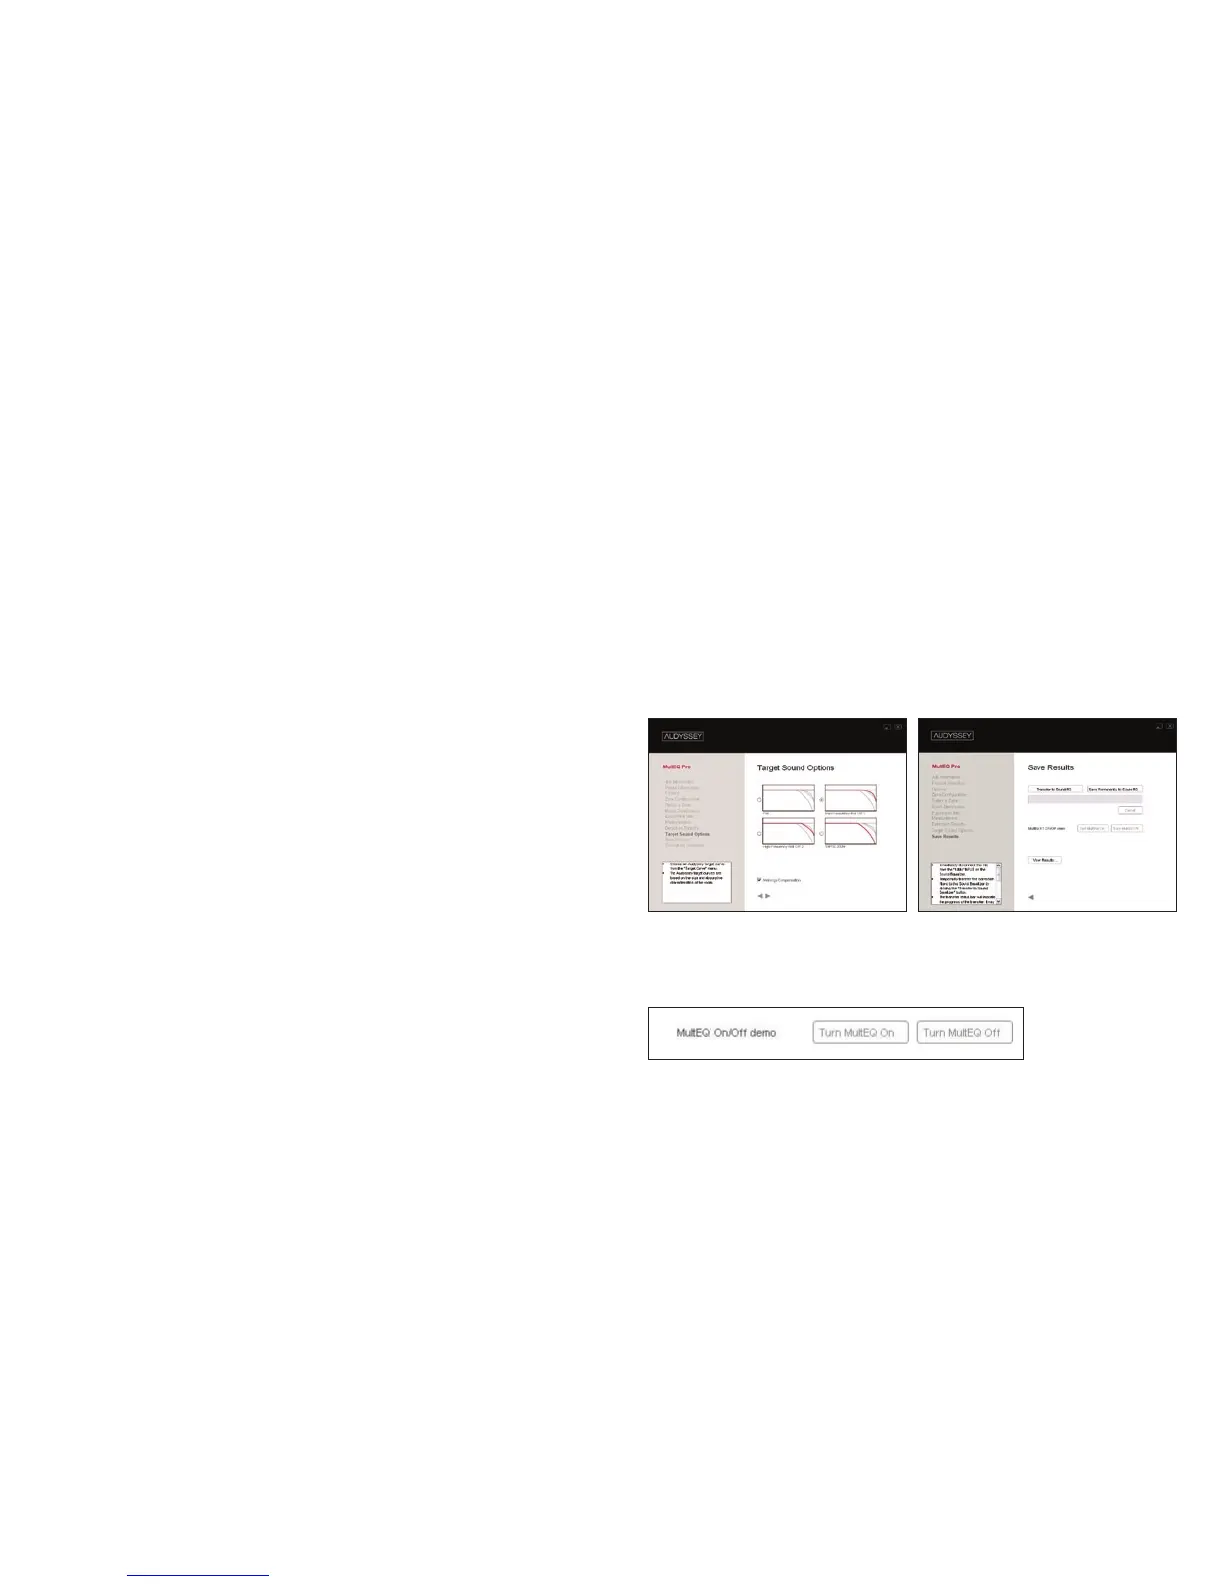
STEP 11
On the Target Sound Options screen (A), choose one
of Audyssey’s four custom target curves from the
Target Curve menu. The four choices are based on the
size and reverberant/absorptive characteristics of the
room and whether you are using THX re-equalization.
It is recommended that you engage the ‘Midrange
Compensation’ option for your first listening test (this is
selected by default). Midrange compensation is sometimes
necessary to correct for the directivity differences that often
occur in that frequency range due to the crossover circuitry
or horn-loaded speakers. You can later return to this screen
and disengage this option if you prefer.
Click the forward arrow button to calculate your MultEQ XT filters.
STEP 12
On the Save Results screen (B), transfer the MultEQ XT filters
you have calculated to the Sound Equalizer by clicking the
Transfer to Sound EQ button. This process only temporarily
stores the filters in the Sound Equalizer so you can listen to
them before deciding to permanently save them.
Warning: After transferring filters, remove the microphone’s
LINE OUT XLR cable from the Sound Equalizer’s 1/Mic input and
replace with preamplifier/processor output. Not removing the
mic cable at this time will cause feedback to be played through
A B
MultEQ XT On/Off demo
your speakers and possibly cause damage to them.
STEP 13
Perform a MultEQ On/Off demo by playing program material while
 Loading...