10 11
OPERATING INSTRUCTIONS
OPERATING INSTRUCTIONS
FOR USE WITH SPRING CLIPS
NOTE: The Battery Extender may switch back into full
charge mode (Red light ON) as required by your
battery, this is normal.
No Charge Status Lights: Means one of the following:
• Yo u reversed the connections by connecting the red spring clip to the negative
(-) battery post and the black spring clip to the positive (+) battery post.
• You have a poor connection at the battery.
• There is no AC power.
• Check all three conditions above before proceeding.
Your Battery Extender is equipped with sophisticated circuitry that will safely
charge and maintain batteries without overcharging. Make sure you read and
follow the “Safety” section of this manual before proceeding with this operating
instruction.
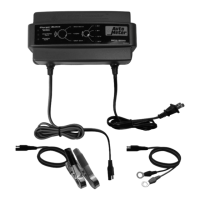
Green Light
(Maintenance Mode)
Amber Light
(Desulfation Mode)
BATTERY EXTENDER INDICATOR LIGHTS
Red Light
(Charging Mode)
Red Light (Charging): The Battery Extender is charging the battery.
Amber Light (Desulfation): The Battery Extender is in desulfation mode.
Green Light (Maintain): The Battery Extender is safely maintaining your battery
at a full charge. Your battery is ready to go when you need it.
NOTE: The BEX-1500 and BEX-3000 must only be used with 12 Volt
batteries.
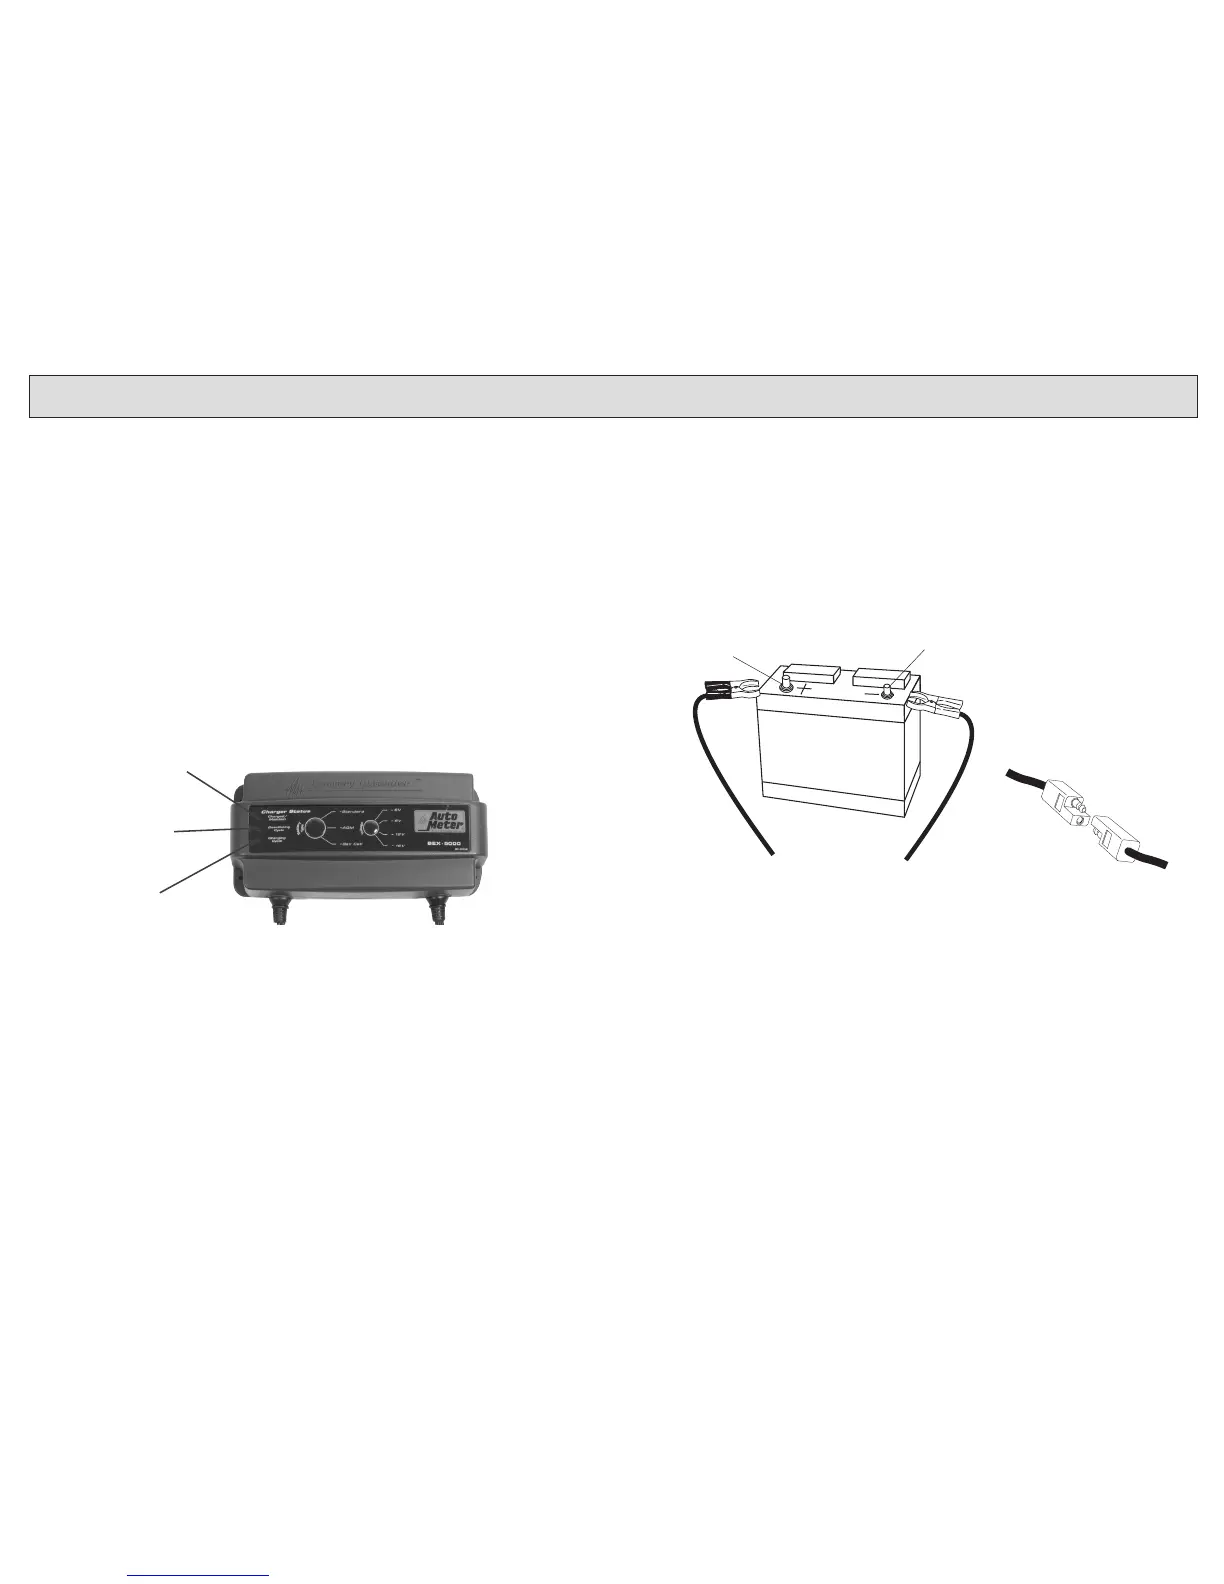
Two Pin Connector
B AT T E R Y
Red (+)
Spring
Clip
Larger
Positive (+)
Post
Smaller
Negative (-)
Post
Black (-)
Spring
Clip
For uninstalled batteries we have supplied a lead set with spring
clips. Follow these steps for connection and operation
(see illustration to below):
1. Double check that the square two pin connector on the lead set is firmly plugged
into the square output connector of the Battery Extender.
2. Make sure the Battery Extender is safely located away from
the battery and in a non hazardous location.
3. Plug the AC cord in to a grounded outlet.
4. Set the Battery Type button to match the battery type you are charging.
(Standard, AGM, Gel Cell). (Model BEX-3000 and BEX-5000 only)
5. Set the 6/8/12/16 volt button to the voltage of the battery you are connecting
to. (Model BEX-5000 only.)
6. Locate the positive (+) terminal post of the battery, it is usually larger than the
negative (-) terminal post. Connect the RED spring clip to this battery terminal
post. It’s a good idea to wiggle the clip on the battery post to insure a good
connection.
7. Connect the BLACK spring clip to the negative (-) battery terminal post.
 Loading...