12 9
NOTE: The BEX-1500 and BEX-3000 must only be used with 12 Volt
batteries.
OPERATING INSTRUCTIONS
INTRODUCTION
The charger does not force current into the battery. The charger makes available
a limited amount of charge current to the battery. The battery itself determines
how much charge current it needs.
Typically the lower the state of charge of the battery, the higher the charge
current will be. As the battery charges up, the charge current will taper off.
Some battery types require an activation period when they are deeply discharged
before they will accept charge current. The time may take many hours before
the battery begins to accept charge current. If your battery has been sitting in
a discharged state for a long period of time, it can become sulfated. Sulfated
batteries exhibit the characteristic of not accepting any charge current for a long
period of time. This may also take many hours. Once the sulfate barrier breaks
down, the battery will begin accepting charge current. Severely sulfated batteries
may never accept charge current and should be replaced. When a battery
charges, the electrolyte will bubble slowly. This is normal when charging a battery.
The gases given off while charging a battery can be very explosive. Make sure
there are no flames or sparks near a charging battery. Always unplug the charger
before connecting or disconnecting the clamps to the battery to prevent sparks.
How Batteries Charge:
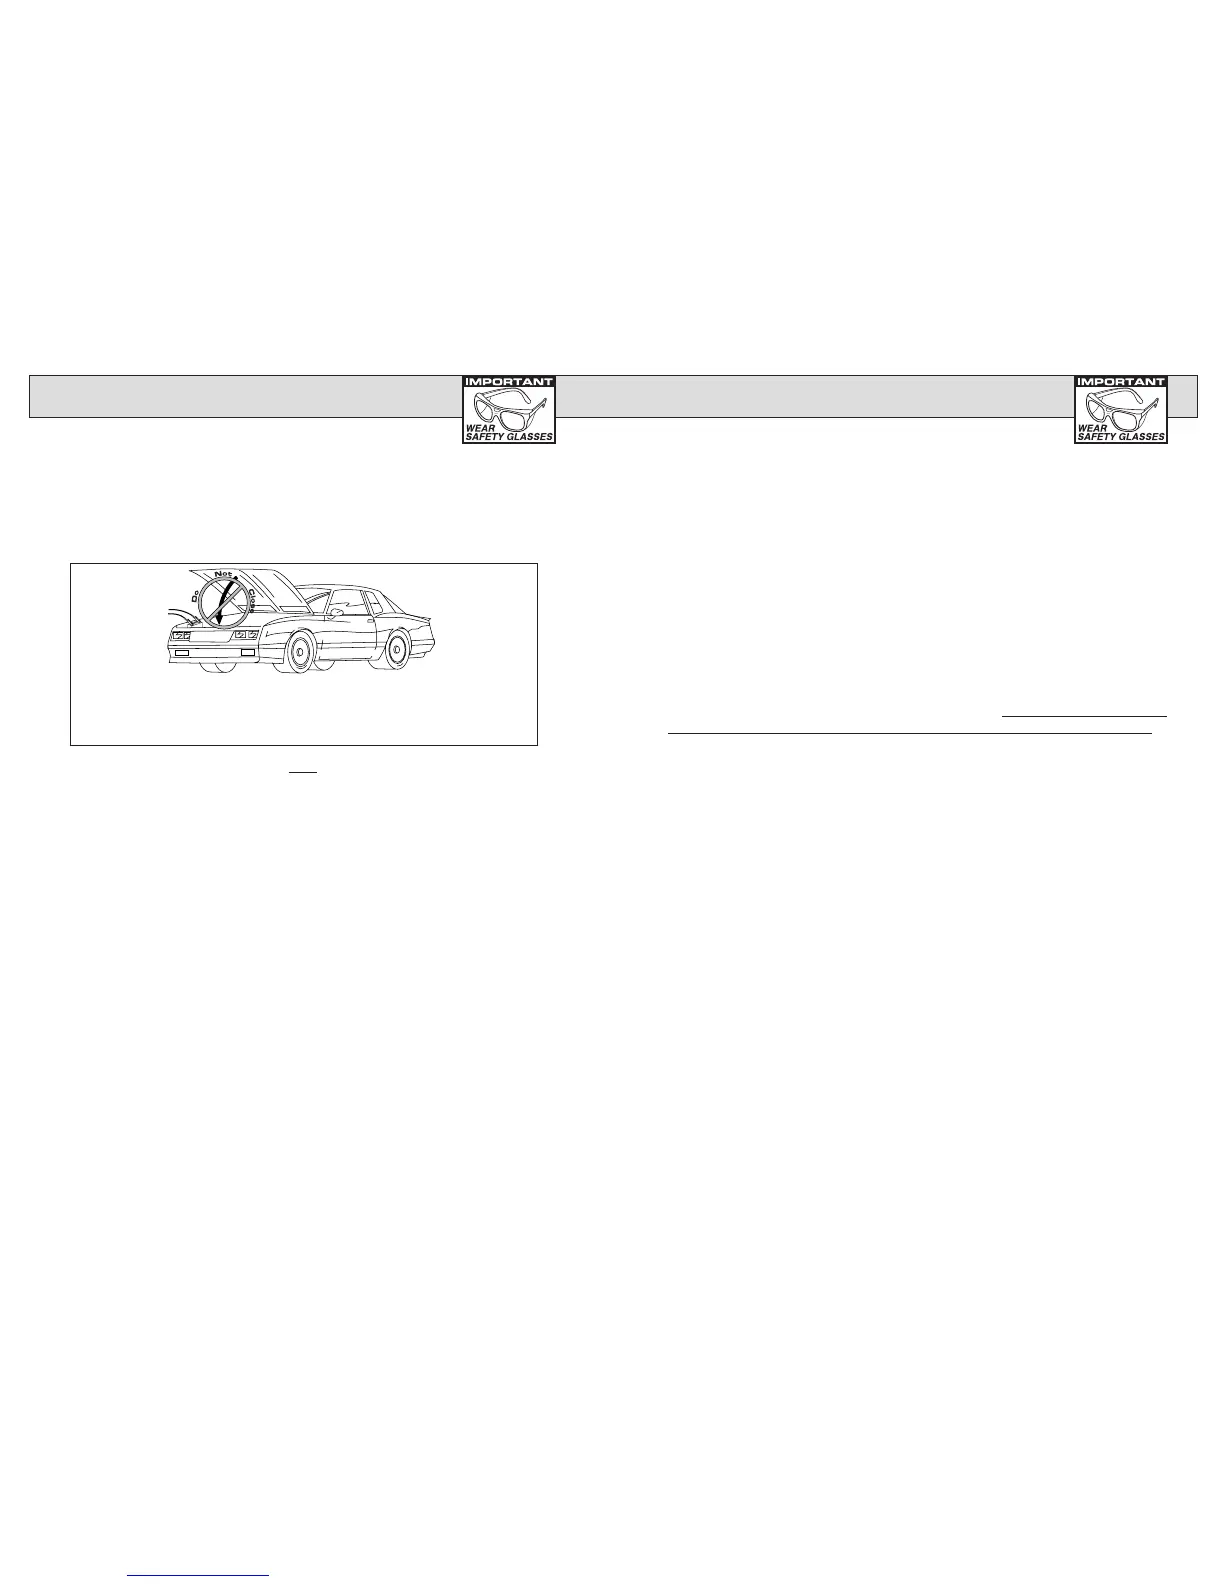
WARNING: Do not close hood, doors, or covers when using spring
clips on installed batteries. This can cause dangerous high
current shorting across the battery terminals.
FOR USE WITH BATTERY CLIPS ON INSTALLED
BATTERIES
You may use the spring clip lead set for installed batteries on a temporary basis.
However we do not recommend doing this for long term connections. The clips
can accidentally come in contact with compartment covers, hoods and other
items that may cause dangerous high current shorts across the battery terminals.
To temporarily connect the spring clips to an installed battery, follow these steps:
1. Check that the Battery Extender is NOT plugged in to an AC
outlet before connecting the spring clips to the battery.
2. Locate the positive (+) terminal post of the battery, it is usually larger than
the negative (-) terminal post. Connect the RED (+) spring clip to this battery
terminal post.
3. Connect the BLACK (-) spring clip to a bolt or screw on the chassis or engine
block. These should be heavy steel parts not sheet metal. Do not connect to
fuel lines, carburetor, or moving parts. Make the connection as far from the
battery as the leads allow.
4. Plug in the AC cord, and observe the indicator lights for operation.
5. Set the Battery Type button to match the battery type you are charging.
(Standard, AGM, Gel Cell). (Model BEX-3000 and BEX-5000 only)
6. Set the 6/8/12/16 volt button to the voltage rating of the battery you are
connecting to. (Model BEX-5000 only)
 Loading...