page 10 User guide MX-8
• Limiter: Can be indivudually set for each output. By pushing the preset
knob, you can chose the output; turning the volume knob by one click,
you can turn the limiter either „on“ or „off“.
• By pushing the volume knob you return back to the parameter menu. In
case you have canged any parameters, you will be asked whether you
would like to save them.
4.2.3 Config
• Graph EQ Band 1: Set the frequency of the 1
st
band of the graphic
equalizer. The frequency value is set by turning the volume knob.
• Graph EQ Band 12: Set the frequency of the 12
th
band of the graphic
equalzer. A minimum distance of approximately 2 octaves needs to be
maintained between the 1
st
and 12
st
band. The unit will prevent a smaller
distance to be set.
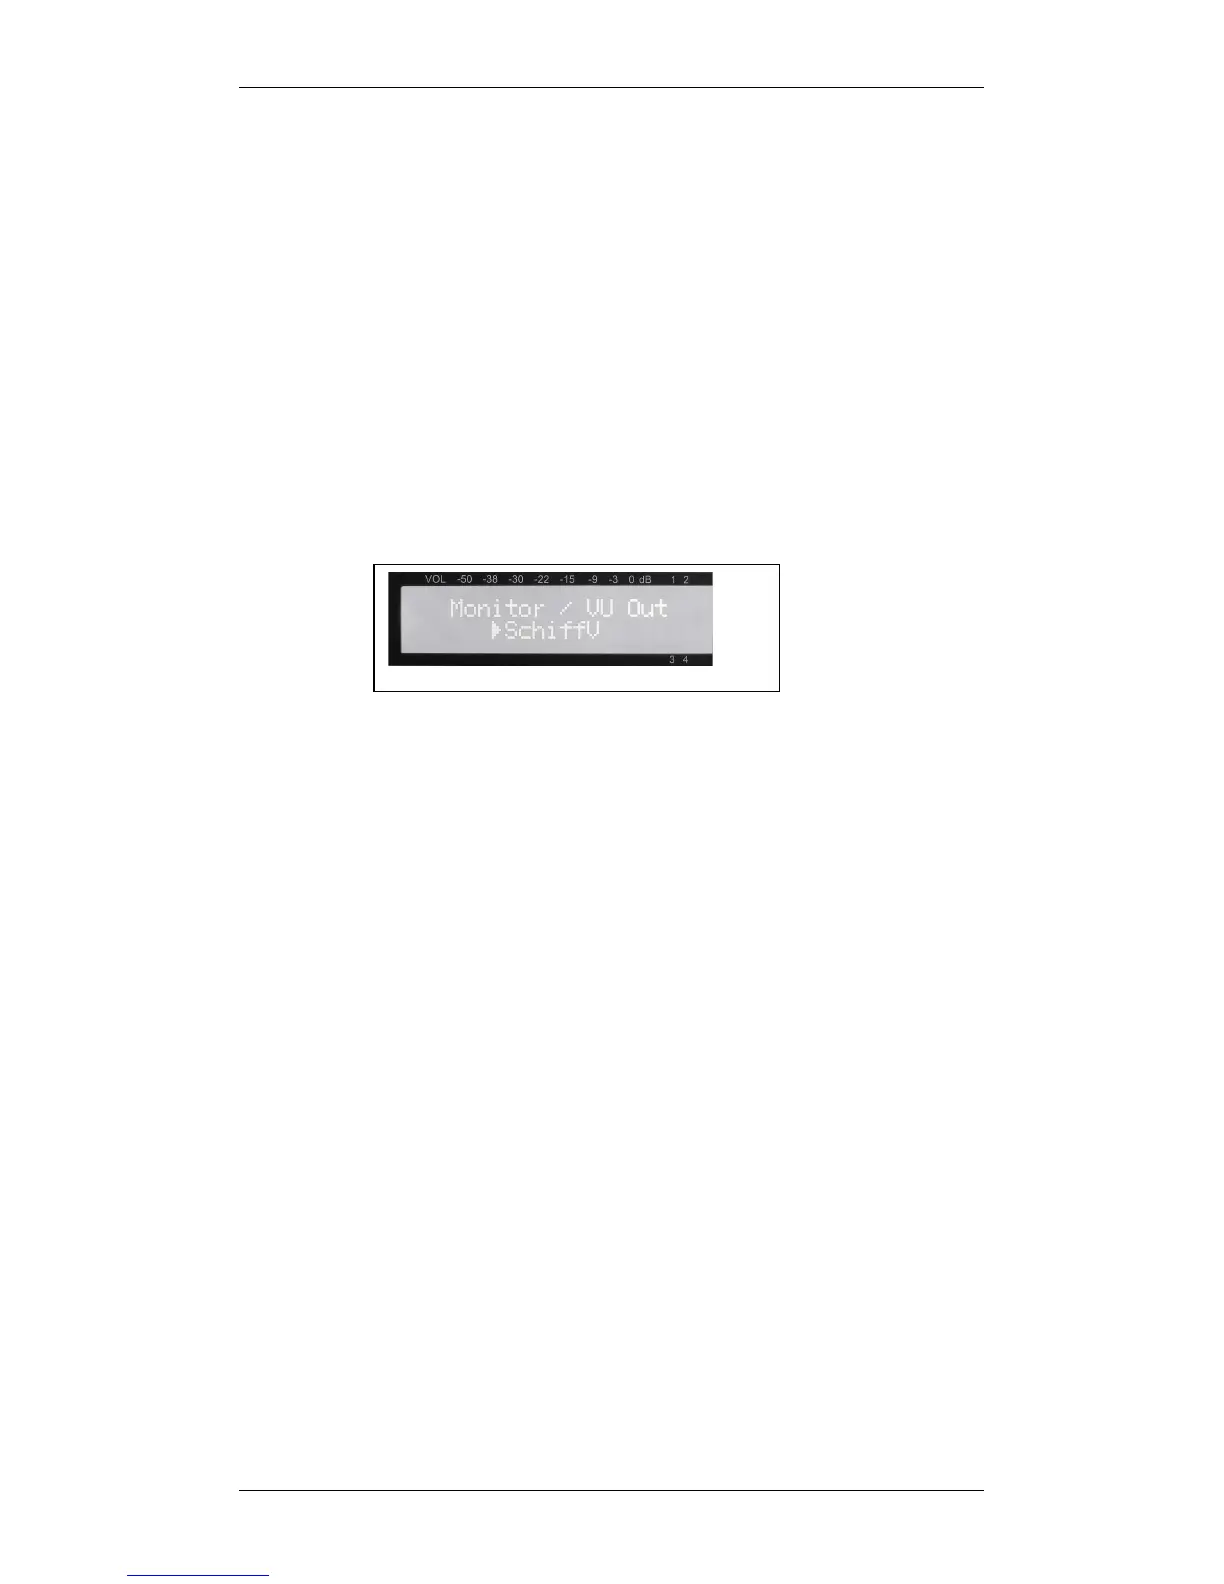
• Monitor / VU Out: Selection of one of the 4 outputs for monitoring via
headphone. On the left side next to the display there is a headphone
connection that can be used for monitoring purposes. The output chosen
here is also the one corresponding to the VU meter in the display. By
turning the volume knob, you can chose the desired output.
• LCD contrast: Set the contrast of the LCD display from 0 to 50 for an
optimal readability.
• Vol/Preset protect: The protection of the settings is such that changes
(e. g. changing between presets or temporary volume changes) can only
be performed while pushing and turning the knobs at the same time. This
is intended to safeguard the settings from accidental changes. If this
protection is turned off, changes can be made by simply turning the
knobs without pushing them. Turning the volume knob by one click either
enables or disables the protection.
• Welcome screen Line 1: Set the first line (16 characters) of the
welcome text that shows up when powering up the unit. The cursor will
blink under the first character. By turning the volume knob, the following
letters, numbers, and special characters will appear in this order: A-Z, Ä,
Ö, Ü, a-z, ä, ö, ü, 0-9, space, ! „ # $ % & ’ ( ) * + , - . / Pushing the
preset knob will confirm the current character und move the cursor one
position to the right. Now you can set the next character.
• Welcome screen Line 2: Set the second line (16 characters) of the
welcome text that shows up when powering up the unit.
• Output 1 Name: Determine the name of the first output. 8 characters are
available for this name (e.g. nave, gallery, etc.)
• Output 2 Name
• Output 3 Name
• Output 4 Name
4.2.4 Service
• Firmware: Displays the current firmware version of the unit.