Do you have a question about the Avigilon 1.0W-H3-BO1-IR and is the answer not in the manual?
| Brand | Avigilon |
|---|---|
| Model | 1.0W-H3-BO1-IR |
| Category | Security Camera |
| Language | English |
Details compliance with FCC rules for potential interference and user responsibilities.
Guidelines for environmentally responsible product disposal and recycling.
Information regarding manual content, product specifications, and potential changes.
Statement concerning patents, copyrights, trademarks, and licenses.
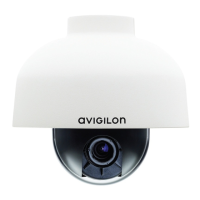
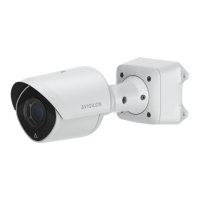
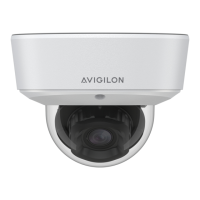
Identifies external features visible from the front of the camera.
Details the ports, indicators, and tags located on the camera's bottom.
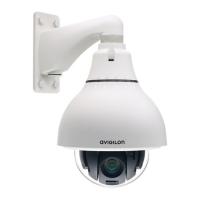
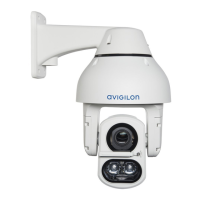
Describes the mounting bracket, arm, and adjustment mechanisms.
Lists all items included in the camera's packaging for setup.
Procedure for drilling mounting holes for secure camera installation.
Instructions for connecting network and power cables to the camera.
Steps for physically attaching the camera to a wall or ceiling.
How to configure the camera's network IP address for connectivity.
Methods for viewing the camera's live video feed on a network.
Guidance on positioning the camera for the desired field of view.
Steps to adjust the camera lens for optimal image clarity.
Instructions for using an SD card for local video data storage.
Resources for additional setup and usage guidance.
Steps to reattach the sun shroud to the camera after removal.