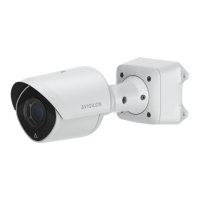
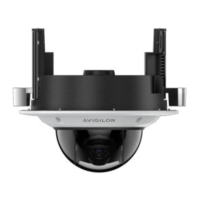
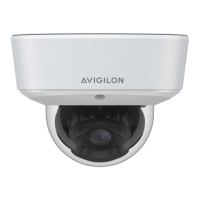
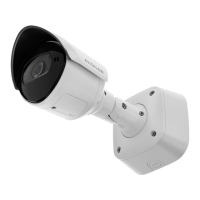
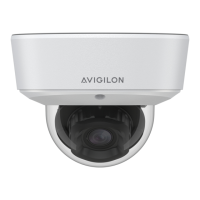
The Avigilon H6M Mini Dome Camera is a versatile surveillance device designed for various mounting applications, including surface, in-ceiling, and pendant installations. This installation guide provides comprehensive instructions for setting up and maintaining the camera, ensuring optimal performance and longevity.
Function Description:
The Avigilon H6M Mini Dome Camera is a network-enabled security camera designed for video surveillance. It captures video footage and transmits it over an Ethernet network, supporting Power over Ethernet (PoE) for simplified installation. The camera is equipped with internal mechanisms for aiming, allowing for precise adjustment of the field of view. Optional infrared illuminators are available on selected models for enhanced low-light performance. The camera also supports microSD cards for onboard storage, providing a local backup or primary storage solution.
Important Technical Specifications:
- Power: The camera is powered by Power over Ethernet (PoE), specifically IEEE 802.3af Class 3, requiring 48 VDC, 6W min.
- Network Connection: RJ45 Ethernet port for network connectivity and PoE.
- Storage: Supports microSD cards for onboard storage. For optimal performance, microSD cards with a capacity of 64 GB or more and Class V10 or better are recommended.
- Mounting Options:
- Surface Mount: H6M-D(-IR)
- In-Ceiling Mount: H6M-D(-IR) + H6M-MT-DCIL1
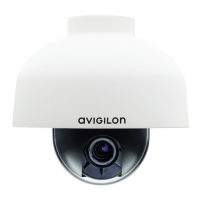
- Pendant Mount: H6M-D(-IR) + H6M-MT-NPTA1 (Note: NPT pipe is not supplied by Avigilon and should be sourced separately.)
- Recommended Ambient Temperature for In-box Configuration: 30° C (86° F). The maximum recommended duration for in-box configuration is 1 hour.
- Maximum Installation Height for Video Analytics: The camera should be installed above 2.74 m (9 feet) for optimal video analytics capabilities.
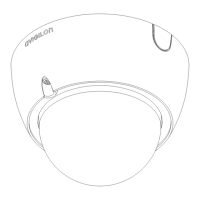
- Image Quality: The camera is designed to maintain overall image quality, and protective covers on the outside of the dome bubble should be kept on until installation is complete to prevent scratches or fingerprints.
Usage Features:
- Camera Body: The main body of the camera houses the internal mechanisms for aiming.
- Camera Bezel: Protects the camera latch, internal components, and the mounting adapter.
- Camera Lens: Located behind the protective dome.
- Infrared Illuminator (optional): Available on selected models for improved visibility in low-light conditions.
- Connection Status LED Indicator: A green LED provides visual feedback on device operation. Different blinking patterns indicate various statuses such as obtaining an IP address, discovering the network, upgrading firmware, and being connected.
- Locking Latch: An orange-colored latch secures the camera in place after aiming.
- Camera Housing Clips: These clips attach the camera body to the mounting adapter.
- Cable Entry Hole: An opening for routing the necessary cables for camera operation.
- Logo Guide: Used to indicate the correct orientation of the camera during installation, ensuring the logos face the intended direction.
- Firmware Revert Button: Used to reset the camera to its factory default settings.
- Web Interface: The camera can be accessed and configured through a web browser using its IP address.
- Avigilon Control Center (ACC) Client and Camera Configuration Tool: Software tools for managing and configuring the camera, including setting up user accounts, IP addresses, and advanced features.
- Video Analytics: When installed above 2.74 m (9 feet), the camera can leverage Avigilon's video analytics capabilities. Specific guidelines for tilt, level, and stable surface mounting are provided to maximize analytics performance.
- Live Video Stream: Users can access the live video stream through a web browser or Avigilon Control Center software.
Maintenance Features:
- Resetting to Factory Default Settings: The camera can be reset to its factory default settings using the firmware revert button. This involves pressing the button with a straightened paperclip or similar tool for three seconds. Caution is advised to avoid applying excessive force.
- Troubleshooting Network Connections and LED Behavior: The guide provides a table detailing different LED behaviors (off, amber, blinking patterns) and their suggested solutions, which often involve performing a factory reset or checking network settings.
- Disassembling an Installed Camera: Instructions are provided for safely removing the camera from its surface, in-ceiling, or pendant mount. This typically involves twisting the bezel counter-clockwise until it releases and pinching the camera housing clips to detach the camera body.
- Firmware Upgrades: The LED indicator provides feedback during firmware upgrades, indicating when the firmware is being updated.
- Cleaning: While not explicitly detailed as a maintenance feature, the note about protecting the dome bubble from scratches and fingerprints implies the need for careful handling and cleaning to maintain image quality.
- Technical Support: Avigilon provides warranty terms and technical support, which can be accessed through their website.
- Regulatory Notices: The device complies with FCC Rules Part 15 and Canadian ICES-003 for digital apparatus, indicating adherence to electromagnetic compatibility standards.
- Disposal and Recycling Information: The product should be disposed of separately from household waste, following local laws and regulations. Collection points are available for proper recycling, contributing to environmental preservation.