REMOTE OPERATION
~49~
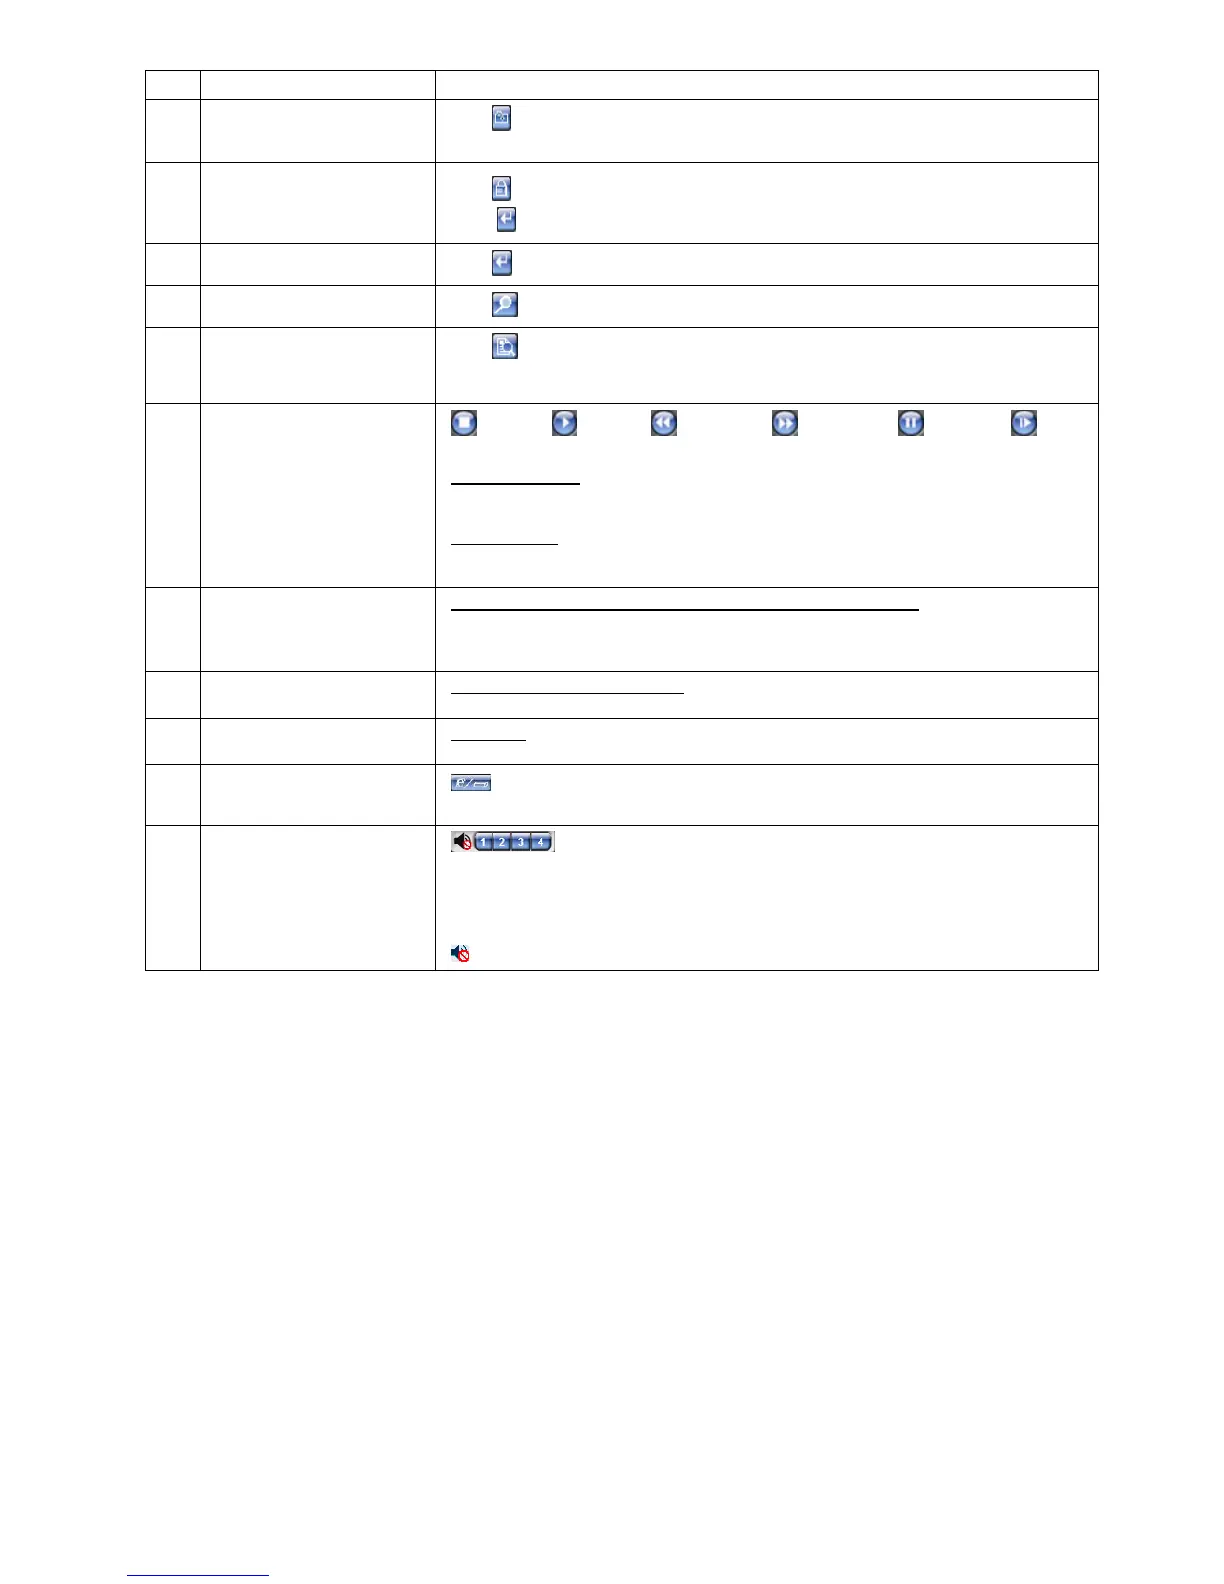
NO. Function Description
9 Snapshot
Click
to take a snapshot for the current view, and open another browser window to display
the captured image.
10 Key Lock
Click
to enable the DVR key lock function. To unlock the DVR, key in your password, and
press .
11 Enter
Click
to confirm the setting or enter your selection.
12 Digital Zoom
Click
to zoom in / out the selected channel image.
13 Search
Click
to enter the DVR full search menu.
You can check all the logs here, and select one of them to payback.
14 Playback control buttons
(Stop) / (Play) / (Rewind) / (Forward) / (Pause) / (Slow
Playback)
Rewind / Forward
Click once to get 4X fast rewind / forward, twice to get 8X, three times to get 16X, and four
times to get 32X the highest.
Slow Playback
Click once to get 4X slow playback and twice to get 8X slow playback.
15 Web Transmission
H.264 / M-JPEG / QuickTime (Depending on the model you have)
QuickTime is Apple Inc.’s multimedia software. You need to have QuickTime installed in you
operation system first. When “QuickTime” is selected, you will be promoted to enter the user
name and password to access the server of the DVR.
16 Change Quality
BEST / HIGH / NORMAL / BASIC
Click to change the image quality.
17 Change Resolution
4 CIF / CIF
Click to change the image resolution (4CIF: 704*480 / CIF: 352*240)
18
Remote Independent
Operation Off / On
Click it to disable / enable the network independent function.
19 Audio Channel Selection
Select the audio channel you want for listening to the live audio (in the live mode) or playback
audio (in the playback mode).
Note: You need to connect the camera which supports audio recording to the audio
input of the DVR. For details, please refer to “2.2 Rear Panel” at page 6.
means no camera which supports audio recording is connected to the DVR.
 Loading...