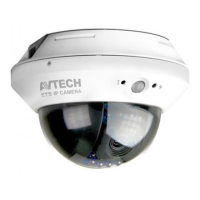
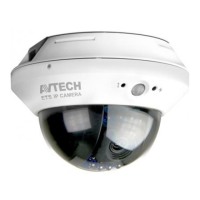
724Z
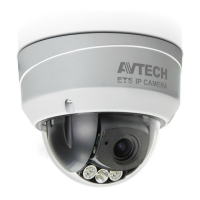
ADJUST FOCAL LENGTH & FOCUS
FOR SELECTED VARI-FOCAL MODELS ONLY
Manually: For traditional vari-focal camera Remotely: For motorized vari-focal camera
If you need to adjust the focus, the picture shows you where to adjust.
F
TW
N
for adjusting focal length
for adjusting focus
lens
Type 1 Type 2
To remotely adjust focal length and focus of the camera, access the camera from Internet Explorer.
Note: The default camera IP address is 192.168.1.10, the port number is 88, and the user name and password are
both admin.
To search the IP address and port number, you could download our IP scan tool from
www.surveillance-download.com/user/m521.swf
.
In the tab of “Live View”, you’ll see the icons in the control panel area as below:
/
Zoom Tele /
Zoom Wide
Click to zoom in on the image to the largest / zoom out on
the image to its original size.
/
Max Zoom Tilt /
Max Zoom Wide
Click to zoom in / out the image.
/
Focus Far / Near Click to adjust the focus of the image.
Note: You can also adjust the focal length and the focus by accessing to the NVR with PTZ controlling. For more
detail, please refer to the NVR manual.
INSERT A MICRO SD CARD WATERPROOF ACCESSORIES (FOR NETWORK CABLE)
FOR SELECTED MODELS ONLY
The data originally saved in the microSD card (if any) will be removed after inserting it to the camera.
The camera doesn’t support hot-swapping. Please insert or remove the microSD card with power
disconnected.
Please follow the directions in the below graphic to insert MicroSD card properly:
FOR SELECTED MODELS ONLY
Step 1: Put the O-Ring on the plastic tube as the left
illustration.
Step 2: Pass the network cable without connector
through the plastic tube cover as the right
illustration.
Step 3: Put the waterproof seal into the plastic
tube.
Step 4: Pass the network cable through the plastic
tube and screw it tightly.
Step 5: Install a connector to the network cable.
Step 6: Connect the network cable with plastic tube to
the RJ45 waterproof connector of camera.
Step 7: Screw them tightly to prevent water seepage.
Tighten