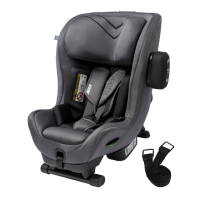
17
Installing lower tethers
Always use two anchorage points when installing Axkid MOVEKID and choose anchorage points that are separated as this gives a more stable
installation. Depending on your vehicle and the seat position where you choose to install your car seat, there are various possible anchorage points
to use. See below for alternatives.
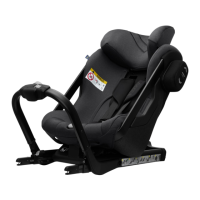
Lower tether routing options
alt. a
Install the tether around the seat rail in front of the car seat by threading the tether between the seat rail and vehicle
floor or through an appropriate hole of the seat rail.
alt. b
Install the tether around the hinge of the vehicle seat in front of the car seat by threading the tether in between the
vehicle seat back and seat cushion.
alt. c
Install the tether around the seat rail below the car seat by threading the tether between the seat rail and vehicle floor or
through appropriate hole of the seat rail.
alt. d
Install the lower tether to a suitable anchorage point in the back of the vehicle and route the tether underneath the
vehicle seat to the front of the vehicle. Make sure that the lower tether comes out from the front of the seat and not out
from the sides.
alt. e
When installing the Axkid MOVEKID in the front passenger seat, the tether should be wrapped around the nearest
suitable anchor point that will allow the straps to be tightened fully. Anchor points set further back can be used, and if
needed, the tether can be crossed over and even looped together with another tether.
Note: Always make sure that changing the position of any vehicle seat does not interfere or damage the installed lower tethers.
Note: Never use sharp objects to assist in routing the tethers as it might damage the tethers.
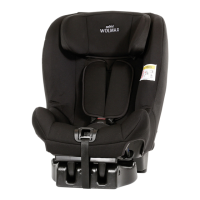
LTA
When installing the Axkid MOVEKID using lower tether anchorages (LTA), the lower tether (N) can be looped around
the metal clip connector (K), and the metal clip (L) should be connected to the lower tether anchor.
17
EN
 Loading...