Axon Body 3 Camera Battery Replacement
Last Updated: September 2019 Page 5 of 7
Torx is a trademark of Acument Intellectual Properties, LLC. AXON, Axon, and Axon Body 3 are trademarks of Axon Enterprise,
Inc., some of which are registered in the US and other countries. For more information, visit www.axon.com/legal.
All rights reserved. © 2019 Axon Enterprise, Inc. Rev A
8. Carefully align and press down on battery connector to connect to main board.
Caution: Make sure connector is properly seated before pushing down to avoid damaging
internal pins.
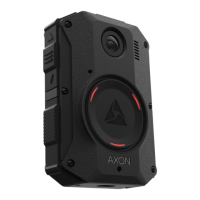
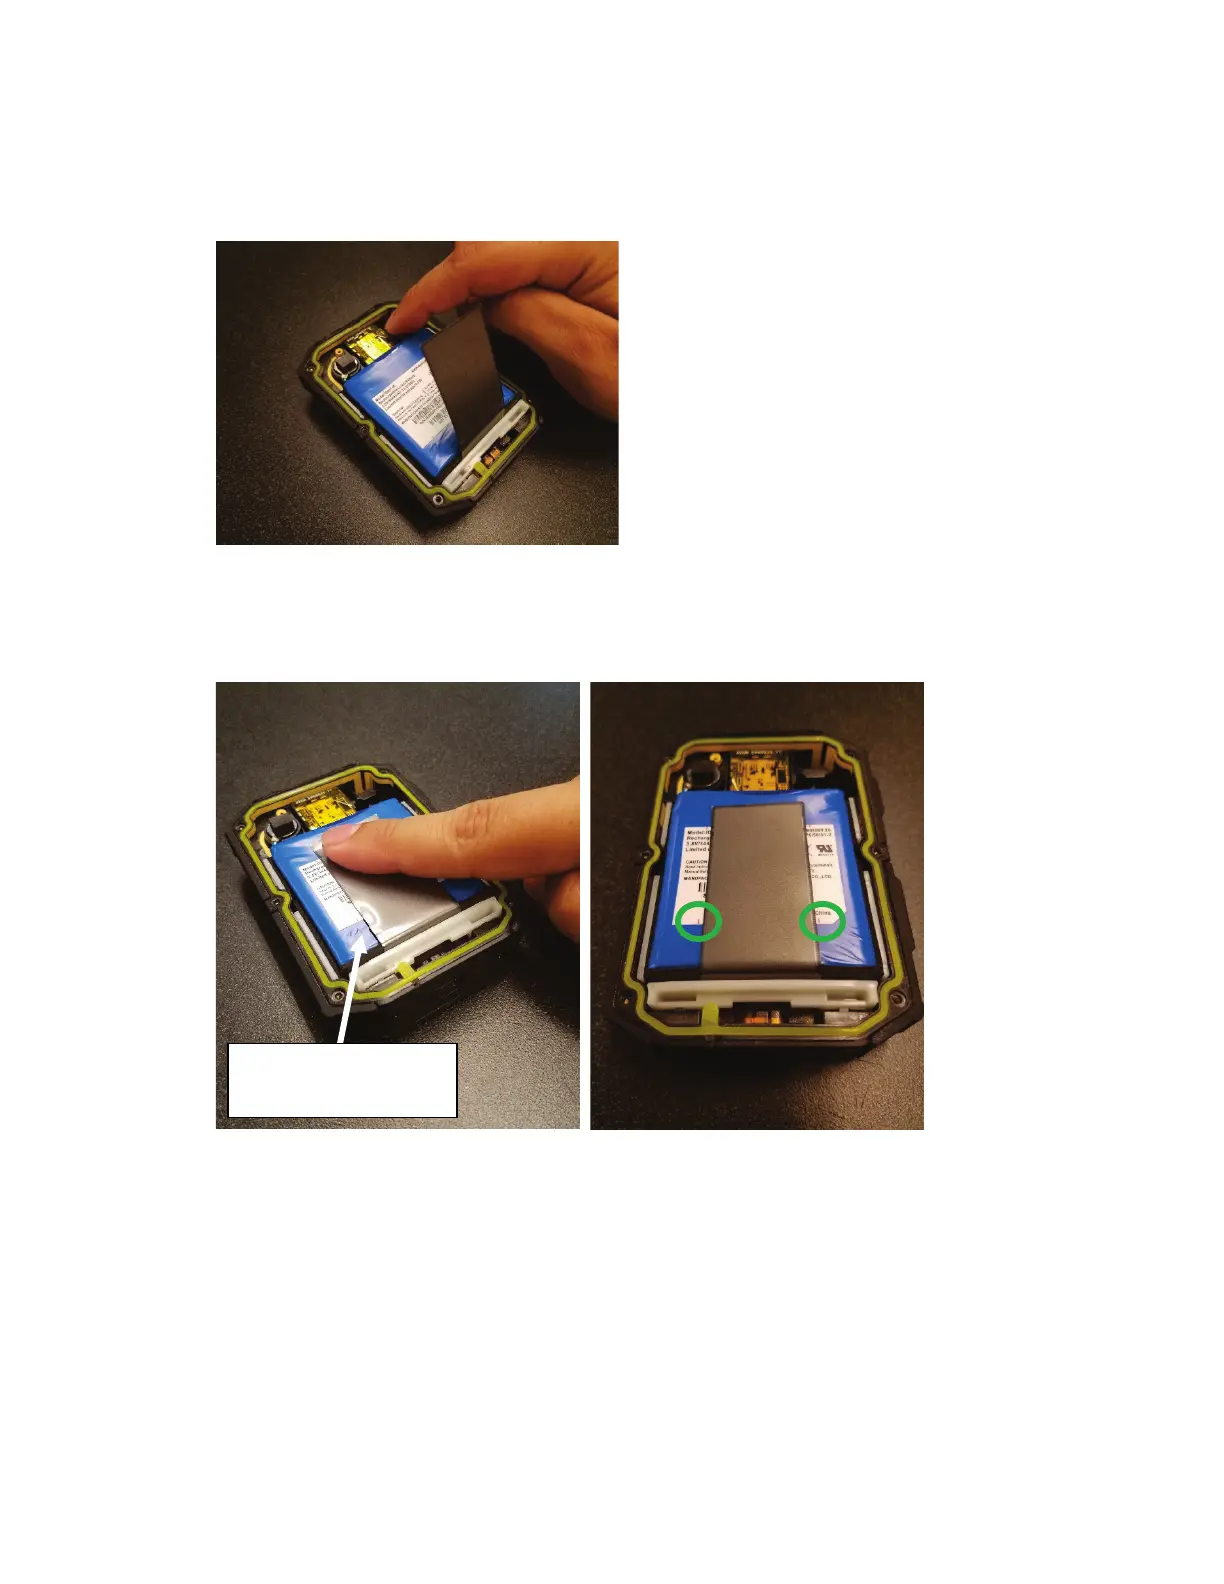
9. Re-attach black PGS layer to top of battery by pressing down on adhesive patch. Make sure the
PGS layer is pulled taught and not tilted left or right. Check that PGS is between red markings on
battery to ensure proper alignment.
No slack between PGS
layer and battery.
 Loading...