This document outlines the functions, usage, and maintenance of a dash cam device.
Function Description:
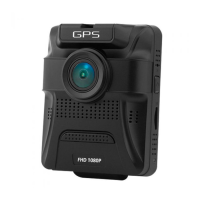
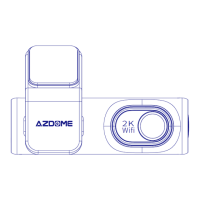
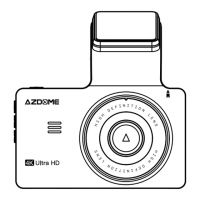
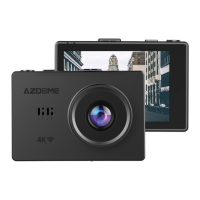
The device is a dash cam designed for recording video, taking photos, and providing GPS information. It features both front and rear cameras, allowing for dual-channel recording. The dash cam can automatically start recording when the vehicle starts and power off when the engine is turned off, provided the car's cigarette lighter socket has electrifying/outage reminders. It also includes a G-sensor to save files in emergency situations, preventing them from being deleted during collisions. The device supports loop recording, ensuring continuous recording without running out of storage space. It can also detect motion, which can trigger recording. For navigation and location tracking, the device has built-in GPS capabilities.
Usage Features:
The dash cam offers various operational modes, including video mode, photo mode, and playback mode, accessible via the "Menu/Mode" button.
- Power On/Off: A short press of the "Power" button turns the device on, and a long press turns it off. The indicator light will illuminate when powered on.
- Recording (Video Mode): In video mode, a short press of the "OK" button starts recording, indicated by a flashing red light. Another short press stops recording. The device can also be configured to automatically start recording when connected to a car charger.
- Taking Photos (Photo Mode): To switch to photo mode, long press the "Menu" button. A photo icon will appear on the LCD. A short press of the "OK" button takes a photo, and the LCD screen will flash to indicate the photo-taking process is complete. The "OK" key can also be long-pressed to switch to dual record mode for photos.
- Playback Mode: To access playback mode, press the "Menu" button twice. A playback icon will appear on the LCD. Use the "Up/Down" buttons to select video or photo files, and a short press of the "OK" button will play the selected file. The "Menu" button in playback mode allows access to file options like Delete, Protect, and Slide Show.
- Menu Navigation: The "Menu/Mode" button is central to accessing settings. A short press brings up the dash cam setting menu. Within menus, "Up" and "Down" buttons are used to navigate options, and "OK" confirms selections.
- Audio Recording: The "IR lights switch" button can be short-pressed to turn on/off audio recording in video mode.
- Zoom Functionality: In photo mode, a short press of the "IR lights switch" button zooms in, and a short press of the "Down" button zooms out.
- Lens Switching: In video mode, a short press of the "Down" button switches between different recording modes of the lens (e.g., front, rear, or dual view).
- IR Lights: A long press of the "IR lights switch" button turns the IR lights on or off.
- Locking Video: During video recording, a short press of the "Menu" button can lock the current video, preventing it from being overwritten.
- Reset: If the device crashes, a short press of the "Reset" button will reboot it.
- Charging: The device can be charged by connecting a car charger to the car's cigarette lighter or by connecting a USB cable to a PC. When connected to a PC, you can choose between "PC Camera" for charging or "Mass Storage" for downloading files.
- GPS Player Software: To view GPS information, a dedicated GPS player software must be installed on a computer. This software can be downloaded from the manufacturer's website or Facebook page. Once installed, users can open recorded files to view GPS data alongside the video.
Maintenance Features:
Proper maintenance ensures the longevity and optimal performance of the dash cam.
- TF Card Management:
- The device supports 8-64G MicroSD cards (Class 10 or above is recommended for high-speed data read/write).
- Always use name-brand cards (e.g., Kingston, SanDisk, Samsung) to ensure normal recording.
- Do not insert or pull out the TF card while the system is working to avoid damaging the memory card.
- If the device cannot record a normal video, check if the TF card is inserted correctly. If necessary, format the TF card. If the card is damaged, replace it with a new one.
- If "wrong file" is shown during playback, it may indicate a TF card storage error, and formatting the card is recommended.
- Lens Cleaning: If images appear fuzzy, check for dust or fingerprints on the lens and clean it before shooting.
- Exposure Adjustment: If images are dark when shooting scenes with significant light differences (e.g., sky or water), adjust the "EV" setting in the menu.
- Frequency Setting: If horizontal stripes interfere with the image, adjust the frequency setting (60HZ or 50HZ) according to the local power supply.
- Troubleshooting GPS Player: If the Google Map cannot be loaded in the GPS Player, try running the player as an administrator, upgrading Internet Explorer to IE 10 or above, or contacting customer service.
- Device Hangs: If the device hangs, perform a reset to recover.
- APP Performance: If the APP picture is not smooth or cannot be achieved, try closing background apps, keeping the phone near the dash cam, or closing and restarting the APP.