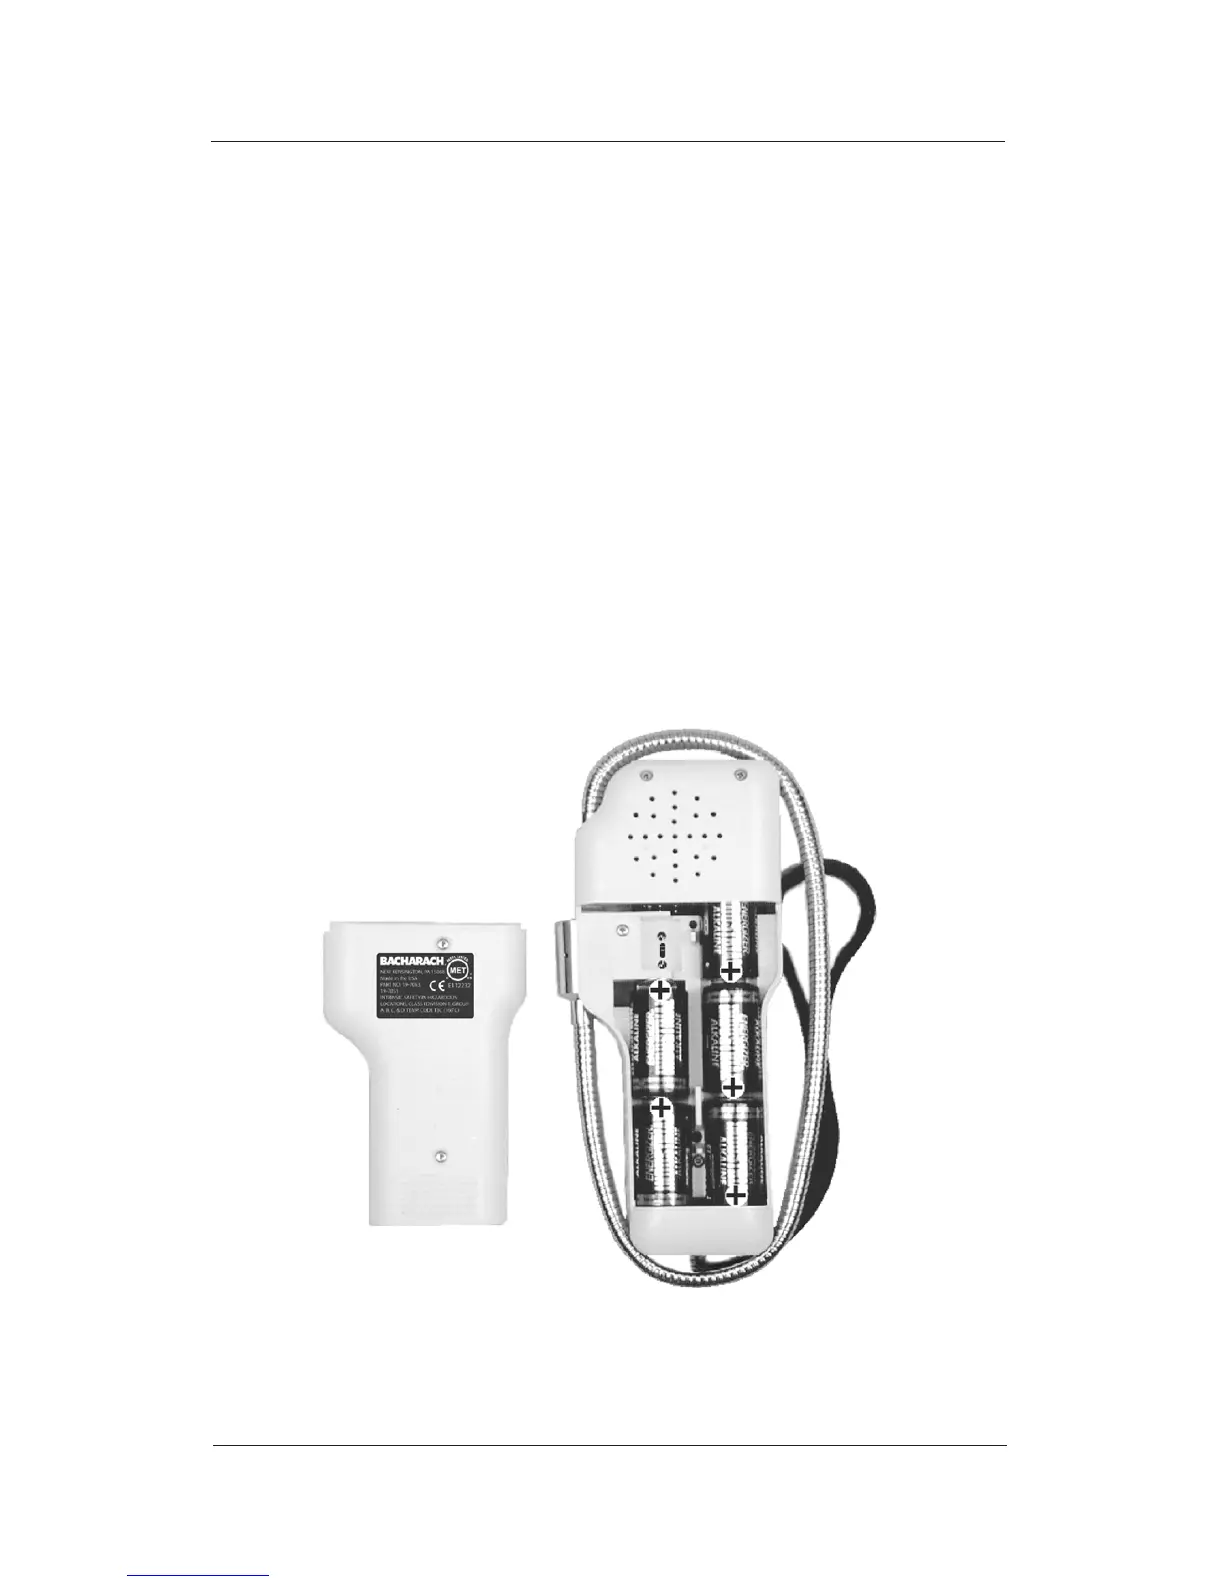
Figure 2. Battery Installation
Battery Installation
5
Leakator 10
Instruction 0019-9167
(Fig 3) clockwise until a click is heard. Observe the following:
• The Power LED lights.
• The Fail LED will light, but should turn off in a few sec-
onds if the sensor is good and properly seated in its socket.
• If the Low Bat. LED is on, replace the batteries per Section
3.0 Battery Installation.
After the instrument stabilizes, rotate the Gain control in the
direction necessary to cause the bottom Gas Level LED to
just turn off. Be sure to always set this control in the same
environment you intend to test in.
The instrument is now ready for use.
 Loading...