9. Turn the switch to ON.
10. When poaching is complete the appliance will buzz. Flip the switch to OFF.
11. Remove the Poaching Tray, Warming Tray and Lid from the
Caution: Remove trays carefully to avoid scalding
Caution: Remove trays carefully to avoid scalding
12 Take the Lid off of the Warming and Poaching Trays. Allow the remaining steam
13. Remove the pre-cooked meat and the poached egg from their respective trays.
Assemble a sandwich or enjoy separately.
14. Unplug the appliance after each use.
Simply turn the rocker switch to OFF.
Use extreme caution when operating the egg poacher as hot steam is released
Do not leave the appliance unattended.
Do not attempt to cook fresh meat produ
cts: use only pre-cooked meat produ
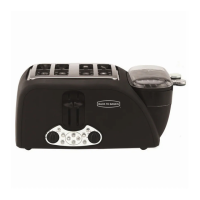
1. Place unit on a clean fl at surface and remove Lid, Warming Tray, and Poaching
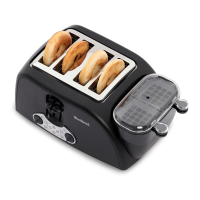
2. Place an English muffi n, bagel, bread, or croissant into the Wide Toasting Slots.
3. Select the desired level of darkness by adjusting the Light/Dark Toast Lever.
4. Fill Measuring Cup with water to the “soft” or “medium” line above the
“POACHED EGG” mark and pour into the Heating Tray, or add 2 to 2 1/2 table-
spoons of water directly into the Heating Tray.
5. Apply no-stick cooking spray to the Poaching Tray.
6. Break an egg into the Poaching Tray and place on top of Heater Tray.
7. Place Warming Tray above Heating & Poaching Trays and add pre-cooked meat
8. Place Lid above the Warming Tray.
9. Plug in the appliance.
10. Turn the switch to ON and then press the Carriage Lever down until it locks into
Soft (Runny Center) 2
Medium (Partially Cooked Center) 2.5
Hard (Fully Cooked Center)
3
1 3.5 4.5 7
2 3.25 4.25 6.75
3 2.75 3.75 6.25
4 2.5 3.5 6
Time to Cook 6-8 Minutes
 Loading...