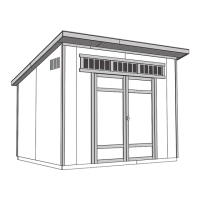
DOOR
25
2 x 4 x 93-3/16" (5,1 x 10,2 x 236,7 cm)
x2
BOA
BOA
BOA
3" (7,6 cm)
x8
OUTER RAFTER INSTALLATION
PARTSREQUIRED:
DOOR
3"(7,6cm)
Screw
3"(7,6cm)
Screw
Remove all temporary braces.
6
You have nished installing your outer rafters.
FINISH
7
Rest one outer rafter on front and back wall doublers. Ensure rafter is ush to back wall
panel (Fig.A) and ush to end of back wall doubler (Fig.B).
Secure back of outer rafter using 3" screw installed centered into outer rafter end (Fig.
A) and afterwards toenailed into inside of rafter (Fig.B).
Secure front of outer rafter using 3" screws installed centered into outer rafter end (Fig.C)
and afterwards toenailed into inside of rafter (Fig.D).
Repeat steps 1 through 4 for opposite side outer rafter.
Orient front of outer rafter ush to front wall panel (Fig.C) and ush to end of front wall
doubler (Fig.D).
1
2
4
5
3
3"(7,6cm)
Screw
Flush
Fig.A
3"(7,6cm)
Screw
Flush
Fig.C
3"(7,6cm)
Screw
toenailed
Flush
Fig.B
3"(7,6cm)
Screw
toenailed
Flush
Fig.D
DONOTOVER-DRIVESCREWTHROUGHPANEL.
 Loading...