26
3" (7,6 cm)
x42
RAFTERS
PARTSREQUIRED:
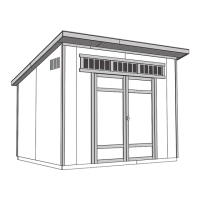
DOOR
2 x 4 x 93-3/16" (5,1 x 10,2 x 236,7 cm)
x7
BOA
You have nished installing your rafters.
FINISH
7
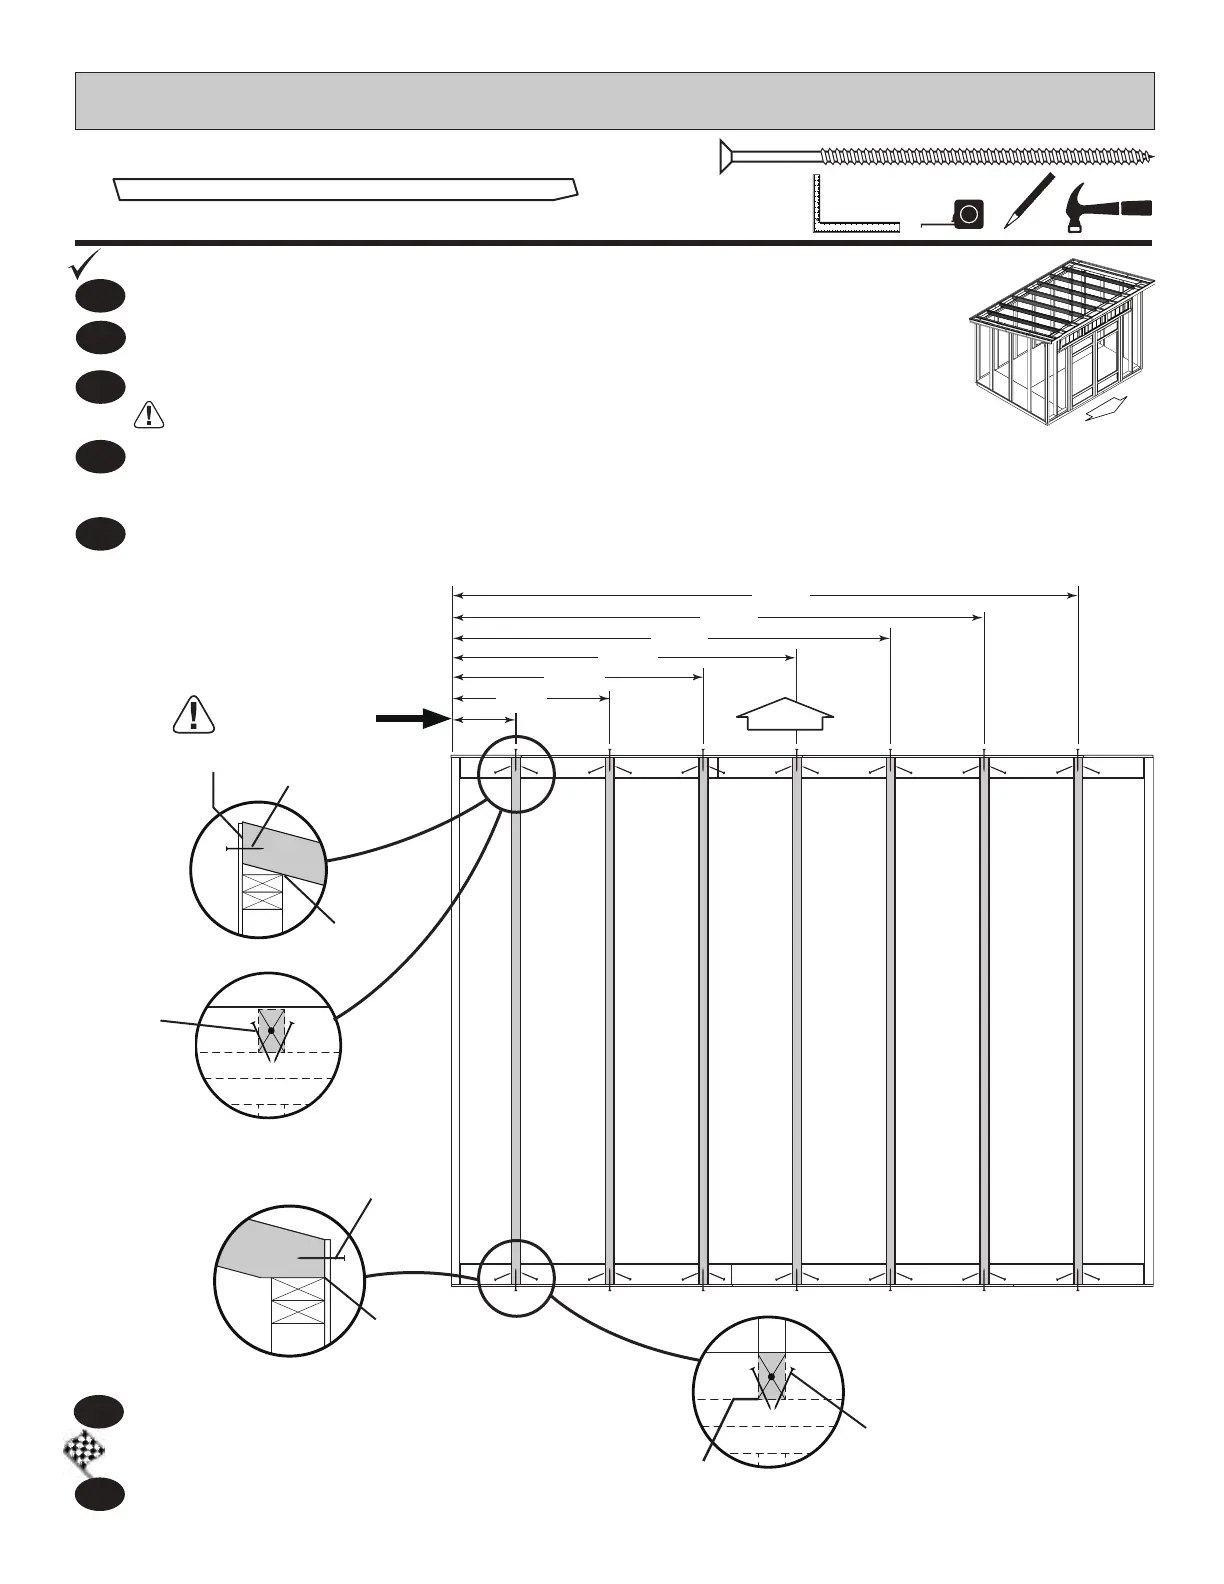
Place rafter on front and back wall doublers. Line up rafter centered with marks. Ensure
rafter is ush to back wall panel (Fig.A) and ush down on top of back wall doubler (Fig.B).
Secure back of rafter using 3" screw installed centered into outer rafter end (Fig.A).
Toenail each end of rafter into doubler using 3" screws (Fig.B,Fig.D).
Repeat steps 2 through 5 to install (6) remaining rafters.
Line up rafter centered with marks on front doubler. Ensure rafter is ush to front wall panel (Fig.C). and resting
ush on top of front doubler (Fig.C). Secure front of rafter using 3" screw installed centered into outer rafter end
(Fig.C).
2
3
5
6
3"(7,6cm)
Screw
Flush
Fig.A
3"(7,6cm)
Screws
toenailed
Flush
Fig.B
3"(7,6cm)
Screws
toenailed
Fig.D
DONOTOVER-DRIVESCREWTHROUGHPANEL.
Starting at end as shown, measure and mark location of each rafter.
1
4
10"
(25,4 cm)
26"
(66,1 cm)
42"
(106,7 cm)
58"
(147,4 cm)
90"
(228,6 cm)
106"
(269,3 cm)
74"
(188 cm)
DOOR
3"(7,6cm)
Screw
Flush
Fig.C
Flush
BEGINHERE
 Loading...