B22W-202010
3
-
13
CHAPTER 3 ENGINE ACCESSORIES1022H TRACTOR
3
2.3 INSPECTION OF EACH PART
2.3.1 INSPECTION OF THE CLEANER BODY
2.4 CLEANING THE AIR CLEANER
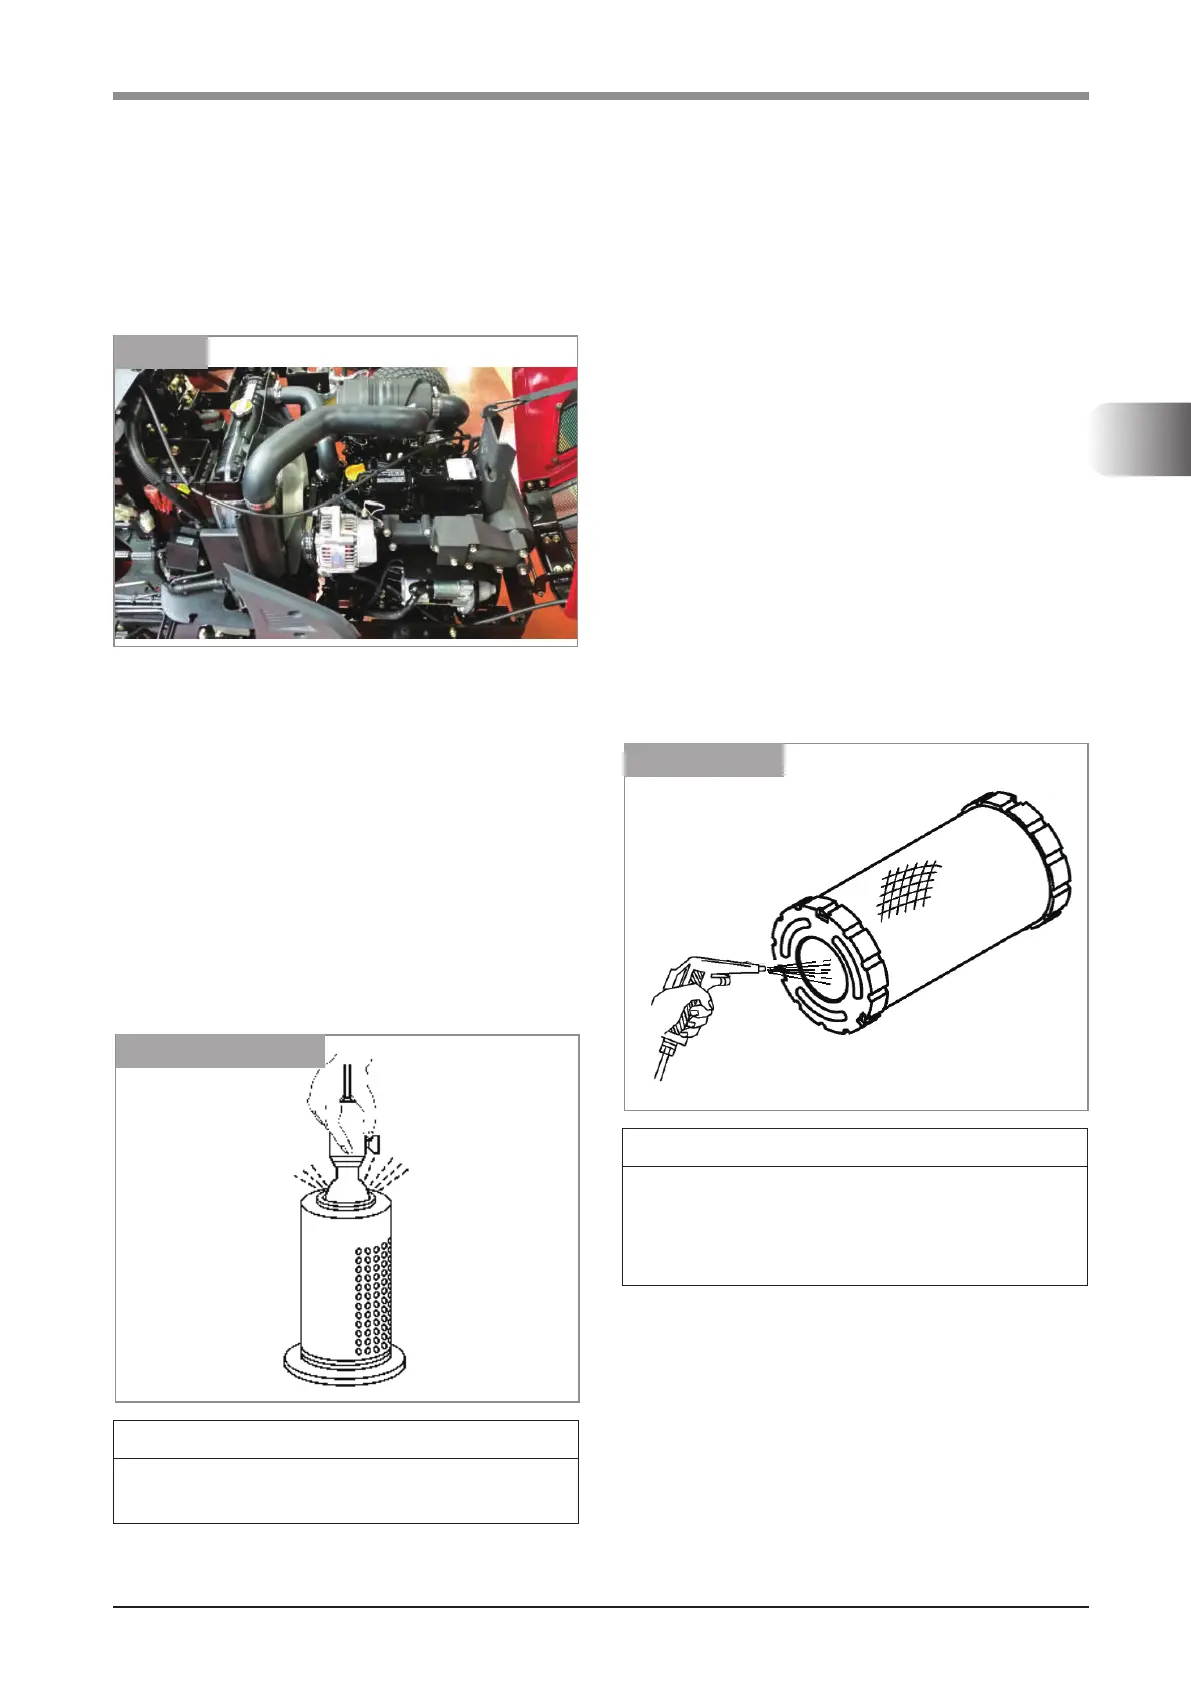
2.3.2 INSPECTION OF RUBBER HOSES
1. Check the cleaner exterior for cracks, deformation
or damage and repair or replace if necessary.
2. Check each packing for fatigue or damage and
replace if necessary.
Clean the air cleaner after 100 hours of operation or
less depending on conditions in the following manner.
1. When the air cleaner is cleaned or the element
is replaced, dust accumulated inside the air
cleaner body should be removed with a cloth. As
inhaled dust causes engine wear, remove a dust
accumulated inside the inlet pipe, the rubber hose
which connects in the inlet pipe and the air cleaner,
the inlet manifold and inlet port.
• When accumulated dust is dry.
- When removing the dust in the element, hold the
element by a hand and pat the side wall with other
hand. Never hit the element against a stone or a
concrete wall because that might cause its side
wall to peel off.
- apply compressed air from inside of the element
to blow dust off while turning the element by hand.
Check the rubber hoses for fatigue or damage and
replace if necessary.
K19W078A
FIG. 3-12
K19W080A
FIG. 3-14 Element
2.3.3 INSPECTION OF THE PAPER ELEMENT
To check the element for damage, Dry it sufciently
after washing and put an electric bulb in to the element
and look for damage.
K19W079A
FIG. 3-13 Element check
NOTE
• Especially note the glue portions of the paper
and metal parts.
NOTE
• The compressed air to be applied should not
have a pressure of more than 7kg/cm
2
(99.6psi)
Maintain sufficient distance between the air
gun and the element.



 To Next Page