Do you have a question about the Bang & Olufsen BeoSound Ouverture 2631 and is the answer not in the manual?
| Brand | Bang & Olufsen |
|---|---|
| Model | BeoSound Ouverture 2631 |
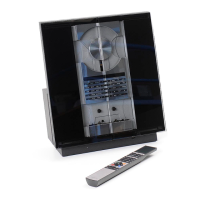
| Category | Stereo System |
| Language | English |
Details on THD, frequency response, input sensitivity, and signal-to-noise ratio.
Specifies FM frequency range, sensitivity, distortion, and signal-to-noise ratio.
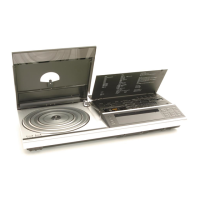
Step-by-step guide for setting the clock on the BeoSound Ouverture.
Procedure to enter and exit test mode for adjustments and diagnostics.
Details on tuning oscillator and specific frequencies like 87.5 MHz and 108 MHz.
Procedure to adjust channel separation for stereo signals, ensuring symmetry.
Instructions for height and azimuth adjustment of the tape recorder mechanism.
Details on adjusting tape recorder right/left channels, noise reduction, speed, and playback level.
Instructions for adjusting CD electrical parameters, including laser current.
Step-by-step guide for replacing the CD transport mechanism.
Instructions to place PCB1 in a service position for easier access.