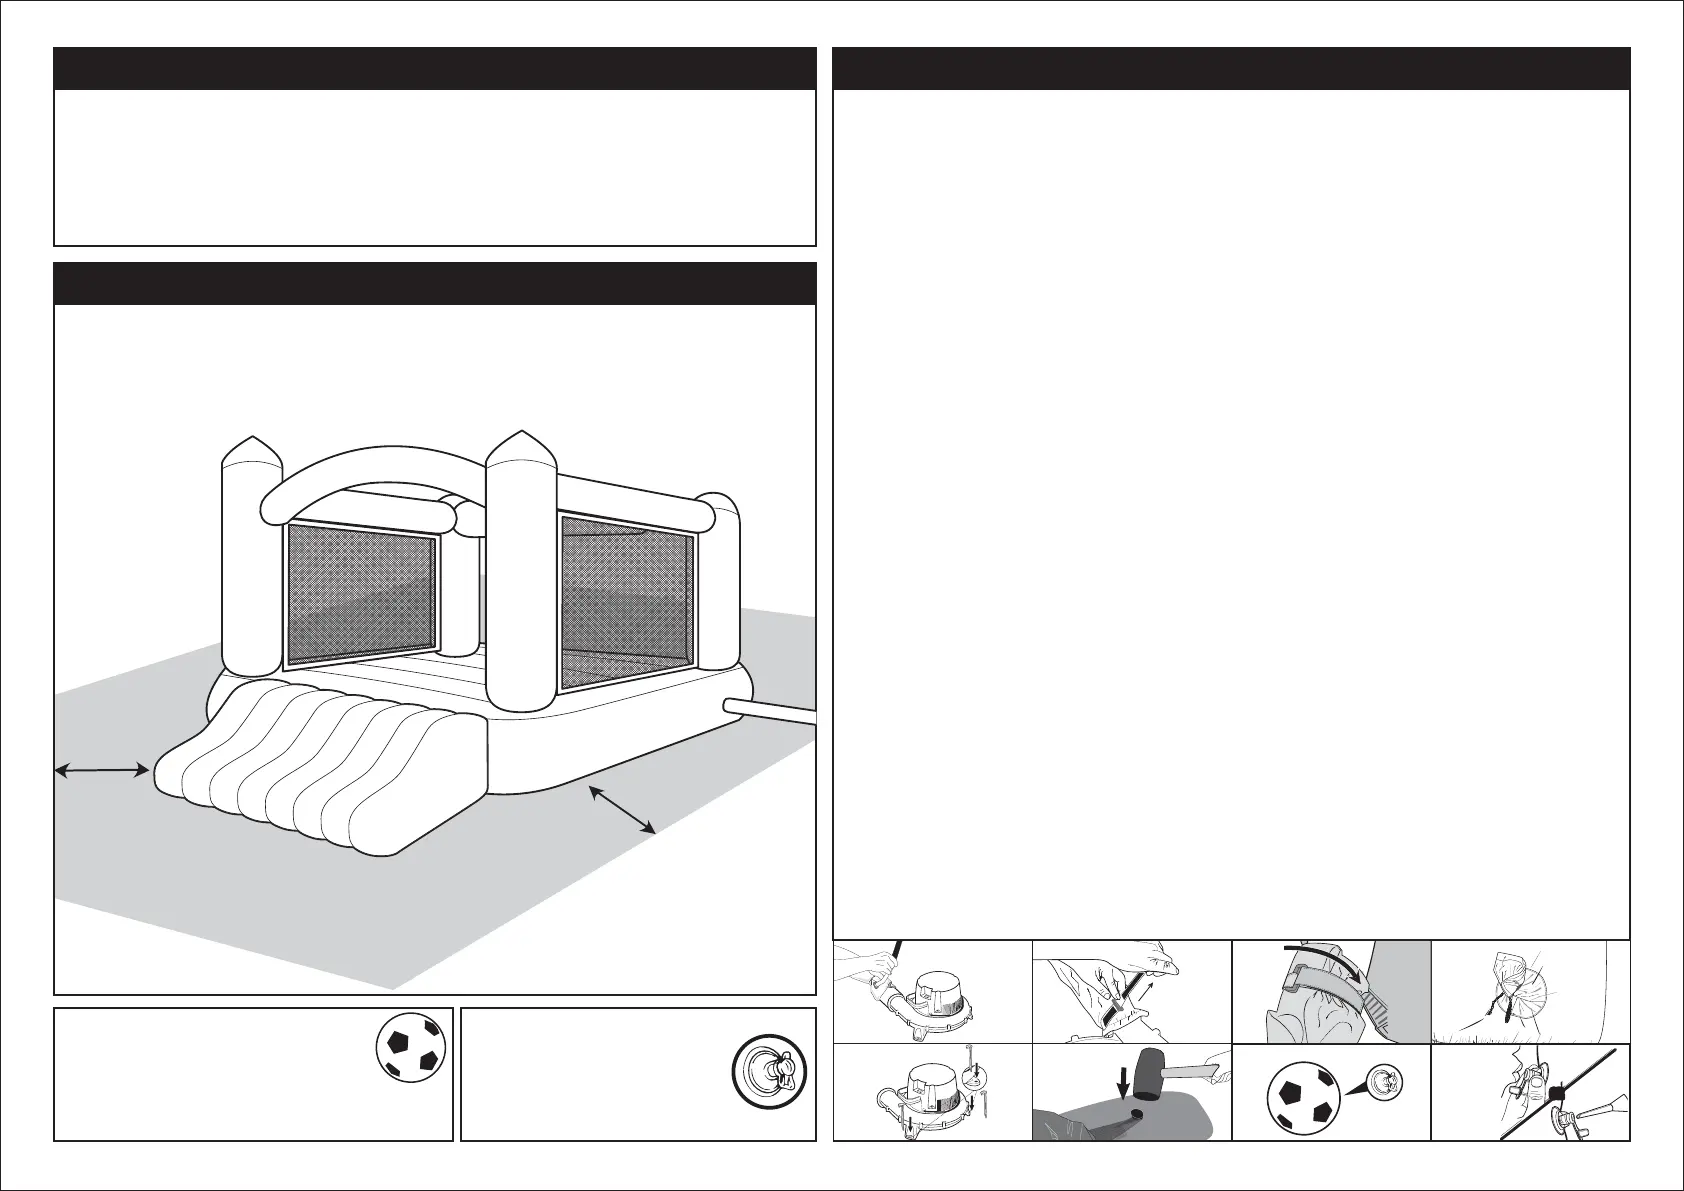
safety area
10 ft (305 cm)
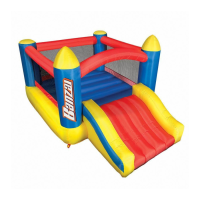
Bounce, slide and score all year long! Climb up the oversized slide, and jump and tumble into fun.
Kick it up a notch with the built-in woven goal net and inflatable ball, or go for the highest score with
the self-sticking dart board. All this fun inflates in 2 minutes with the included blower motor. So, what
are you waiting for? Whether you challenge your friends or practice your aim, the JUMP 'N GAMES
ACTIVITY BOUNCER™ is sure to score big all year long!
INTRODUCTION
39029 Banzai 3
PLACEMENTS: Use on flat lawn only, not pavement or other hard surfaces. Lawn should be free of
rocks, bumps, depressions, sticks, etc. The product should be set up in a location that has a
minimum distance of 10 ft (305 cm) from any freestanding structures or obstructions, including
houses, garages, fences, trees, playground equipment and large rocks.
SETUP
1. Unfold the constant air inflatable and place in the desired position on a smooth and level surface.
2. Attach the long intake tube of the inflatable to the mouth of the blower motor using the attached
Velcro strap. To ensure a secure fit, wrap the strap around the mouth of the blower motor and tightly
attach the self-sticking strap. (Fig A1-A3)
3. Use the drawstrings to tie shut the short air release tube along the constant air inflatable.(Fig A4)
4. Position the blower motor in a straight line, perpendicular and level to the back of the inflatable. The
blower motor should be placed on a stable surface and remain upright after the inflatable is inflated.
The blower motor is a high volume fan capable of moving a lot of air very quickly. Place the blower
motor in an area where it will not suck in dirt or leaves. Keep blower motor away from children, water
and moving vehicles. Set up the inflatable far away from any structures or obstructions. Once
positioned, secure the blower motor with the blower motor ground stakes provided. (Fig A5)
5. Do not set up over concrete, asphalt, packed earth, or any other hard surfaces. A fall onto a hard
surface can result in serious injury.
6. Locate the loops around the bottom of the inflatable and anchor them to the turf, sand soil or rock soil
with the bouncer ground stakes provided. (Fig A6)
7. Ground stakes must be completely inserted into the ground so that no part of the stake is protruding
above the ground surface. This will help prevent tripping or injuries resulting from a fall.
8. Plug the blower motor into a properly grounded outlet and turn it on. The inflatable should inflate in
under 2 minutes. Do not allow children to use the inflatable until it is fully inflated.
9. After inflation, the blower motor should run continuously while children are playing.
FOR INFLATABLE SOCCER:
10. Roll out the ball. Inspect for holes, tears or other damage. (Fig A7)
11. Inflate this product with AIR. (Fig A8)
NOTE: For easy air inflation, use a manual air pump designed specifically for plastic inflatables.
BY MOUTH: Remove the air valve plug and squeeze the base of the valve causing the inner flap to
open for inflation.
BY PUMP: Remove the air valve plug and insert air pump nozzle into the valve. The air pump nozzle
should be inserted deep enough to open the inner valve flap.
Do not over inflate the item. Once the item is completely inflated, then insert the air valve plug to seal
it shut.
NOTE: Fill inflatable with air until it is firm and solid. If there is any straining at the seams, the item is
over inflated. If any seam begins to strain, immediately stop inflation and release air to reduce the
pressure until all signs of stress on the inflatable are gone. DO NOT use the inflatable if there is
straining at the seams. Use of an over-inflated item may result in serious injury, paralysis or death.
Inspect this product for rips, tears or punctures. Do not use if damaged.
Fig. A4
Fig. A6Fig. A5 Fig. A7 Fig. A8
SETUP INSTRUCTIONS
10 ft
(305 cm)
WARNING:
Overfilling will cause damage to your ball.
This product is intended to be used as a toy
and not as a personal flotation device.
Inflate this product with AIR.
NOTE: For easy air inflation, use
a manual air pump designed
specifically for plastic inflatables.
OROR
Fig. A1 Fig. A2 Fig. A3


 To Next Page
 Loading...