Preparation:
When Installing ClickShare you will:
•
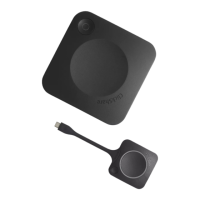
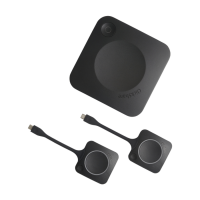
Step 1 - unpack the components.
•
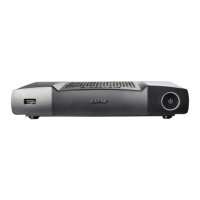
Step 2 - install the Base Unit.
•
Step 3 - connect the Base Unit to A/C and the display.
•
Step 4 - access the Base Unit Admin Functions Using a Browser.
•
Step 5 - configure the system via the Web Interface.
•
Step 6 - test the installation.
•
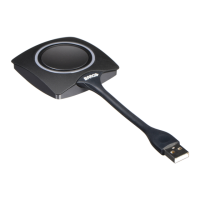
Step 7 - pair the Button to the Base Unit if needed.
The tools you will need are:
•
For mechanical Install
✓
Torx 10 Screwdriver if wall, ceiling or rack mounting
✓
A drill if wall or ceiling mounting
✓
A screwdriver depending on your wall mounting screws
✓
The optional ClickShare Rack Mount Kit if installing in a rack
Order number: R9861006R01
•
For hookup to the display
✓
A video cable, which is DVI-i from the Base Unit going to the display input (variable)
✓
Optionally you can use the Display Port output on the Base Unit to the display input
•
For configuration of the system
✓
A laptop computer with WiFi for configuring the Base Unit
•
For Troubleshooting
✓
Two Ethernet cables for direct connect to the Base Unit though the local LAN
✓
An Ethernet cross-over adapter or cable to connect directly to the Base Unit.
INSTALLER QUICK START GUIDE
Installer Quick Start Guide
vs#: 010913