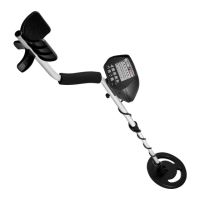
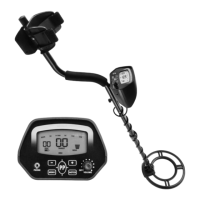
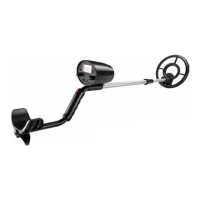
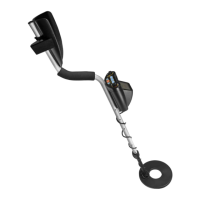
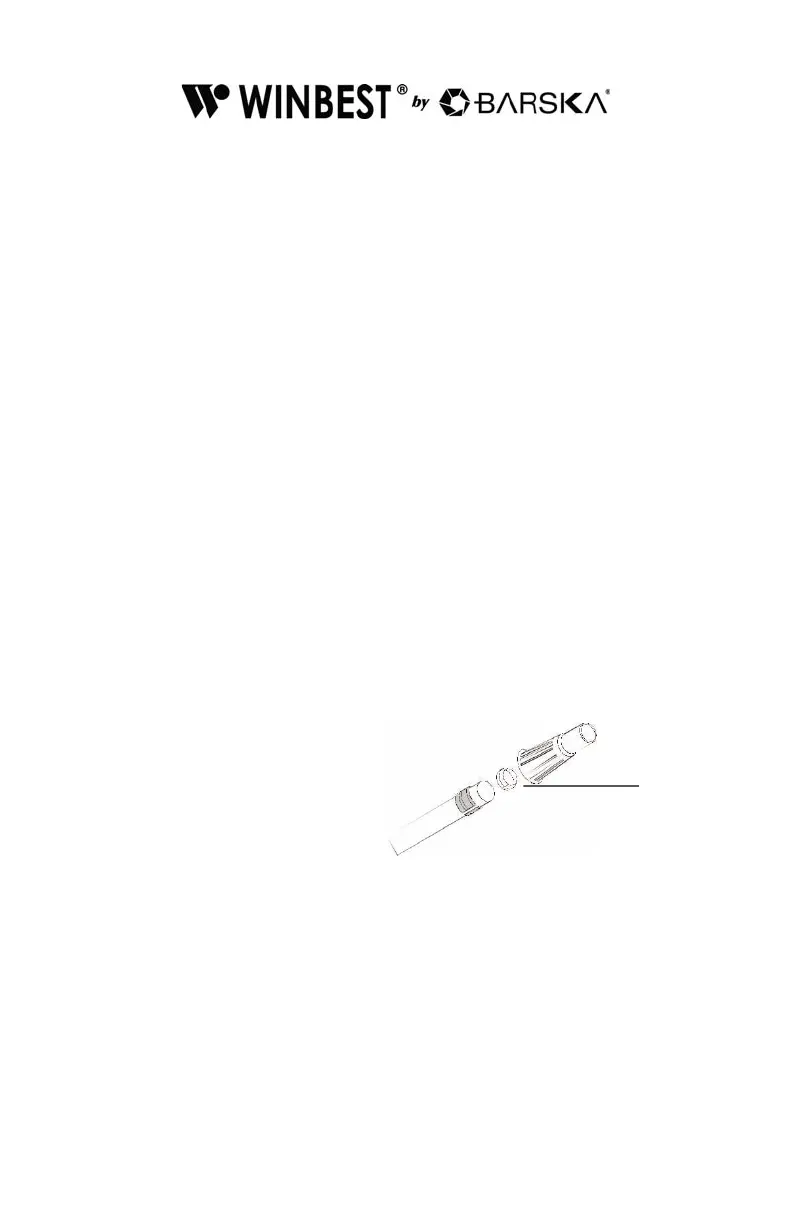
2. Unscrew the knob on the sea rch coil and remove the knob connec tor.
Insert the s tem and align the holes on the search coil bracket and the stem.
Push the connector through the holes and tighten t he knob.
3. Wind the search coi l cable around the stem. Leave enough sla ck in th e
cable. Insert the search coil cable plug into the five pin jac k on the
front control box’s housing.
4. Turn the stem’s lock n ut clockwise until it l oosens. Lengthen or short en so
when you stand upright with the detector in your hand, the search c oil is
level with and about 1/2 to 2 inches above the ground with your arm
relaxed at your side. Turn the stem’s lock nut counte r-clockwise t o lock it in
place.
Caution:
• DO NOT force the plug or you could d amage it. The searc h coi l’s plug
fits into the connector only one way.
• DO NOT over tighten the search coil or use tools such as pliers to
tighten it.
• DO NOT disassemble the st em l ock nut. In case you disassemble it
carelessly, place the washer on th e top of the stem connected wit h
the handle with t he small
head of the washer
upwards. Then hitch the
stem lock nut on the
washer then tighten it to
lock it in place.
INSTALLING THE BATTERIES
Cautions:
• Use only fresh alkaline batteries of required siz e.
• Do not mix the old and new ba tteries or different types of b atteries.
 Loading...